At the end of 2021, I undertook a massive project and completely renovated a dollhouse for my daughter for a Christmas gift.
When I was 6 (I think), for Christmas, my parents surprised me with a handmade dollhouse built by my dad, and decorated by my mom. There were handmade windows with panes, and magazine scenes cutout to be the view. Couches and chairs made of foam and with upholstery. Rooms with wallpaper, or hand painted, and a big Barbie kitchen. Obviously, it was a hit with me.
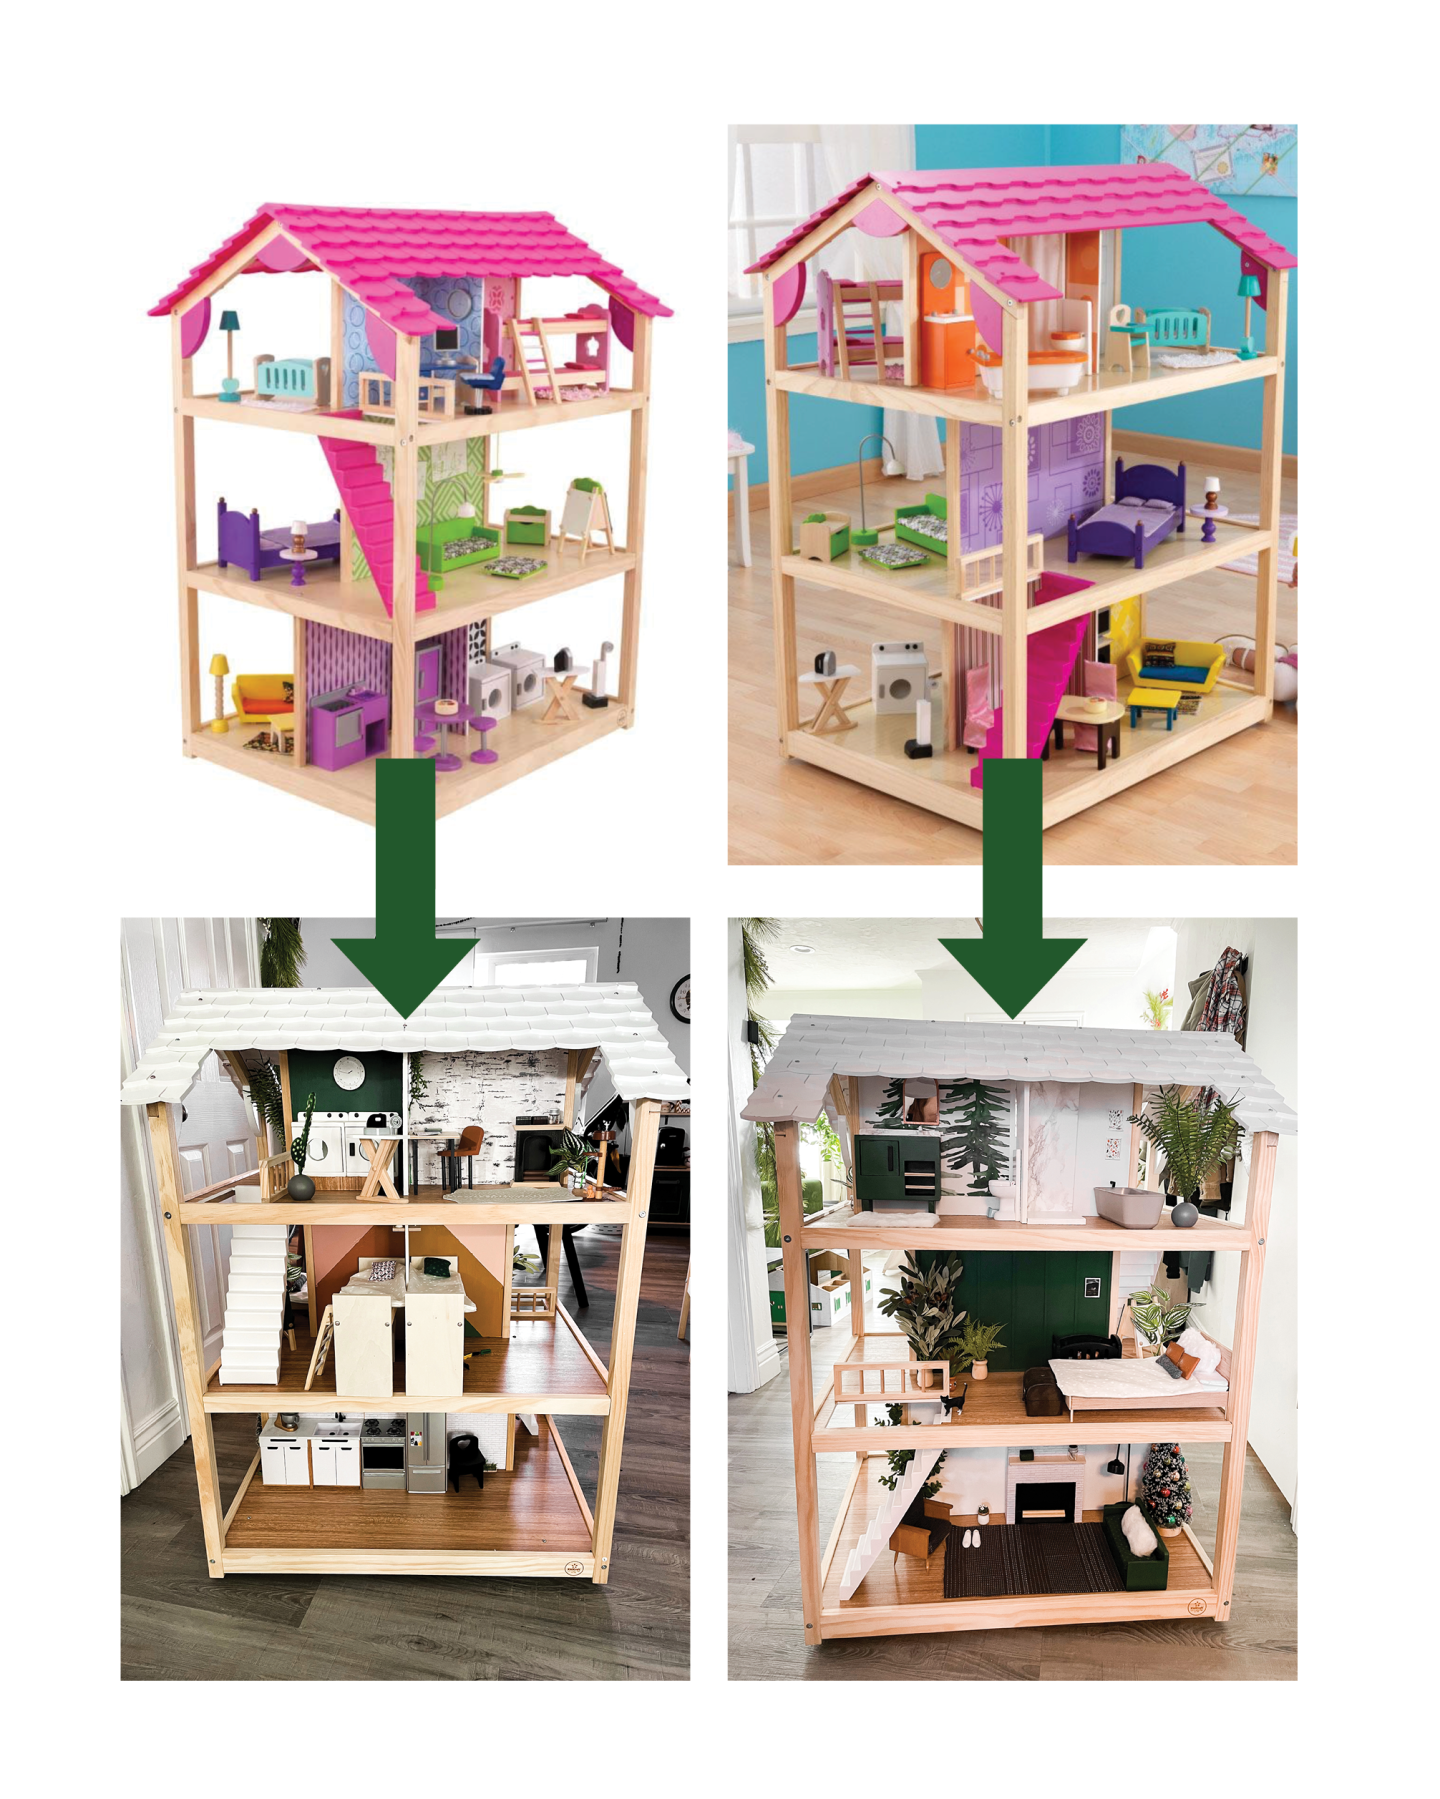
Ever since I had Gwendolyn, I knew that when she was around the same age, I wanted to present her with a dollhouse of her own—made with love. Unfortunately, neither Todd nor I have my dad’s woodworking skills. I’m also not great at crafting (okay, fine I’m an angry crafter), and I am actually bad at sewing. In an ultimately foolish attempt to save money (ha), I decided to get a KidKraft dollhouse and change e v e r y t h i n g. I went with a large one on rollers with two sides in the hopes that both kids could play with it, and because I wanted that number of rooms.
To start, I sanded the walls very, very well (or tried to). From what I’ve seen of other KidKraft dollhouse renovators, the only big problems come in if you don’t sand enough. Sand the devil out of those shiny walls, if you intend to paint! With this job done well, the rest will go a lot smoother. I had a couple of spots on the edges where I didn’t sand, and paint peeled with the painter’s tape, so I had to re-sand, and touch up. I did a coat of primer, and several coats of my main color (white in most rooms) to ensure an even coat, and no show-through of the garish original colors. I also used contact paper on the floors to cover the yellowish, cartoony-looking ‘wood planks’ with a slightly textured more realistic wood look. I spray-painted the roof and stairs, taking them from hot, hot pink to white (an extremely difficult task, especially when you have to set up a spray painting space indoors with plastic tarps, because it’s the middle of winter and freezing outside).
Just for fun/to make things needlessly complicated, I decided to paint the kids’ room with serval colors, and then we had to scrape out a slot for a room divider (that we didn’t use between the kitchen/dining room, because my kitchen set was too big to have it there) and glued it in place to turn the kids’ room into two rooms.
This project turned my bonus room into an absolutely crafting hellscape. Once the house was assembled, things went faster, but between figuring out and buying what furniture I didn’t have and couldn’t make myself, and working on multiple things at once—while waiting for paint to dry—I had my hands so full.
For the sake of simplicity, let’s go room by room, and I’ll show you what changes I made.
Kitchen:
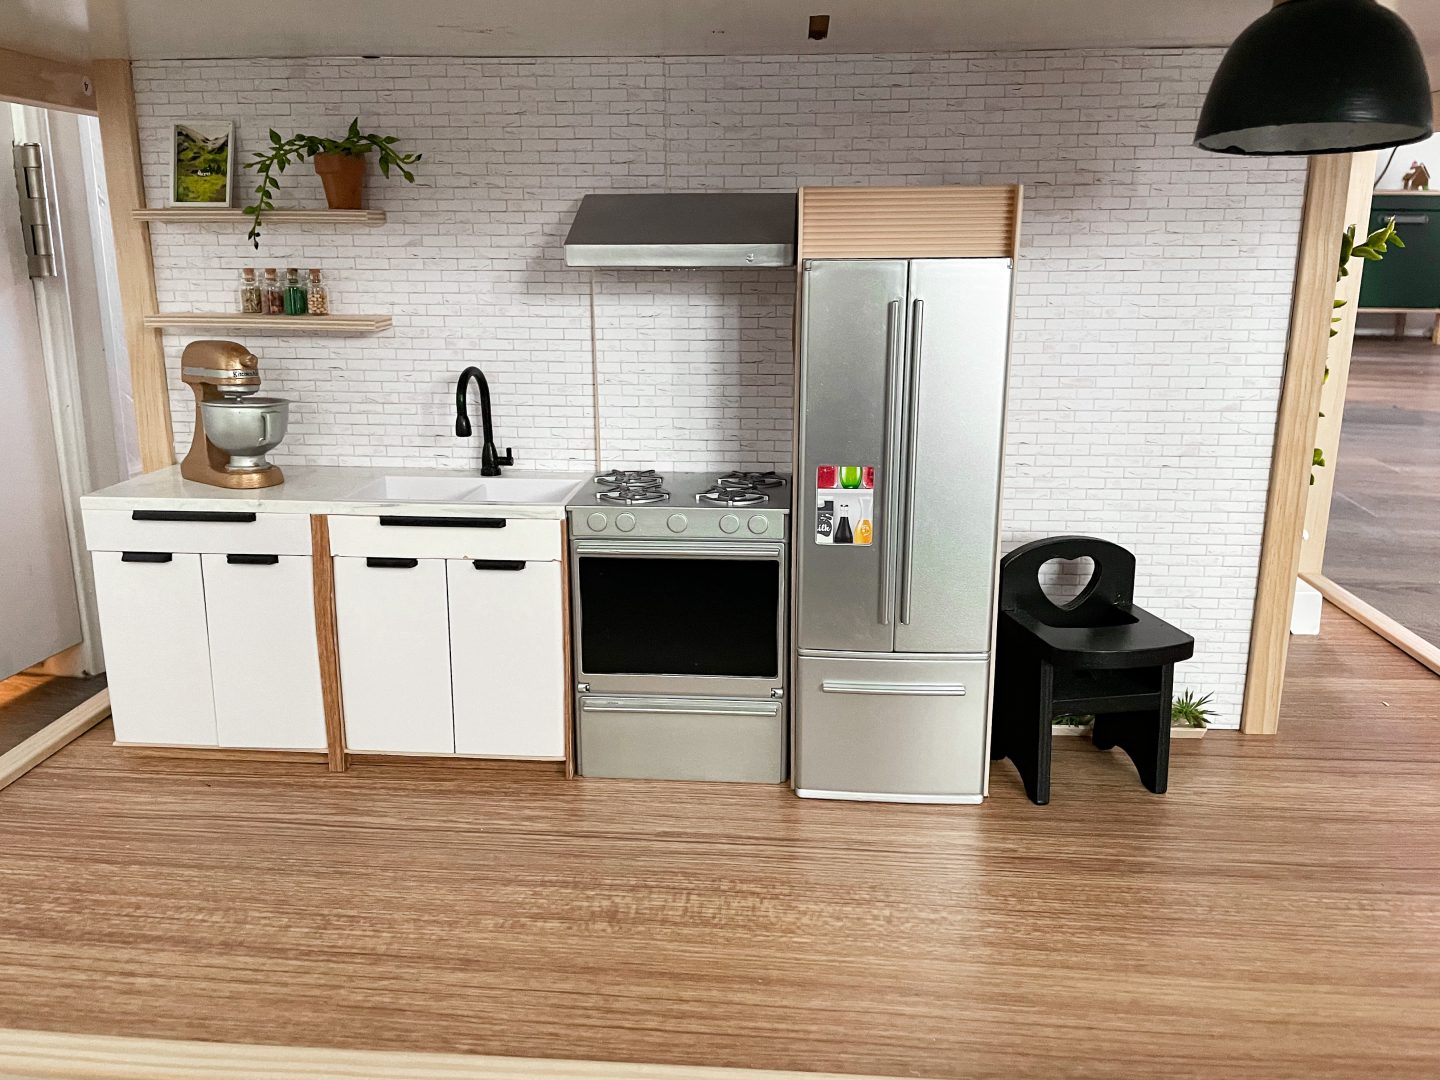
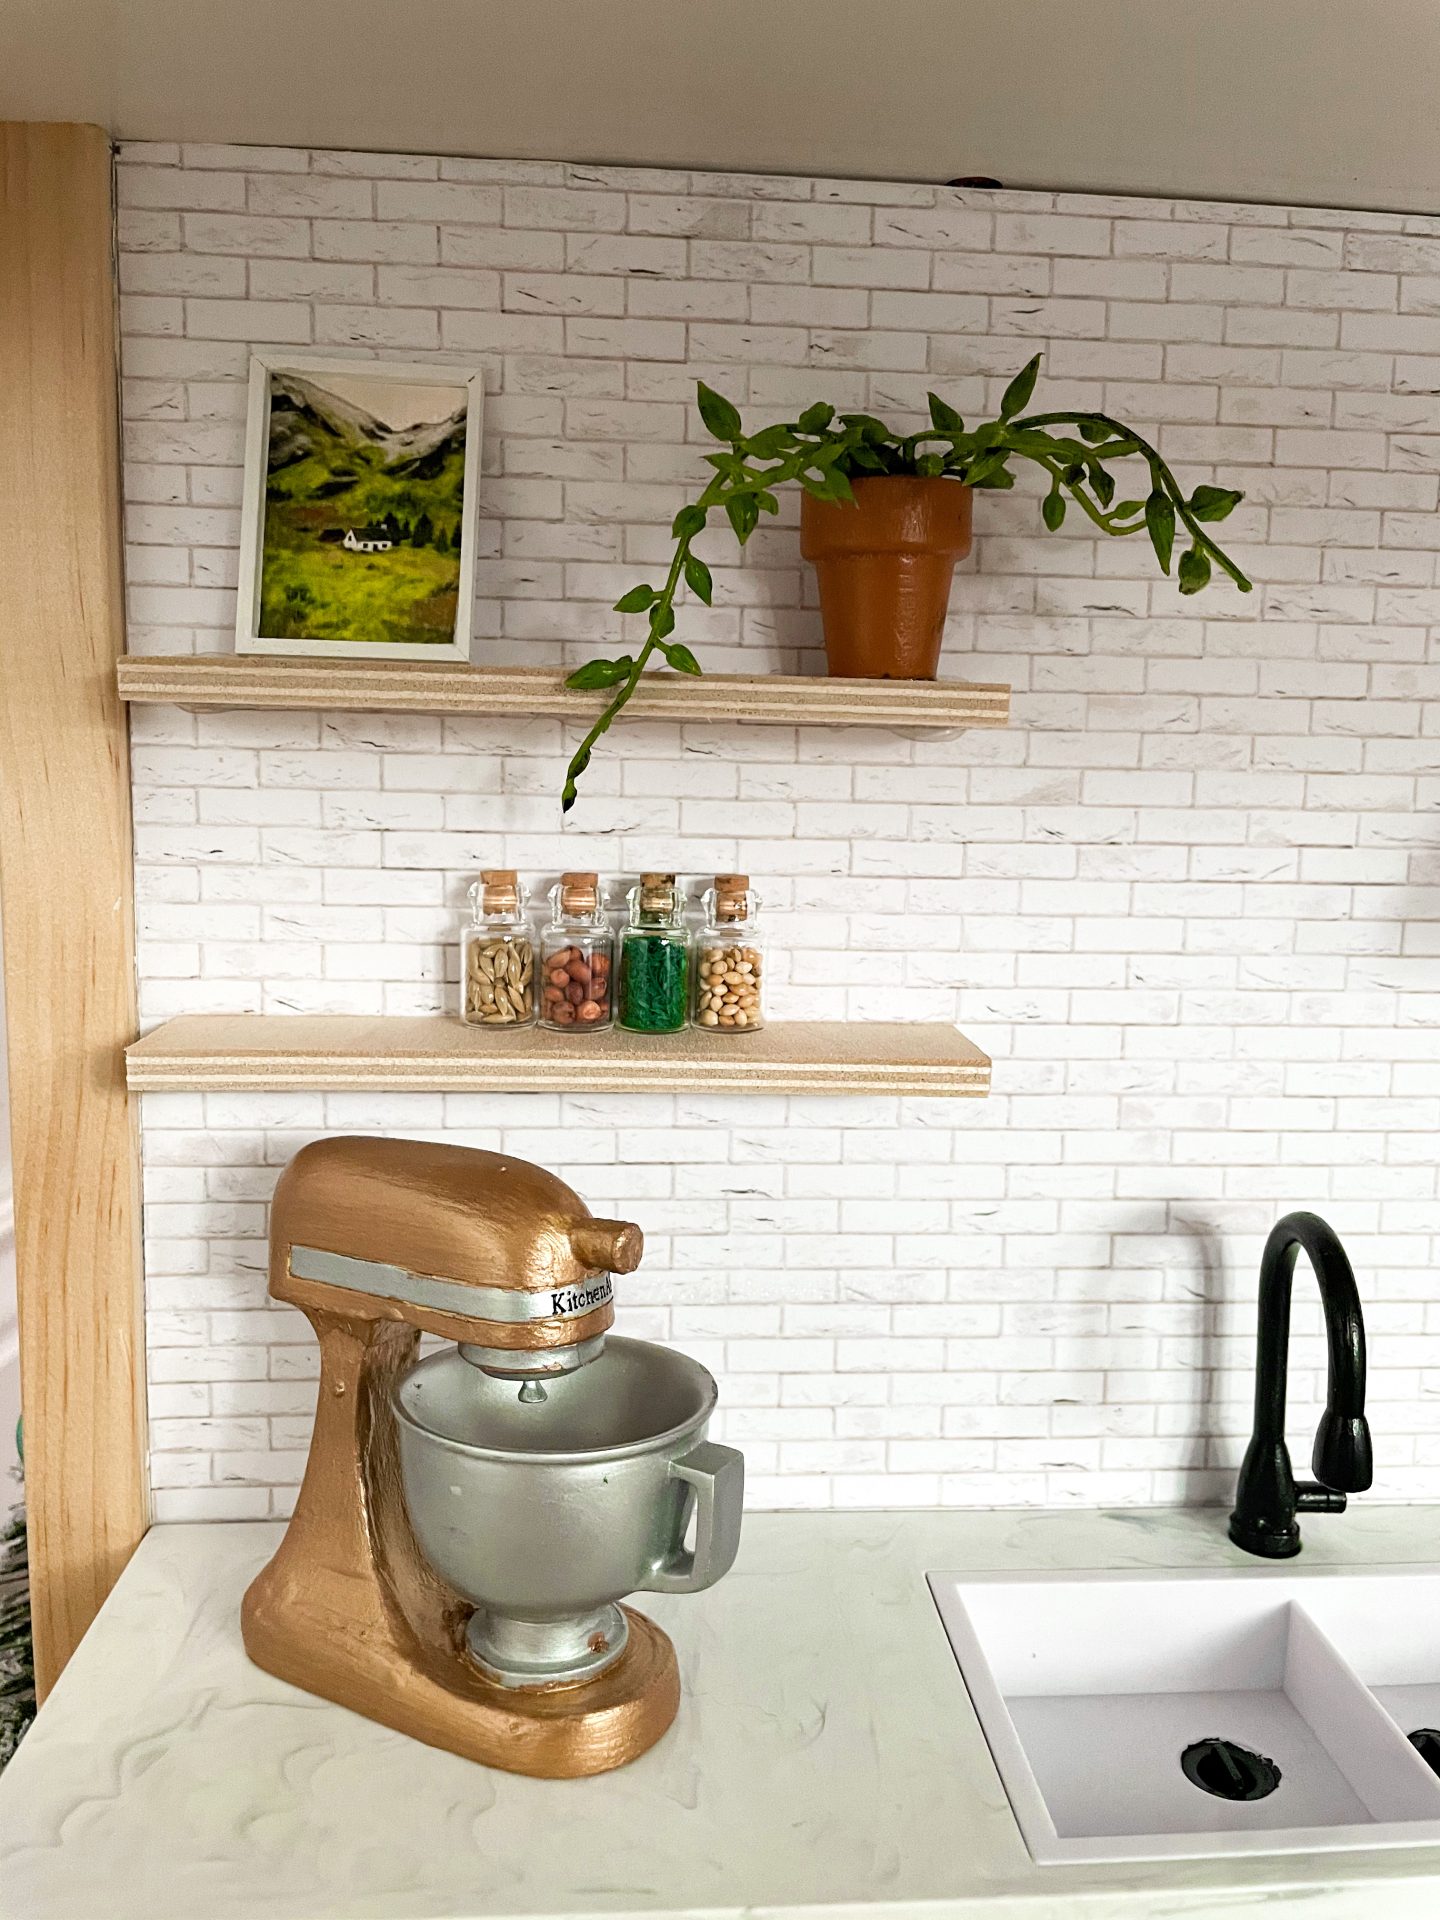
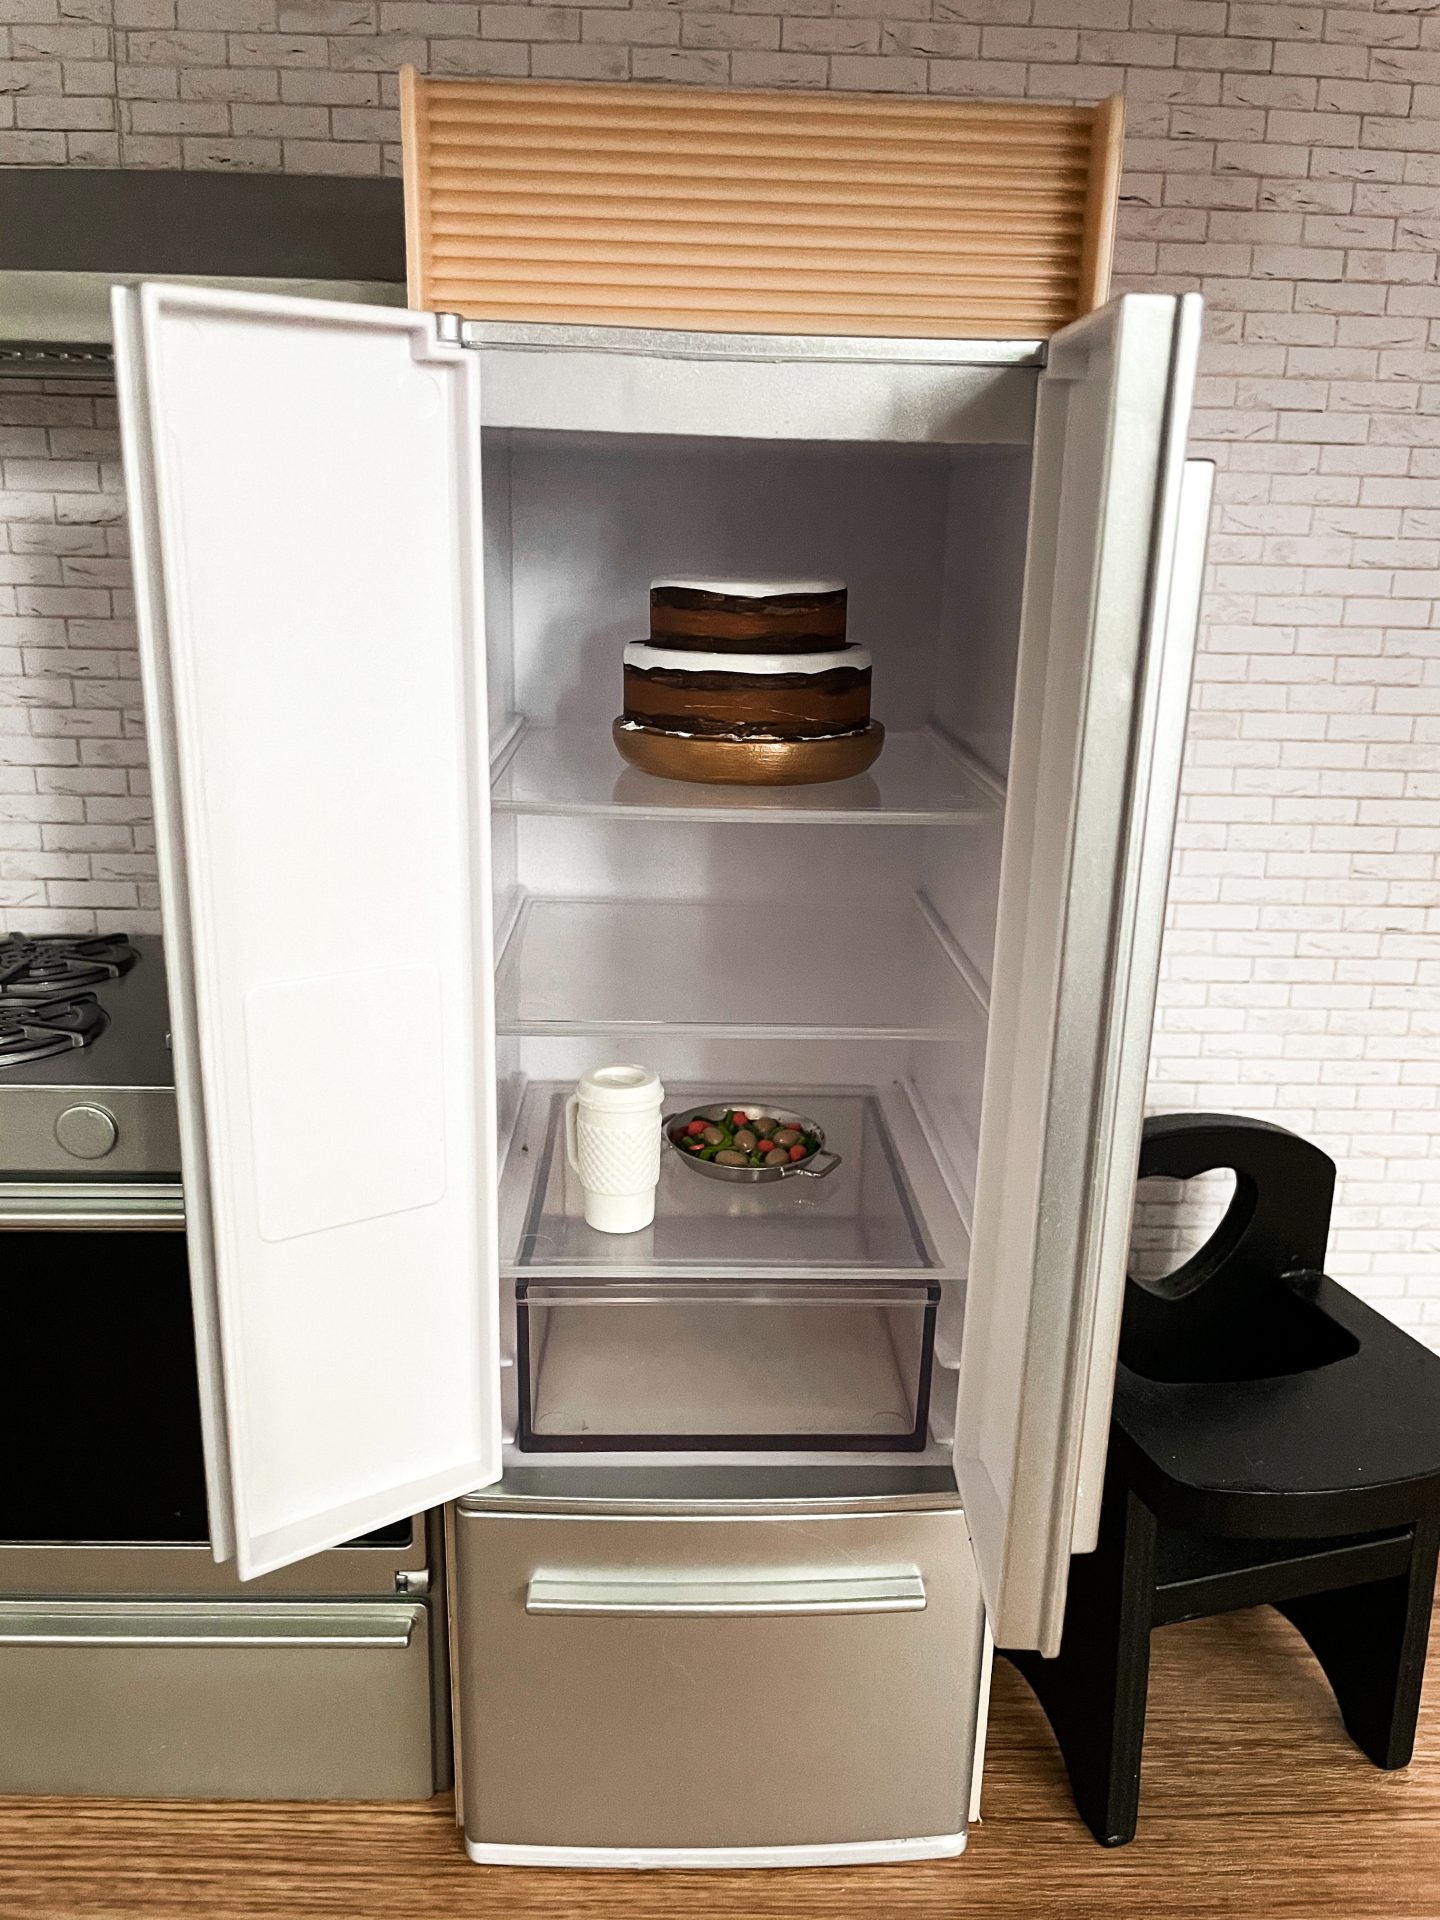
I was very fortunate to find a perfect dollhouse kitchen (from the Rainbow High doll’s house) on ebay. The nice ones on etsy were so, so expensive, but the one I found looked great, had cabinets that opened, and is just everything I wanted in a dollhouse kitchen. In a fit of madness, I did use contact paper on most surfaces of it, so instead of a fleshy beige, it mostly looks like white oak. I also painted the silver handles black. On the walls, I used craft wood to make shelves that I decorated with doll canisters, a potted plant, and art that we have in our actual kitchen. I also had this (strangely heavy) kitchen aide mixer ornament from my mom that she shipped out with my few old toys years ago. The hanger removed, I sanded it, and painted it copper (I literally taped off the silver parts, you guys. Like I said: madness). I purchased a couple of food items that weren’t too, too small, as we had a freshly-two-year-old and three cats—fun fact: this is the actual p e r f e c t recipe for loosing things.
I wanted a white brick backsplash, and ordered some textured dollhouse paper off etsy, which, with the kitchen piece being easily moveable, I made cover the entire space. Which brings us to our next room.
Dining Room:
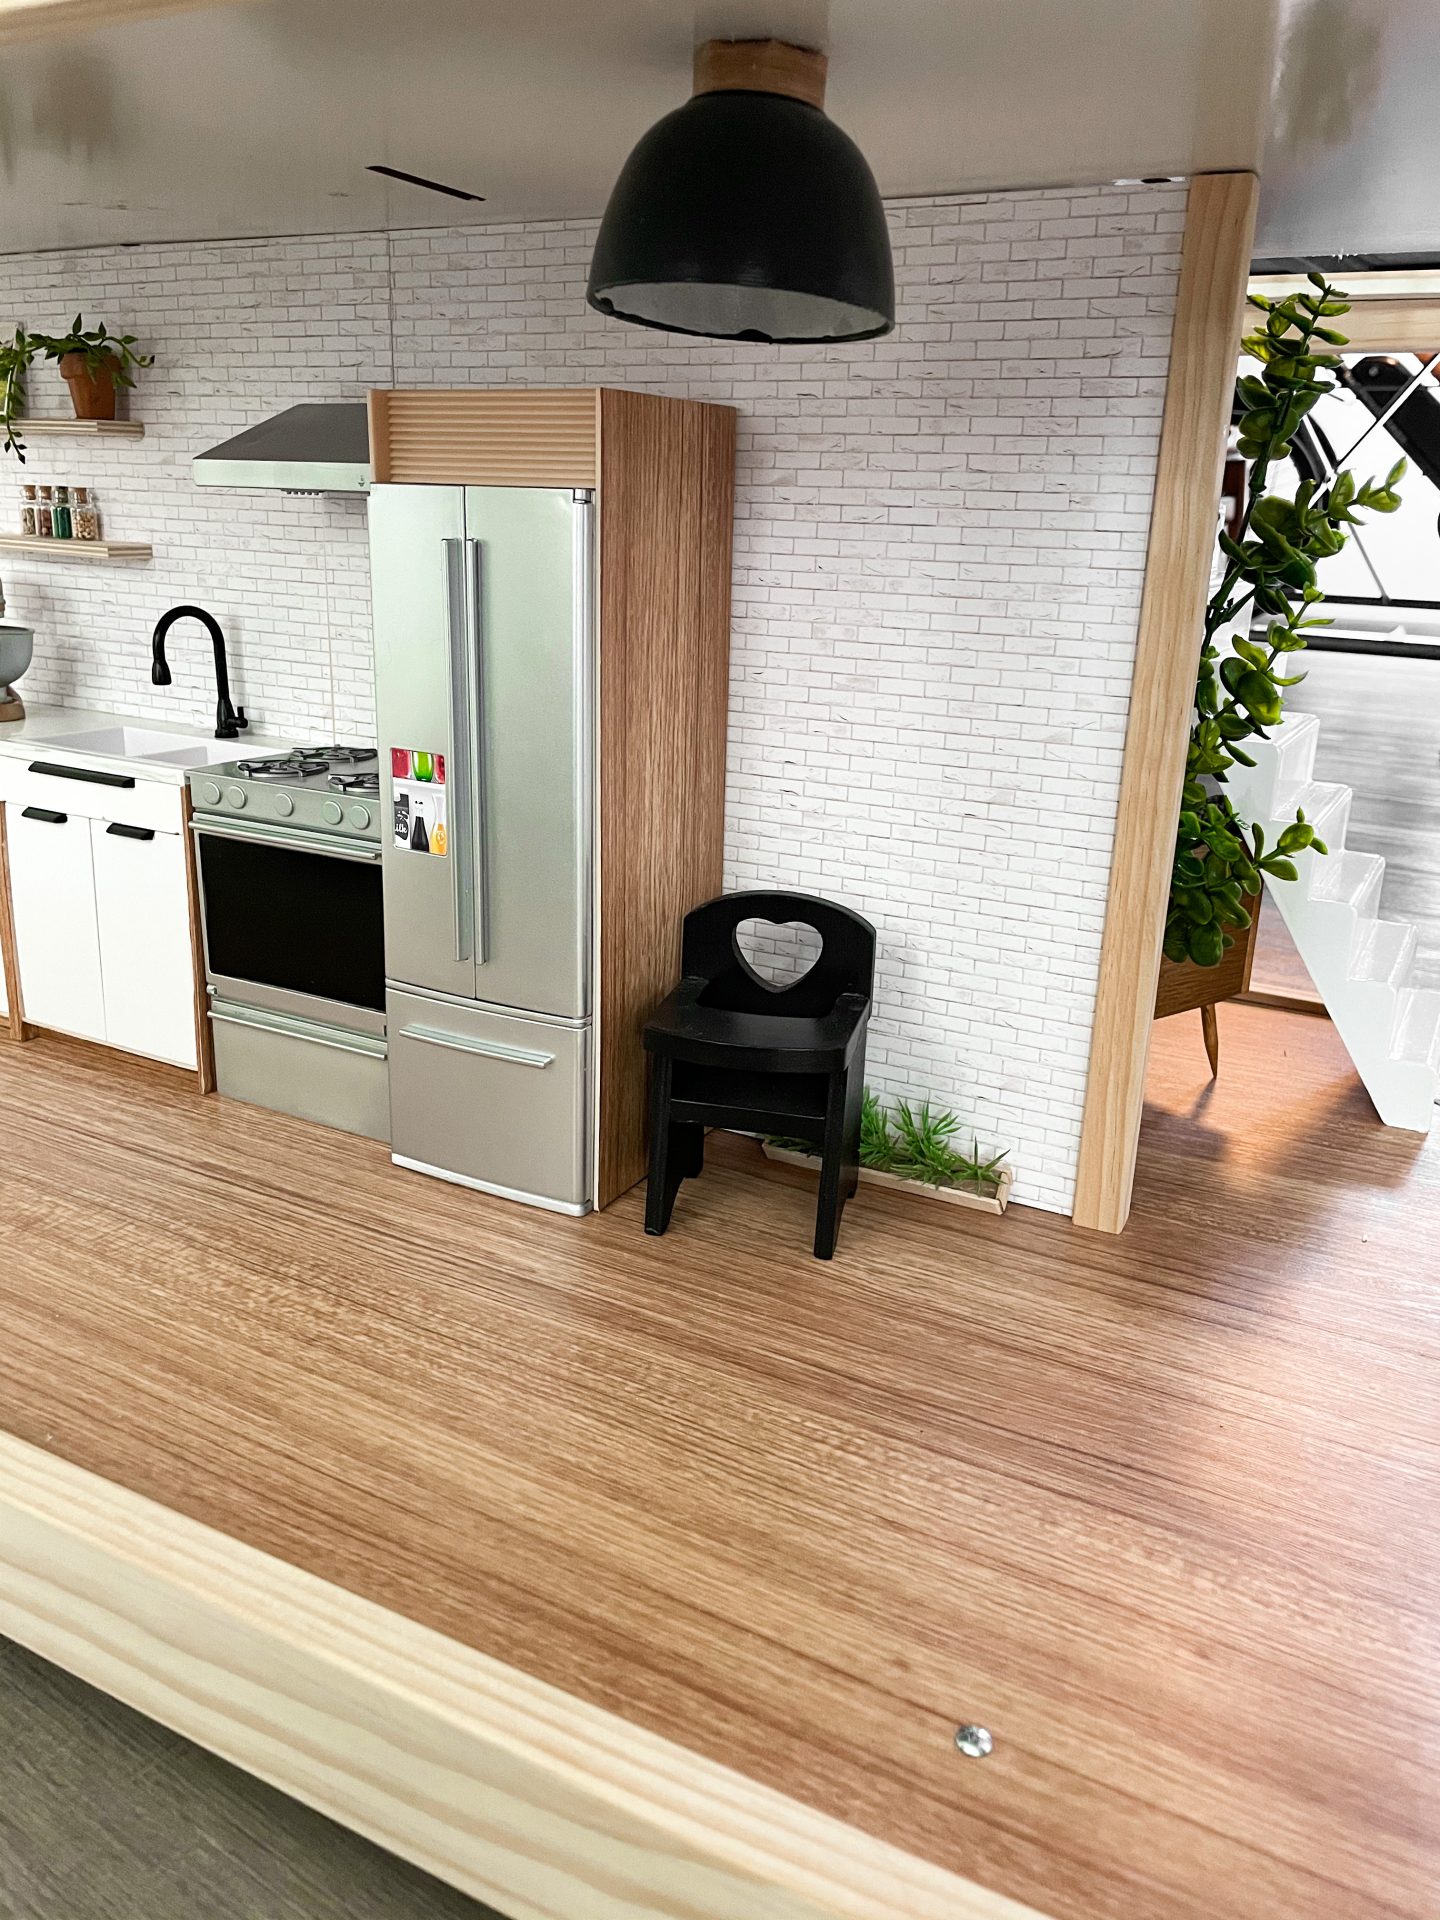
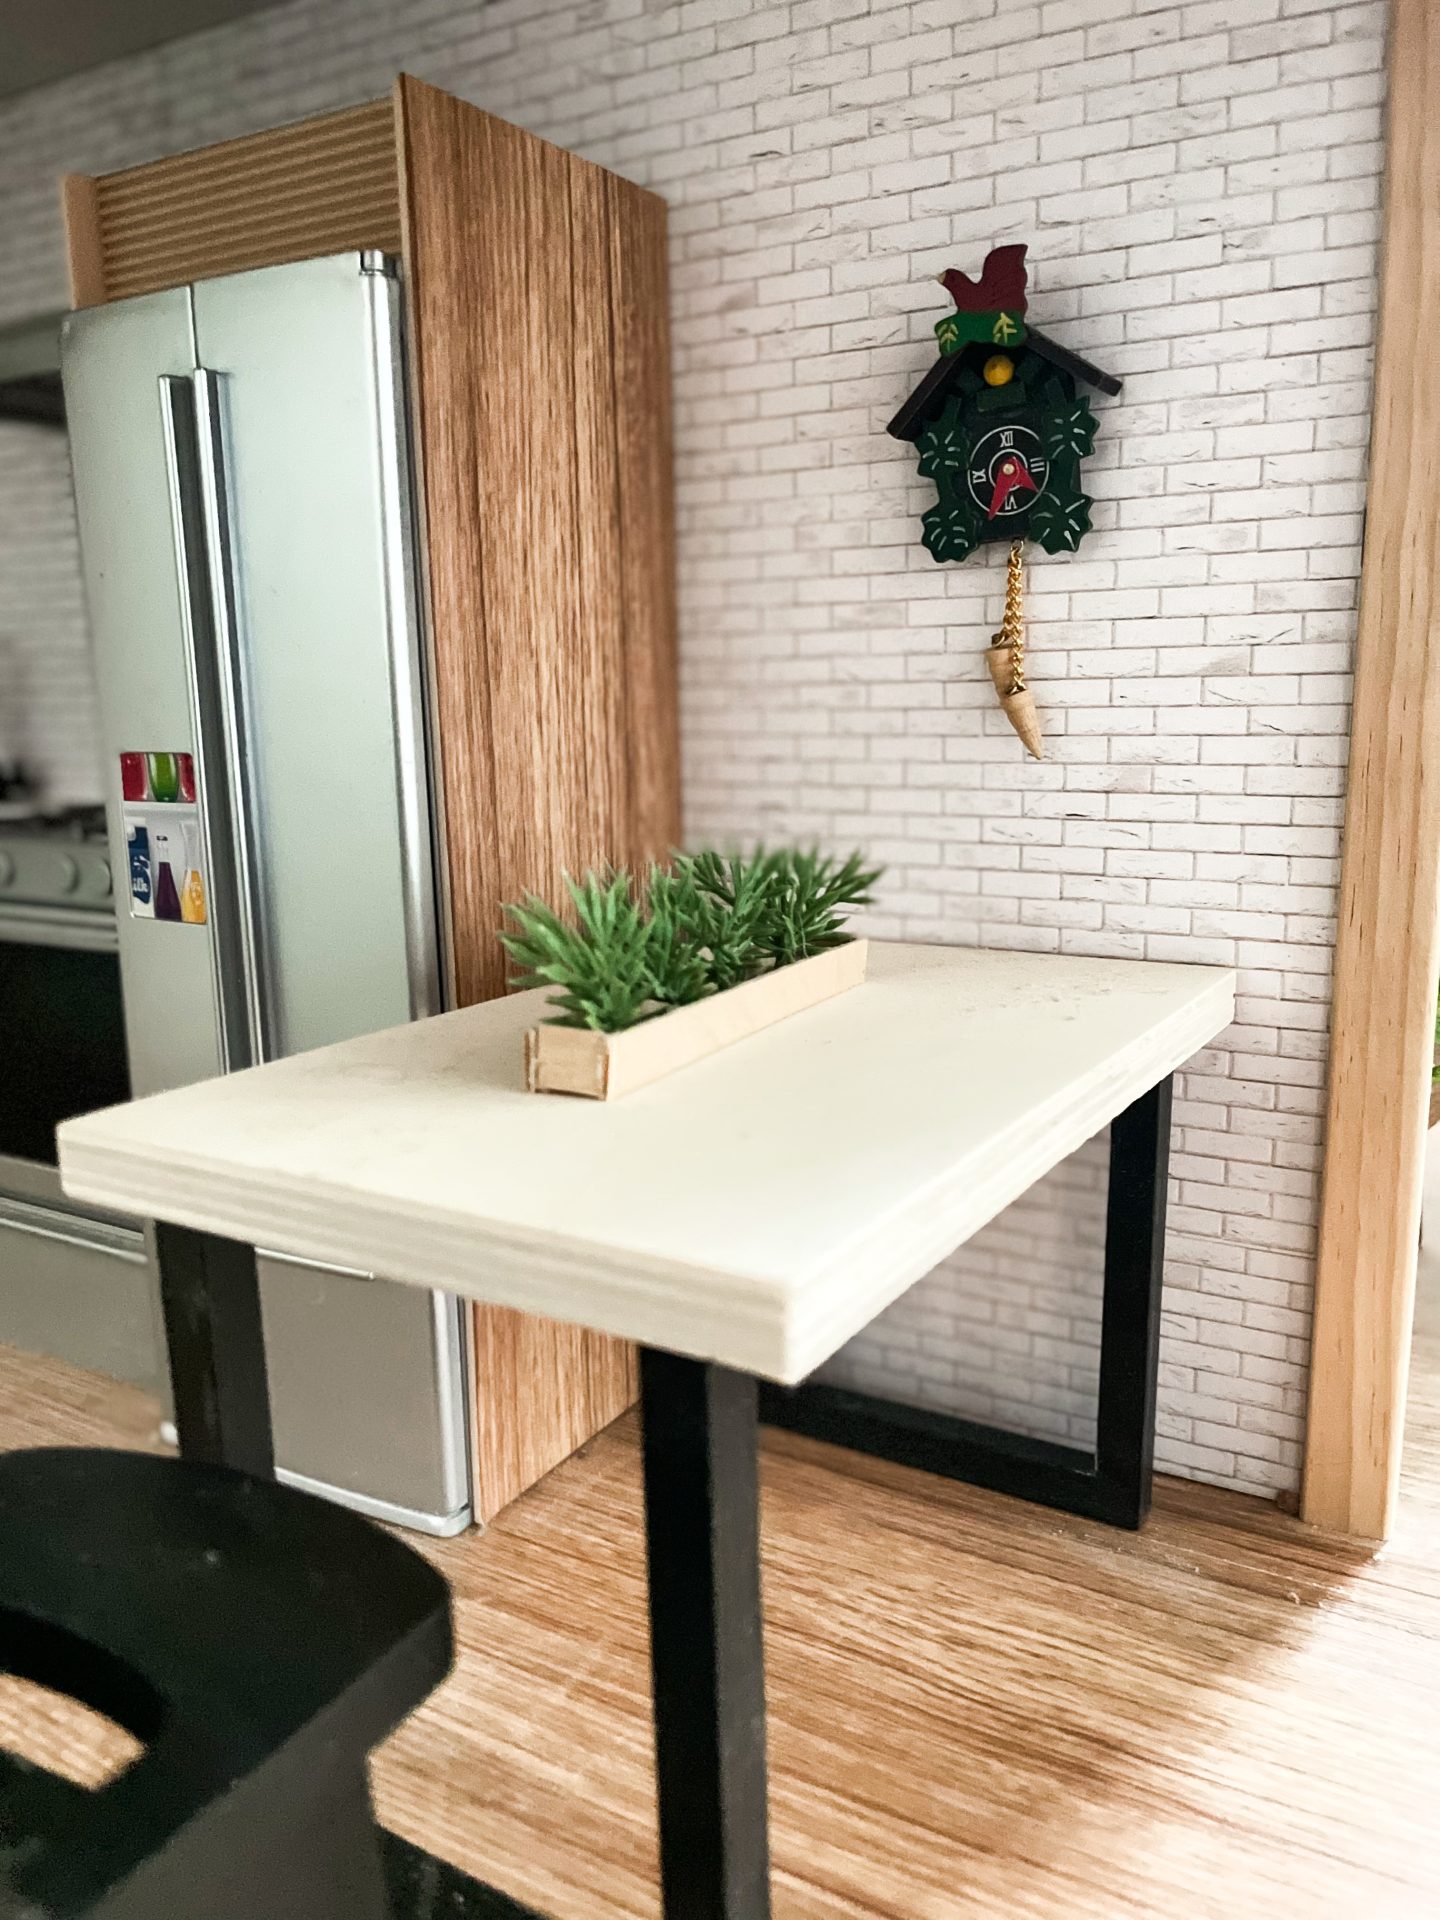
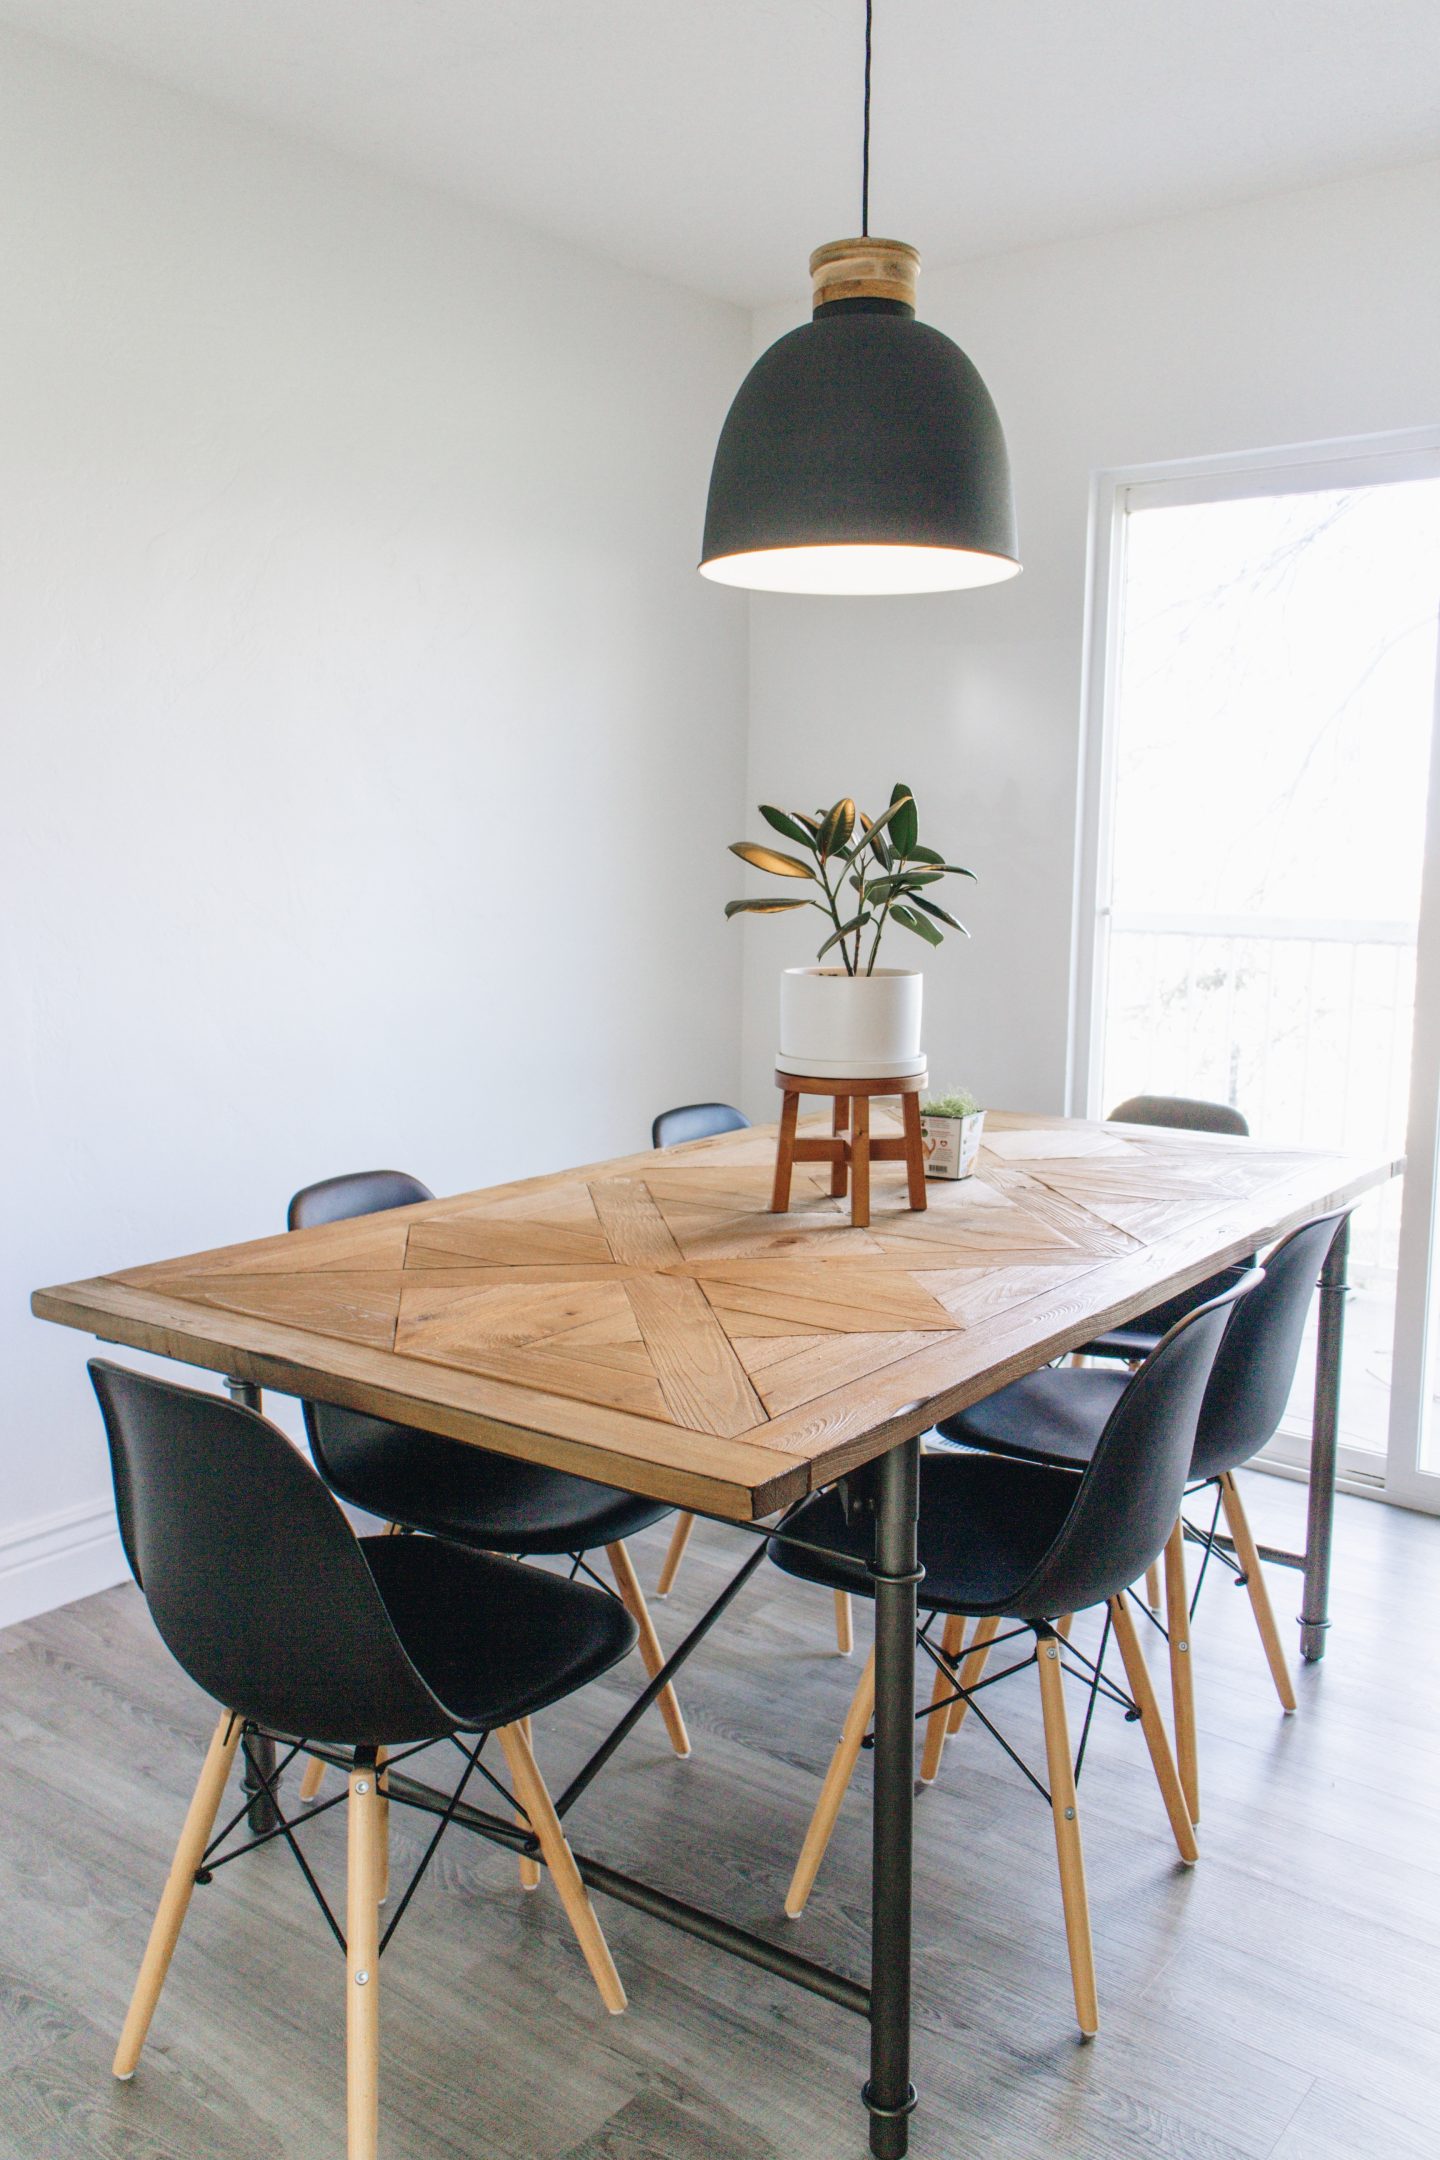
I had grand plans to make a dining room feature wall that was just like the one in our actual house, however, with the doll kitchen extended past the original room designations, the wall space would have been so small, it seemed bit silly. That whole wall (kitchen + dining room) is the white brick. I did use a plastic bottle cap from a soda, and wrapped it in contact paper, and a small plastic cup thing I found at the dollar store to make a light that matches the one in our house! I’m pretty proud of it. I painted the baby high chair that came with the dollhouse black (like ours), and we made a table ourselves (though, it unfortunately didn’t get done by Christmas morning.). I had also hoped to make my own chairs, as those can also get excessively pricey. Ah well. The dollhouse does have a table.
Living Room:
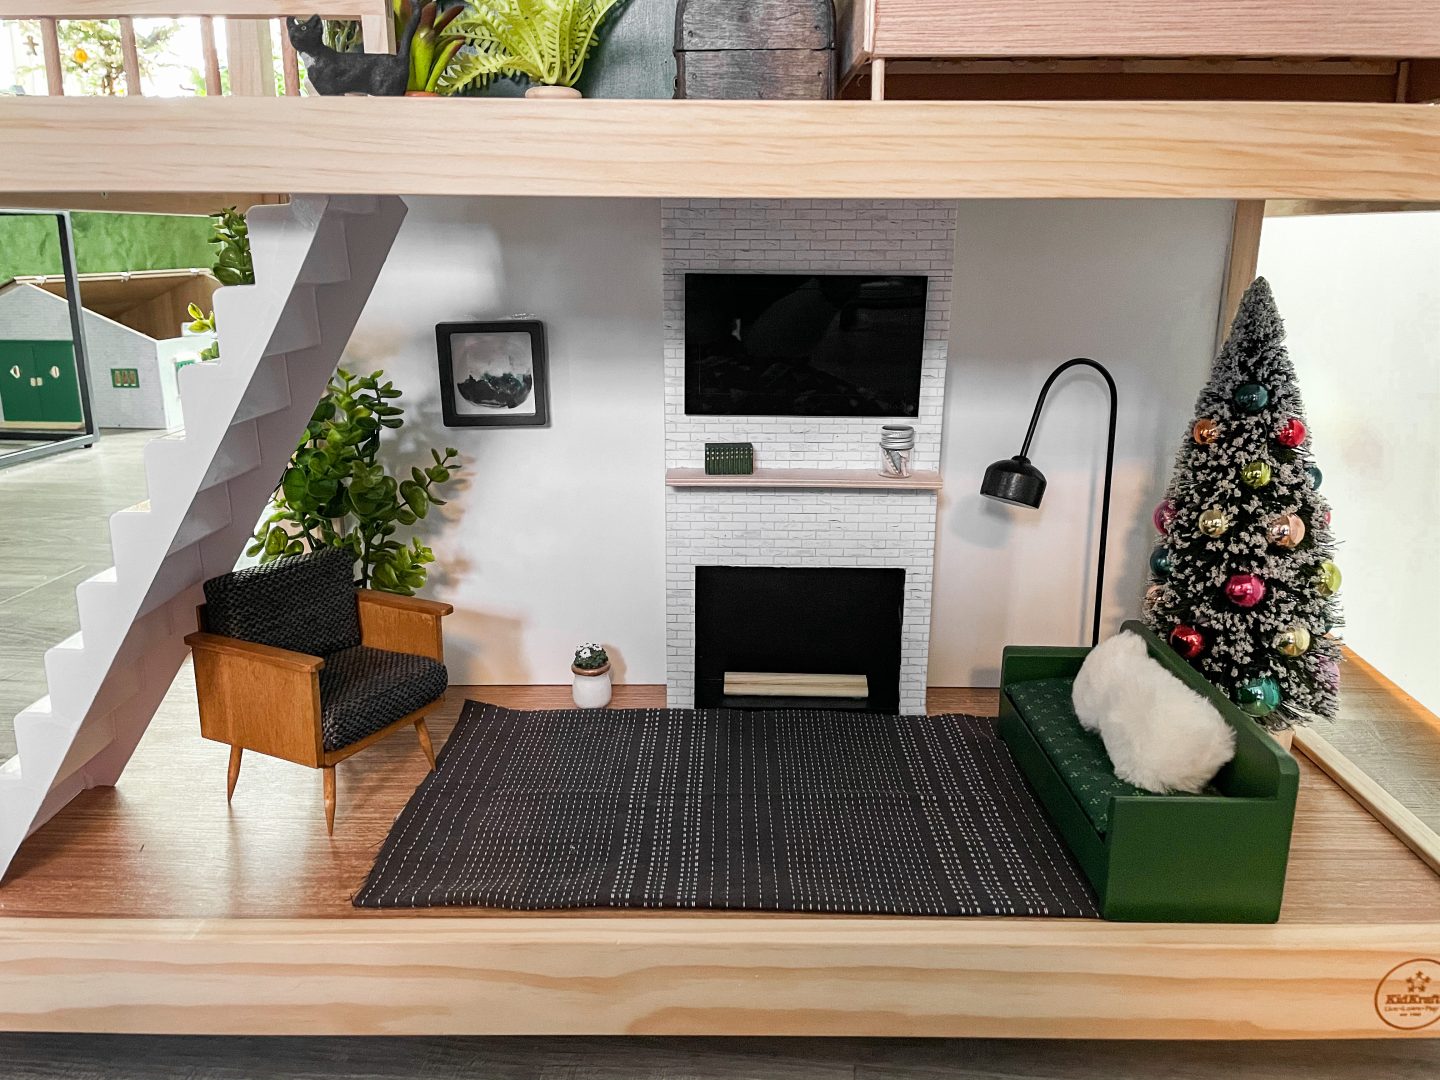
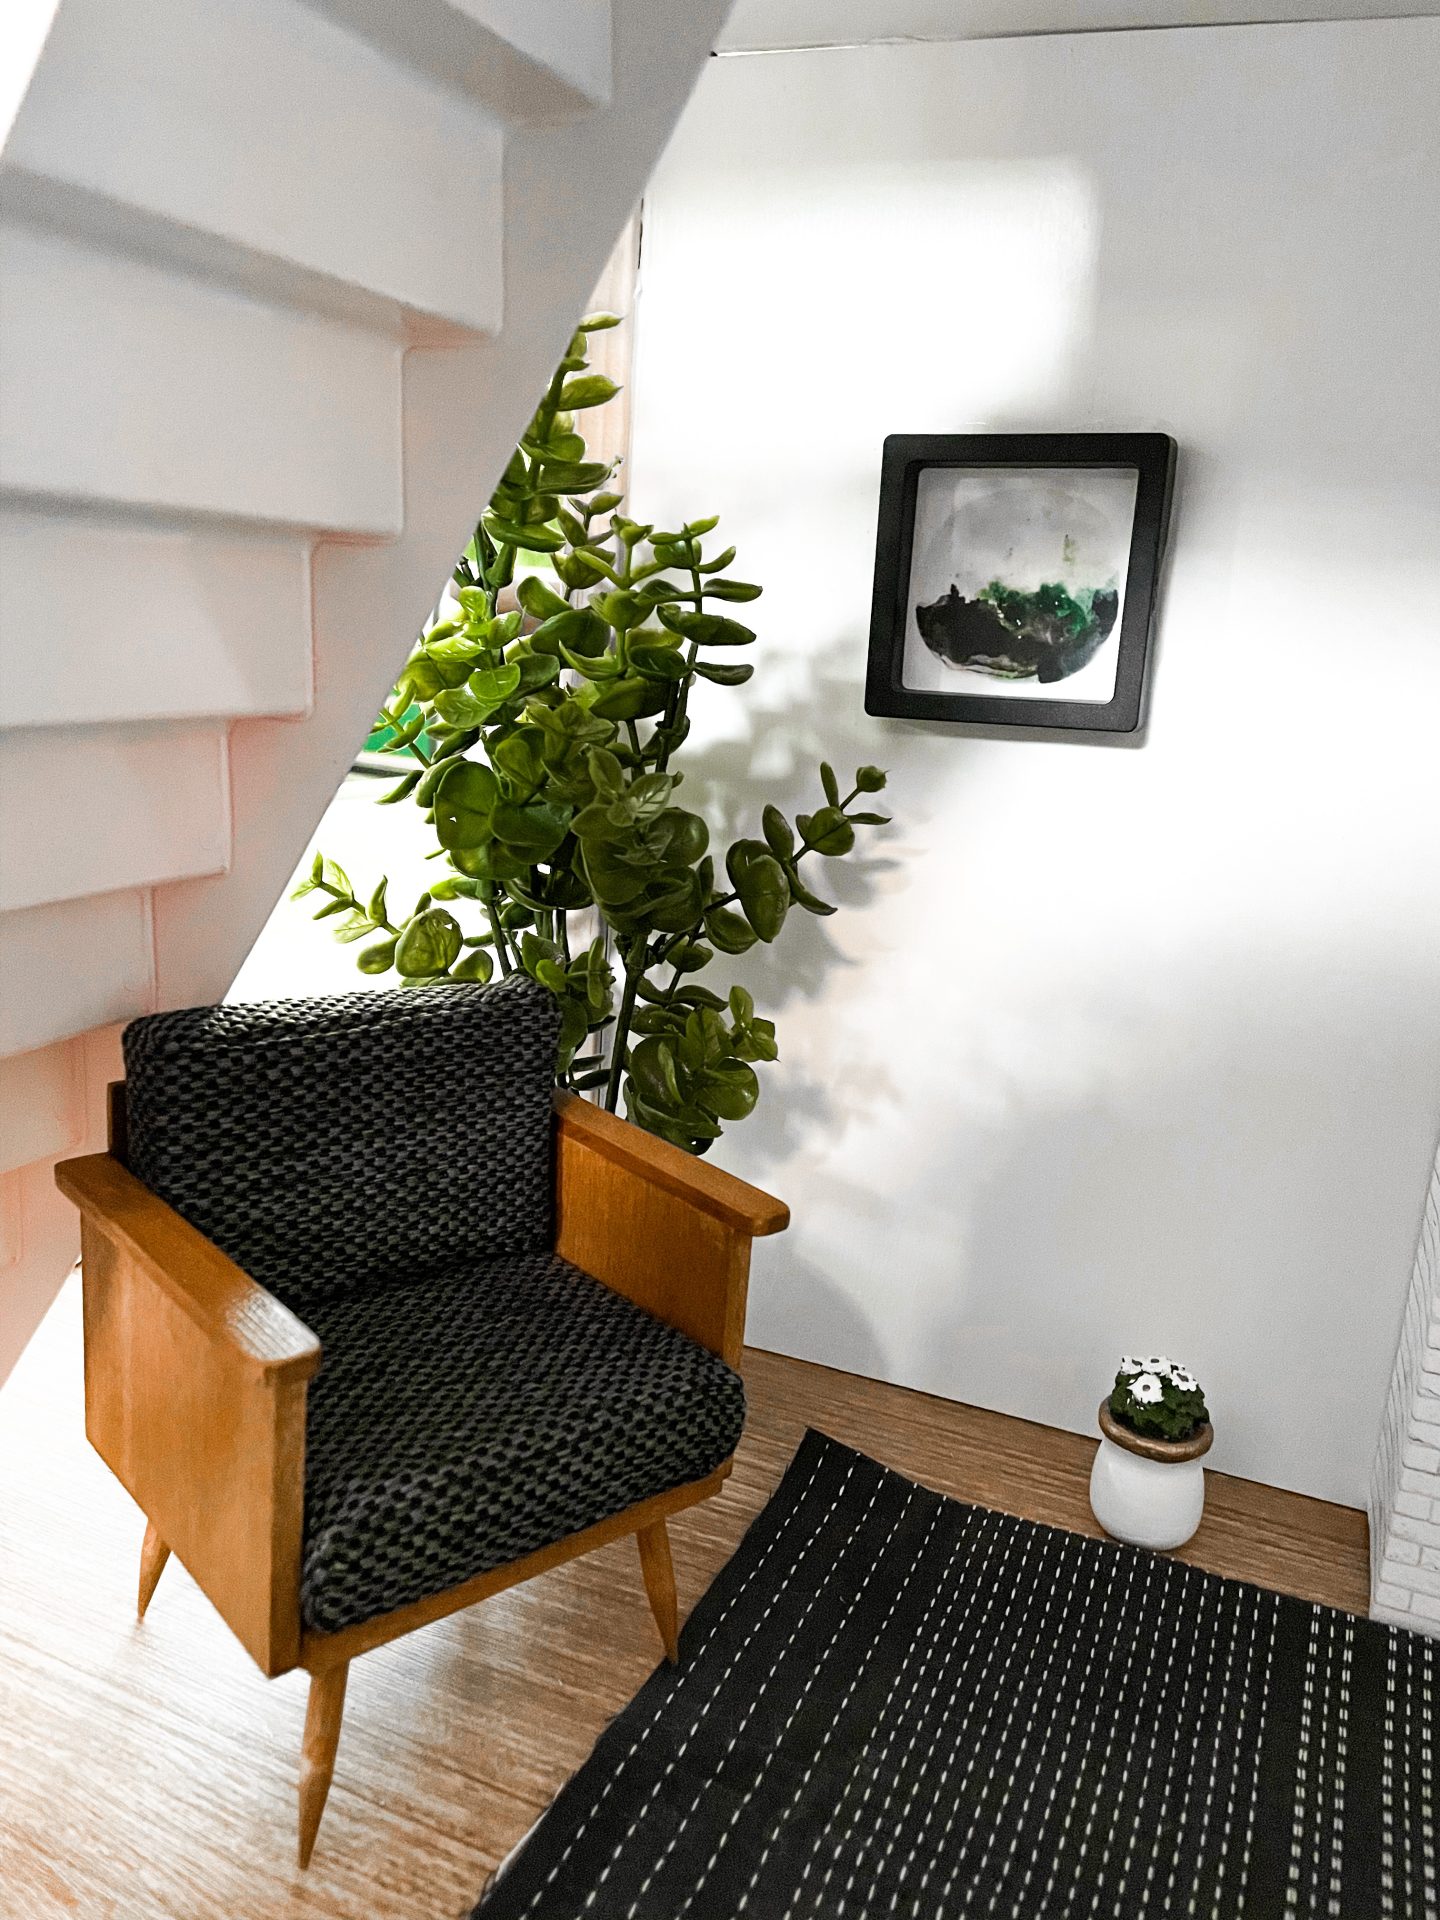
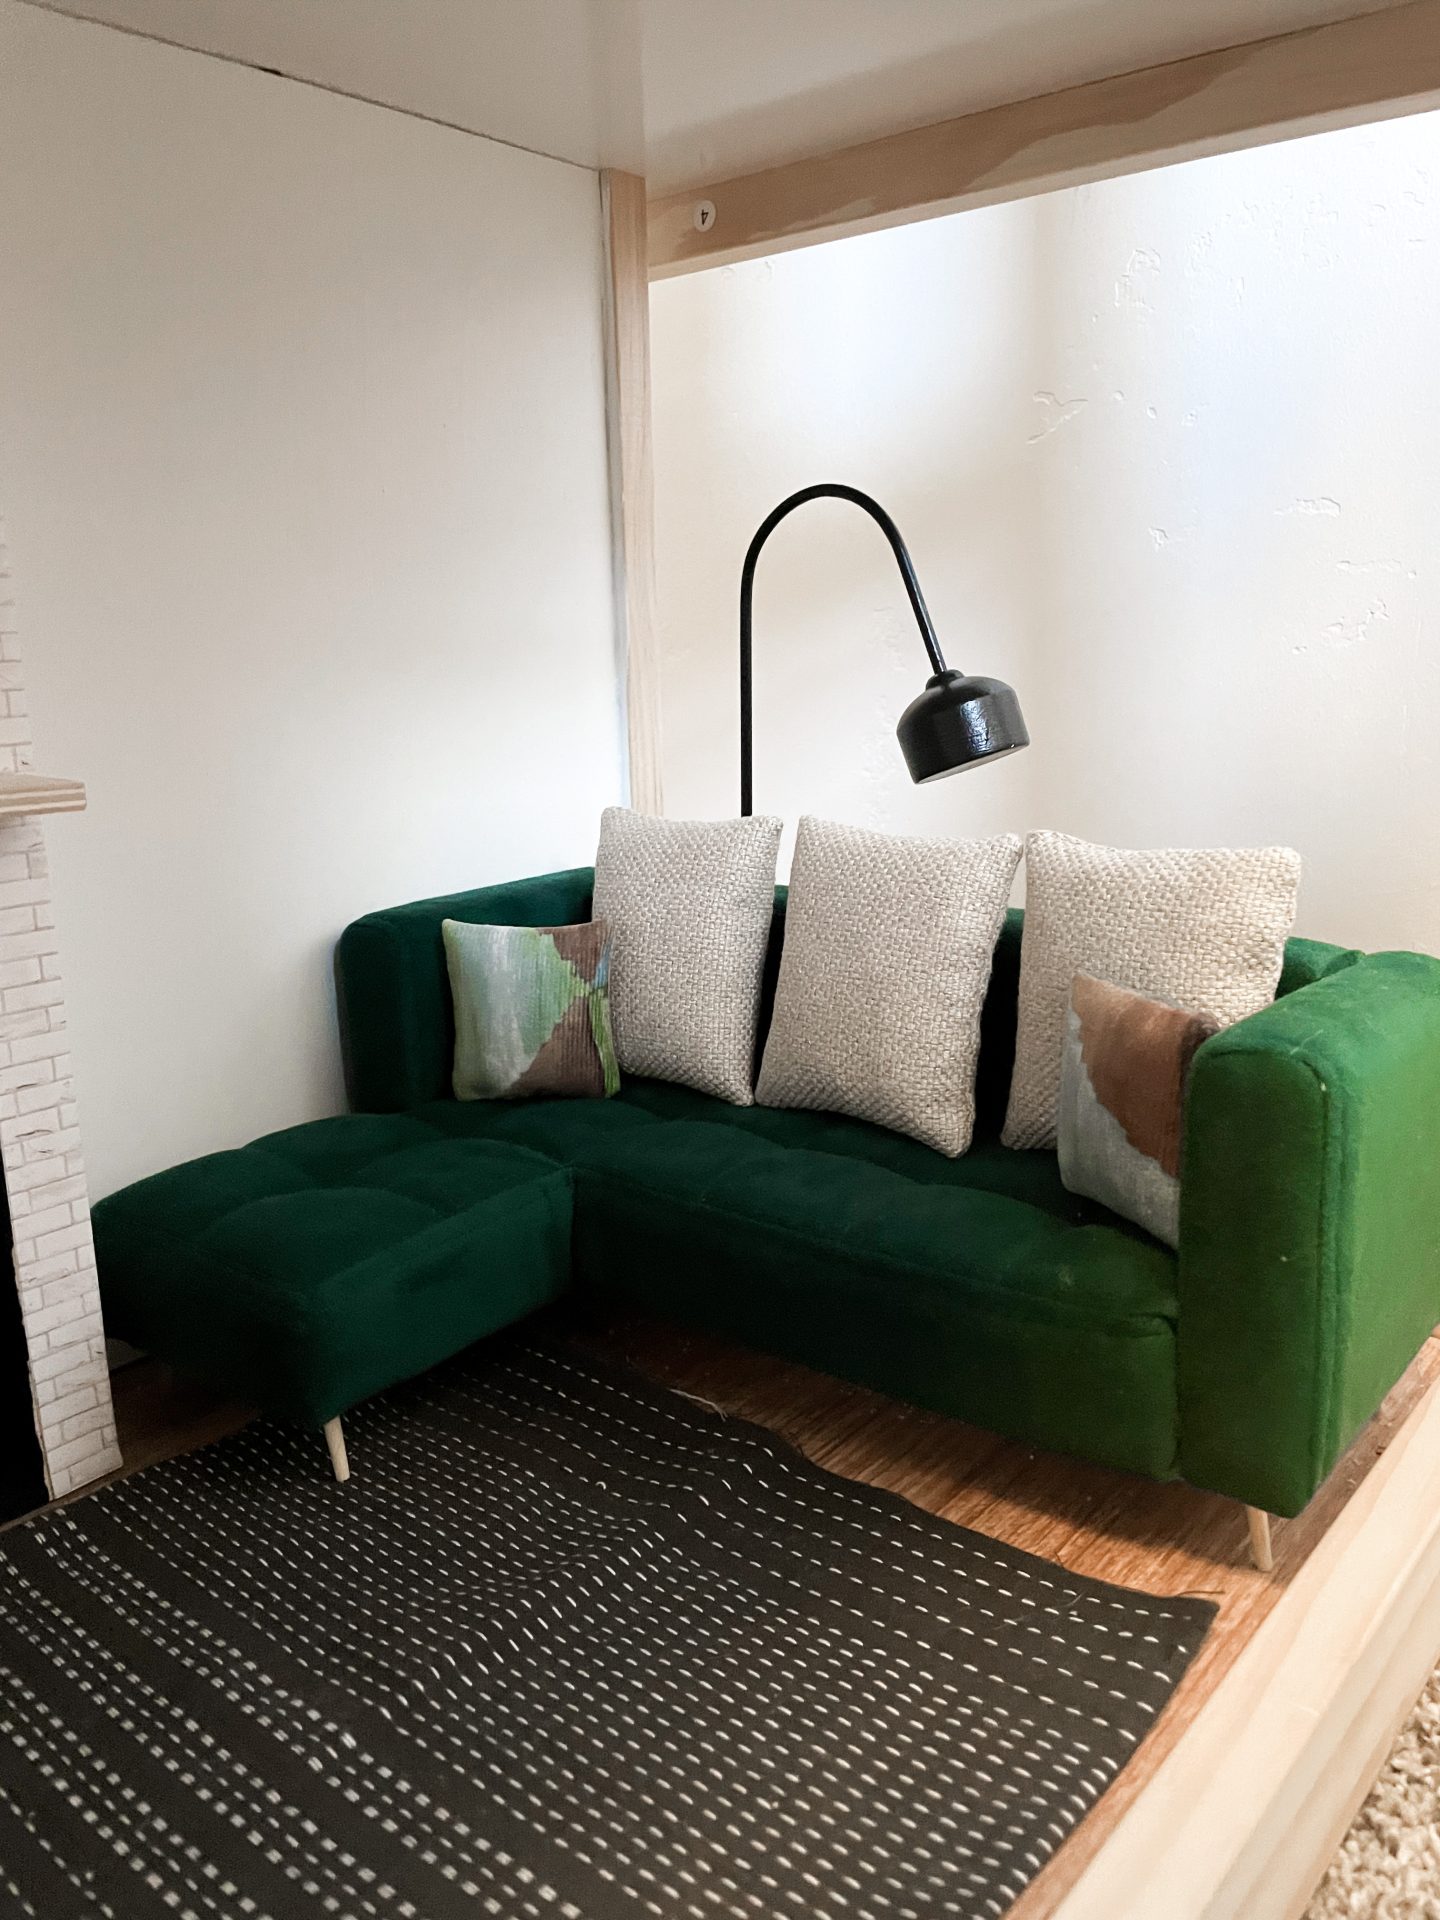
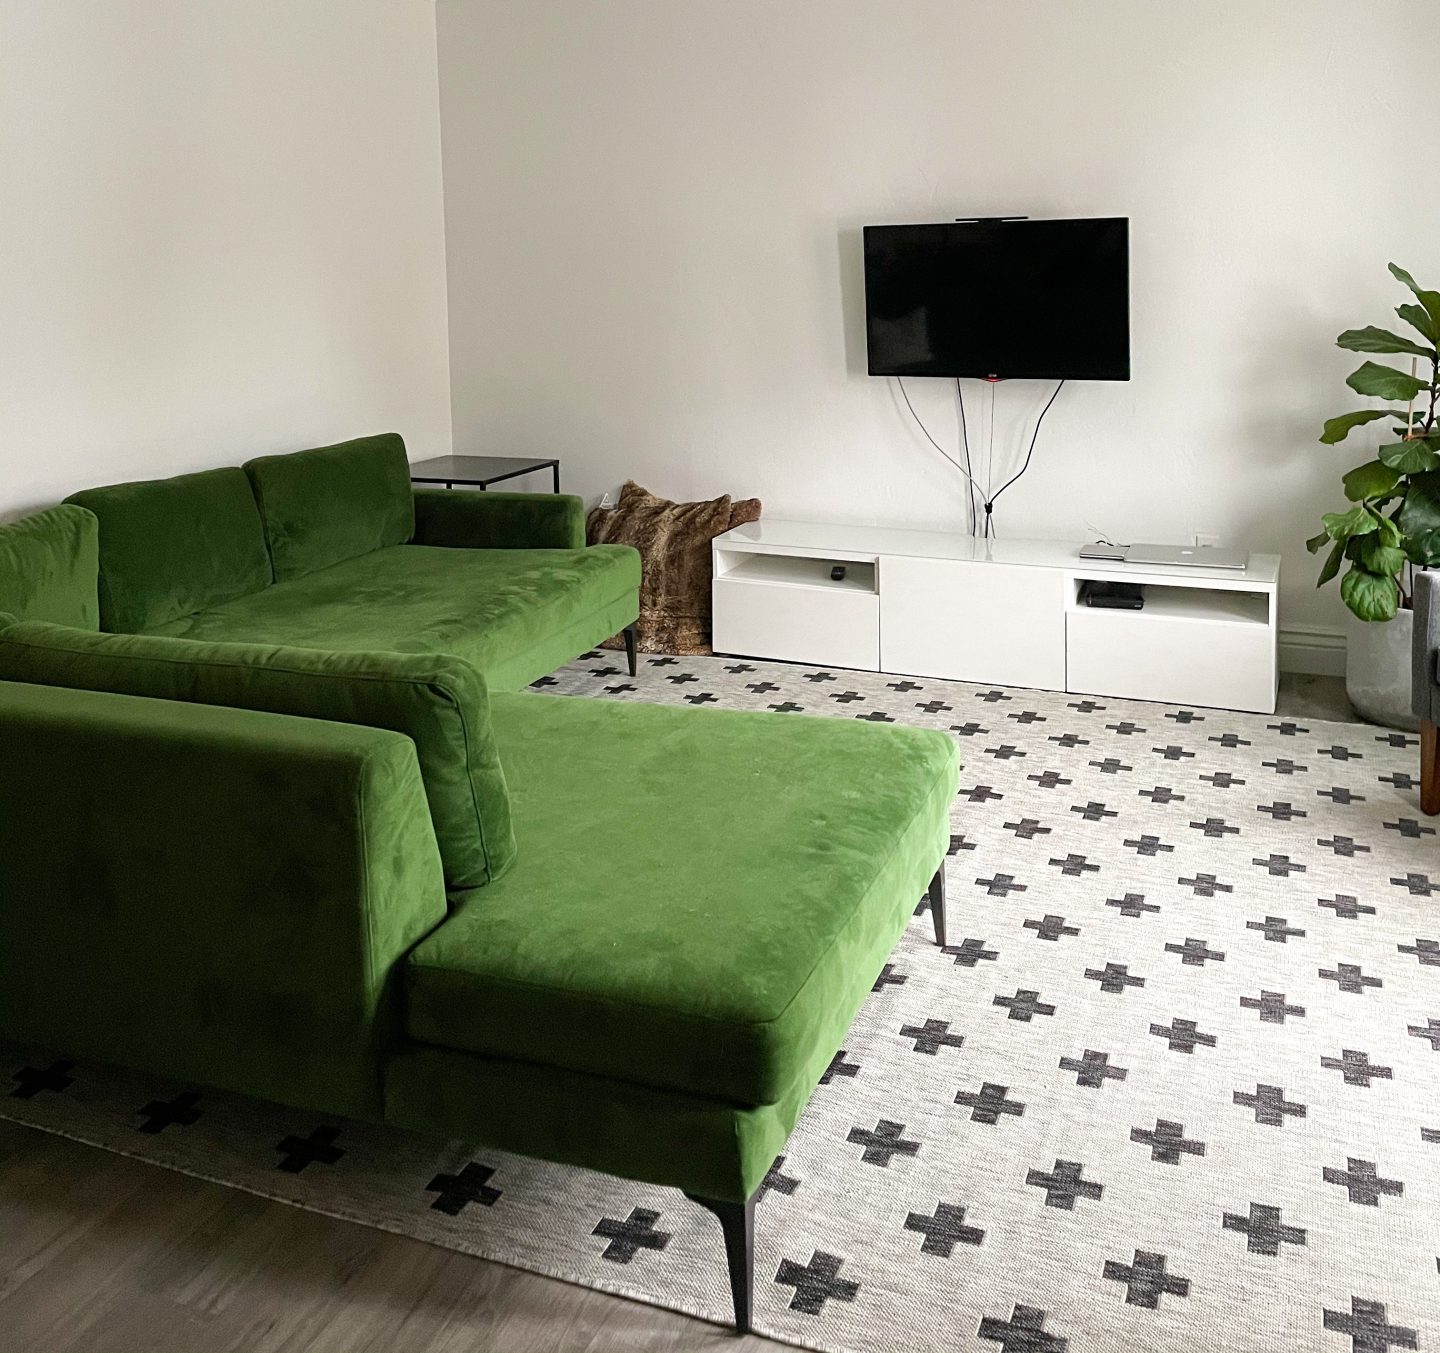
Opposite the kitchen and dining spaces is the Living Room. I bought a chair, make a rug with fabric from a fat quarter and some fabric glue, and painted the floor lamp (adding a washer to try and weight it better, though it’s still a bit dodgy). I ordered a gorgeous green sectional for the dollhouse, too, but due to covid mail issues, it didn’t arrive on time (though the seller was the best), so I just painted the couch that it came with and covered the cushion with different fabric. I’ve also got one of my homemade potted plants (velcro’d to keep it in place), a stump table—made of actual stump!—and a ridiculous show of craftsmanship where I ripped apart a Barbie flower centerpiece I had, glued it into one of my hand-painted pots, and then I took the all-pink flowers and made the leaves green with white flowers. Details everywhere. I had a fun jewelry frame from some earrings I’d recently purchased, and took half of it to make a frame for my resized art from our actual living space.
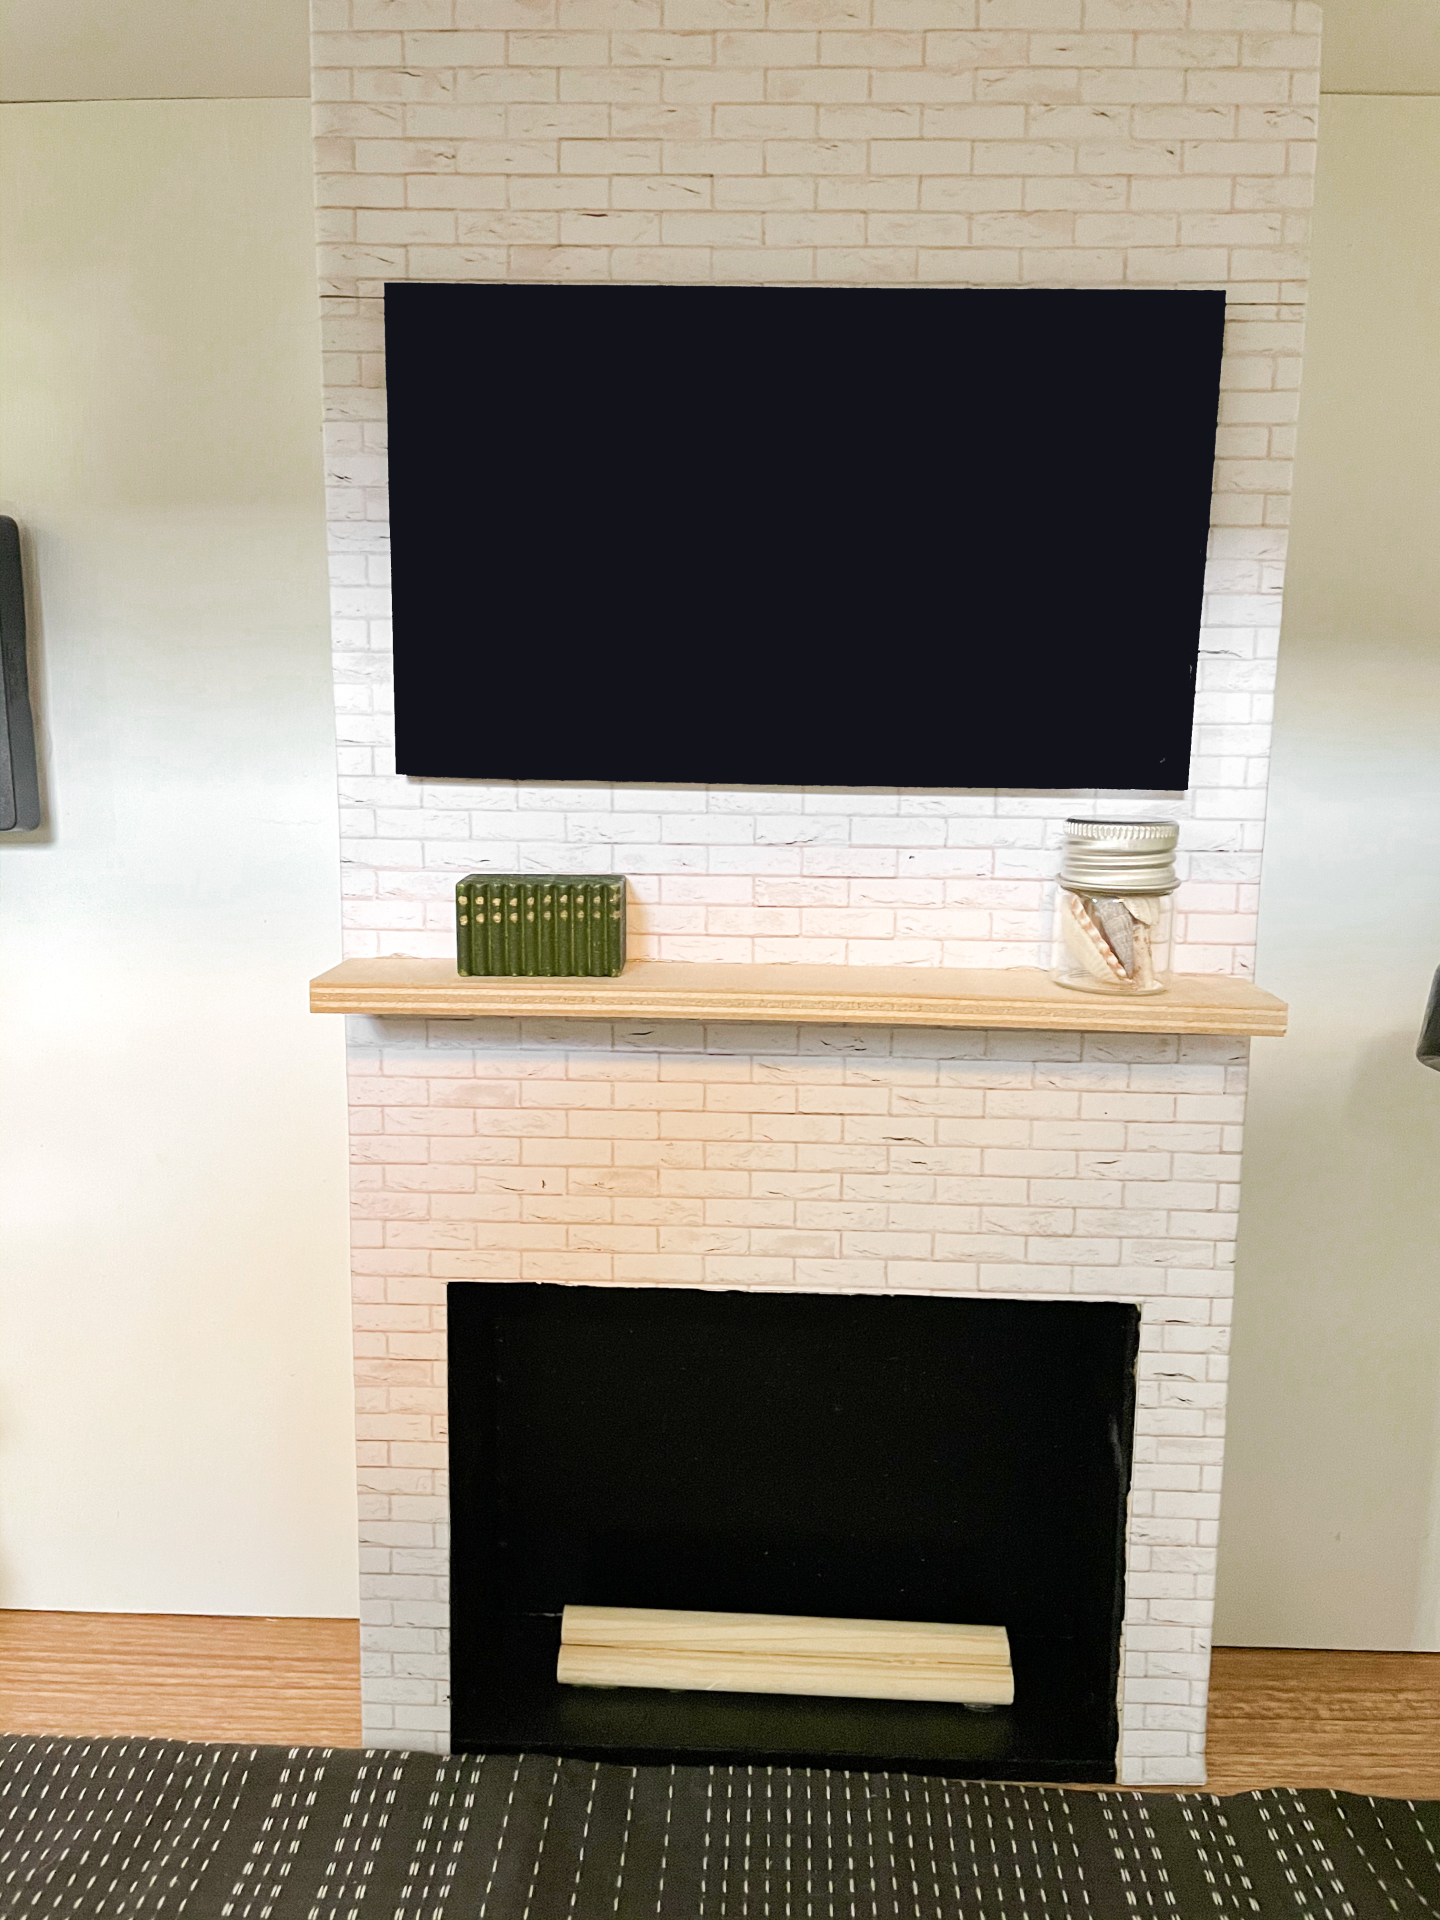
The centerpiece, though, is an incredible fireplace Todd kindly whipped up for me made of hobby wood. I painted the inside, and we used the white brick paper again, I added another floating shelf, and purchased a doll tv off etsy. Without the fireplace, the living room was a bit ‘meh’. I’m very pleased!
Main Bedroom:
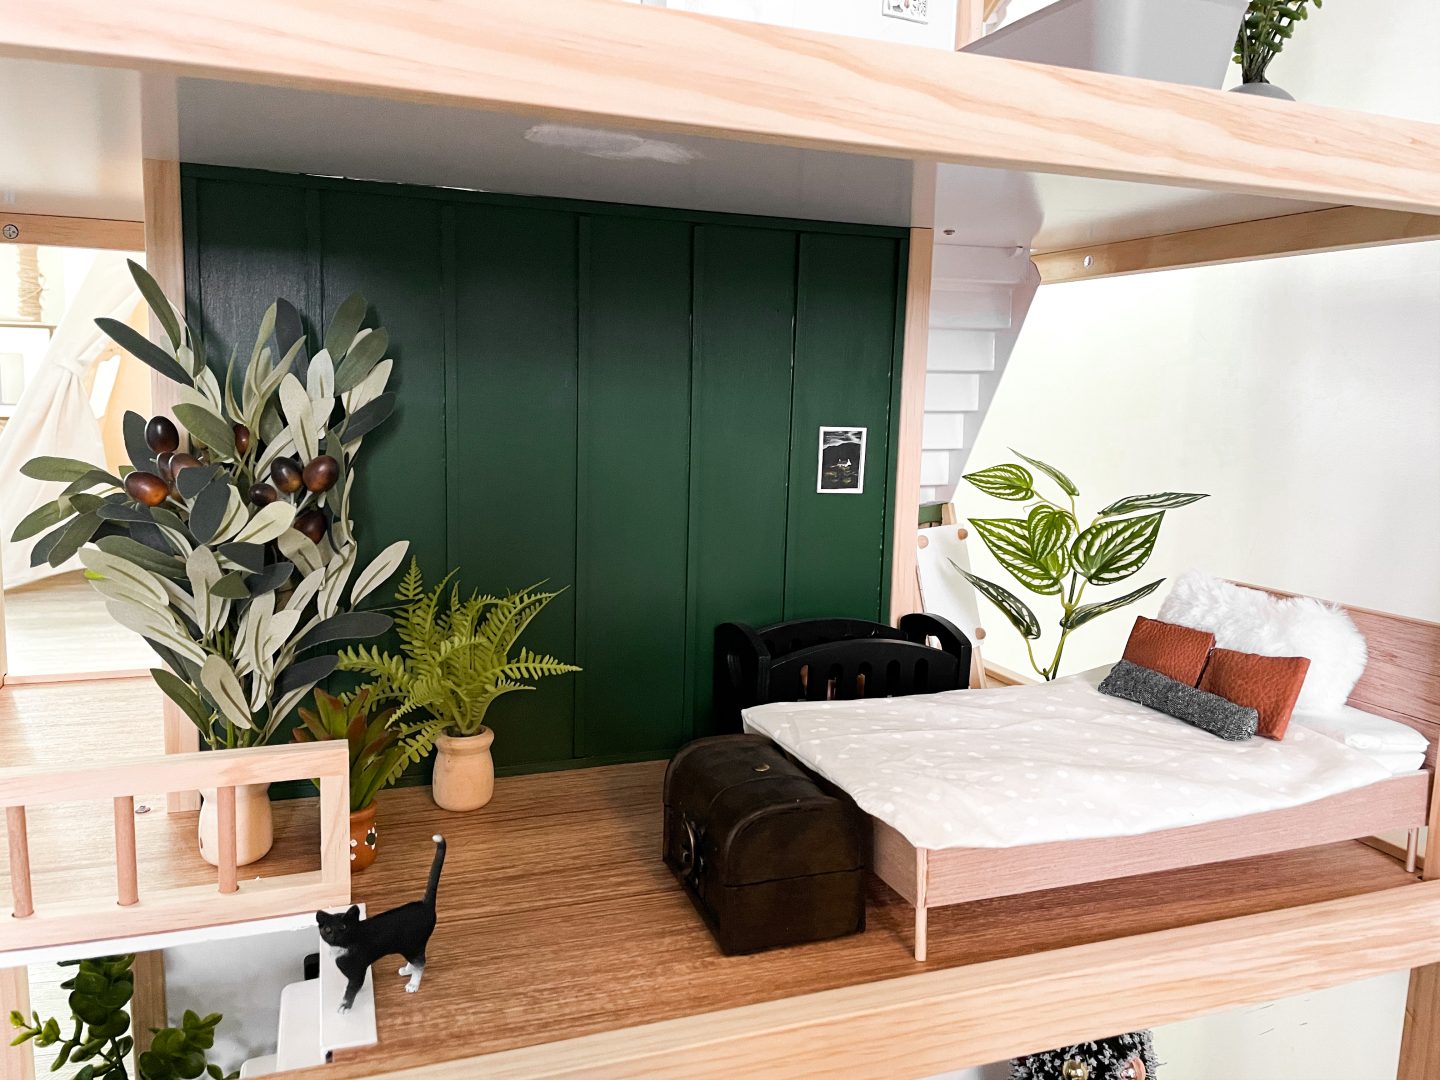
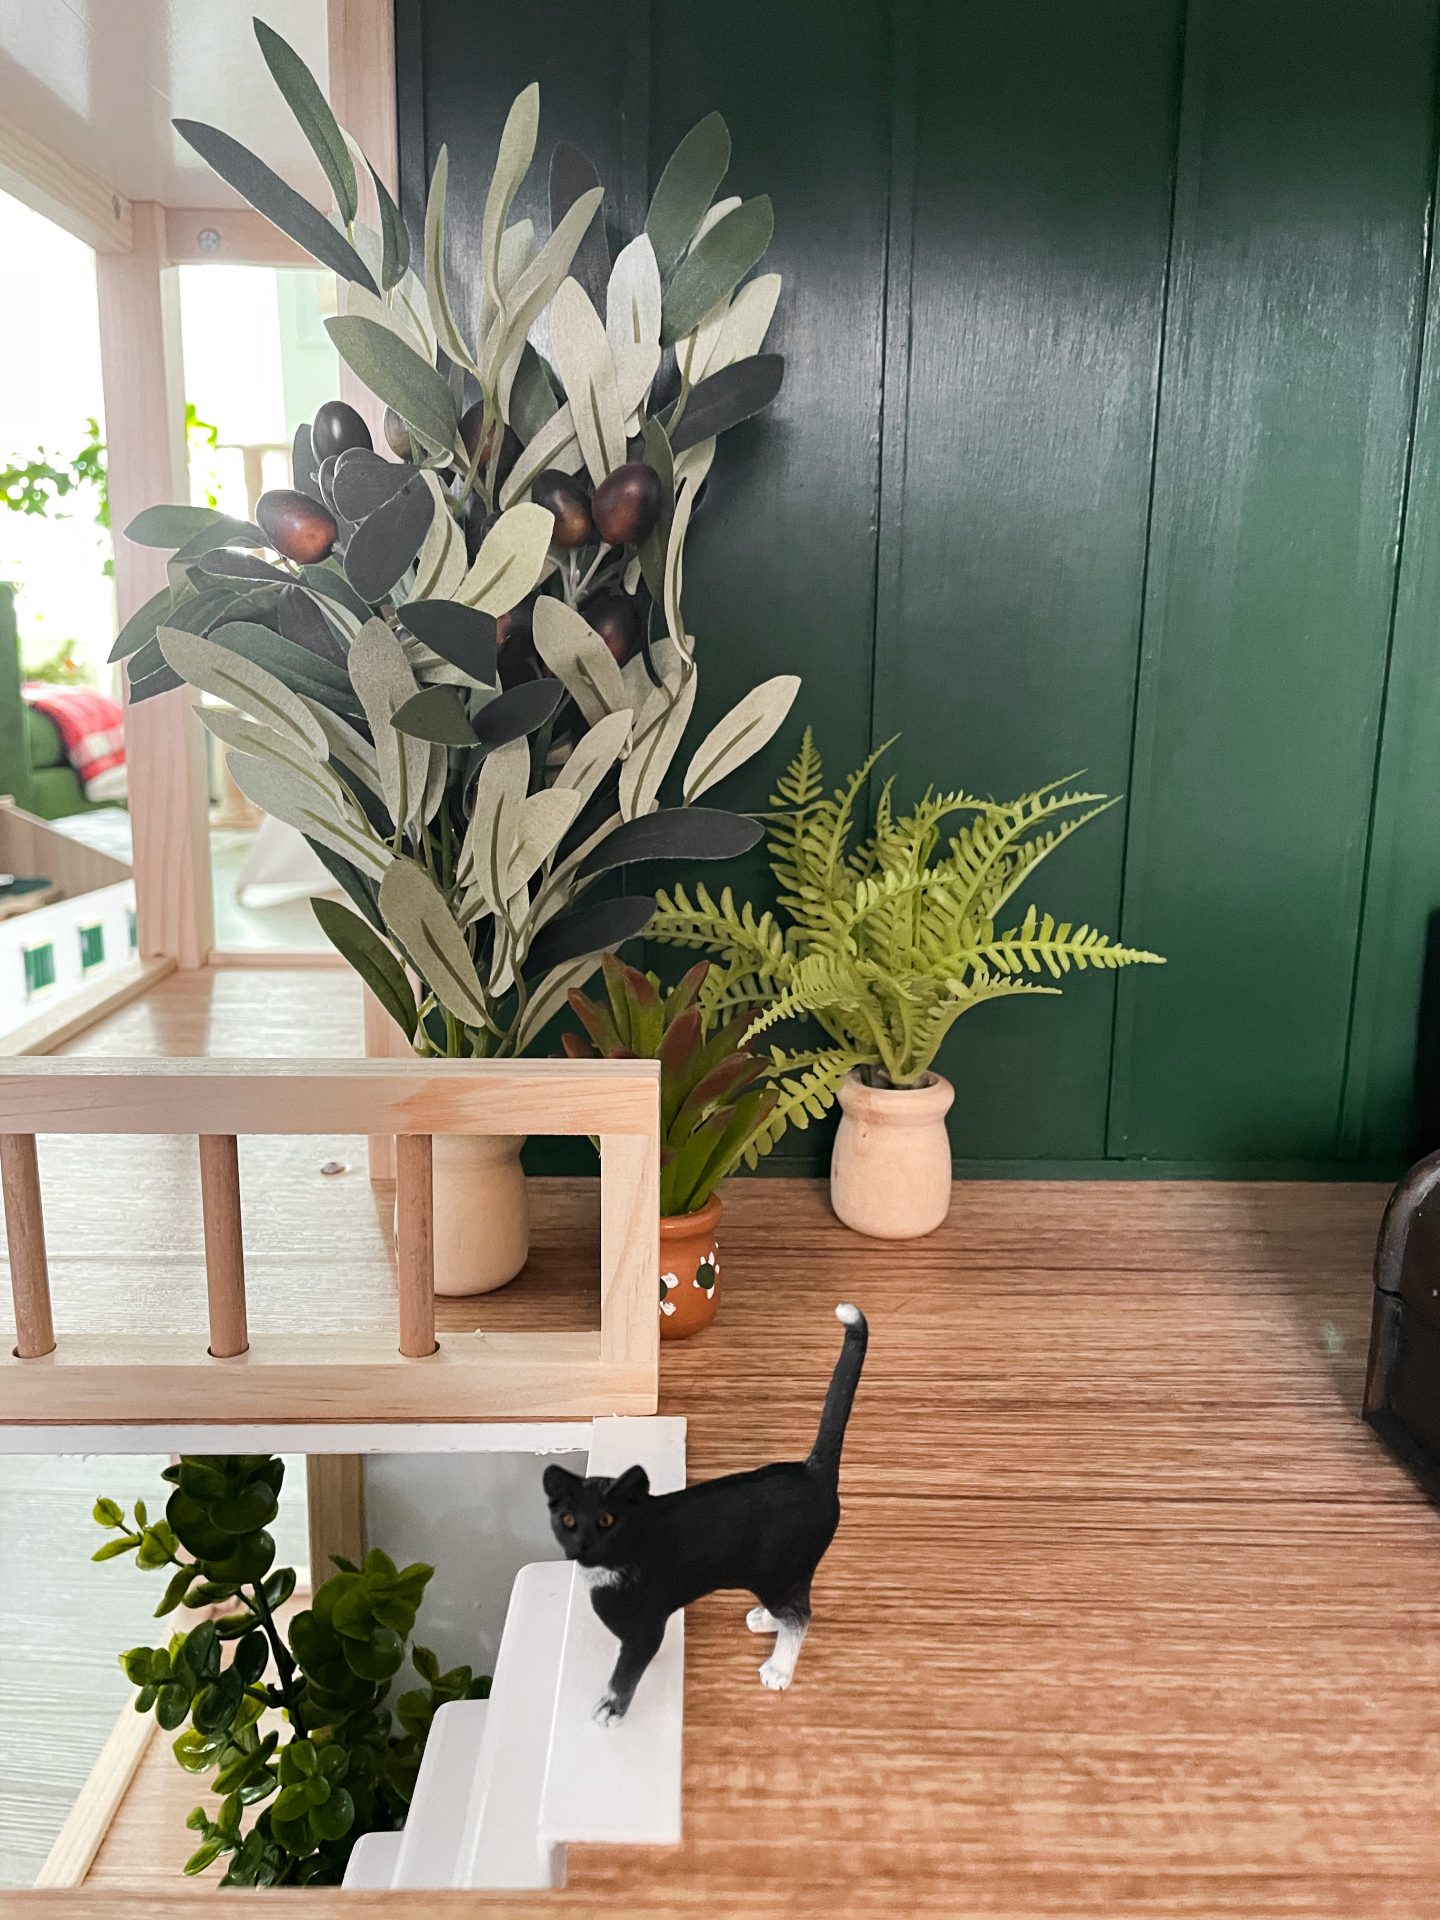
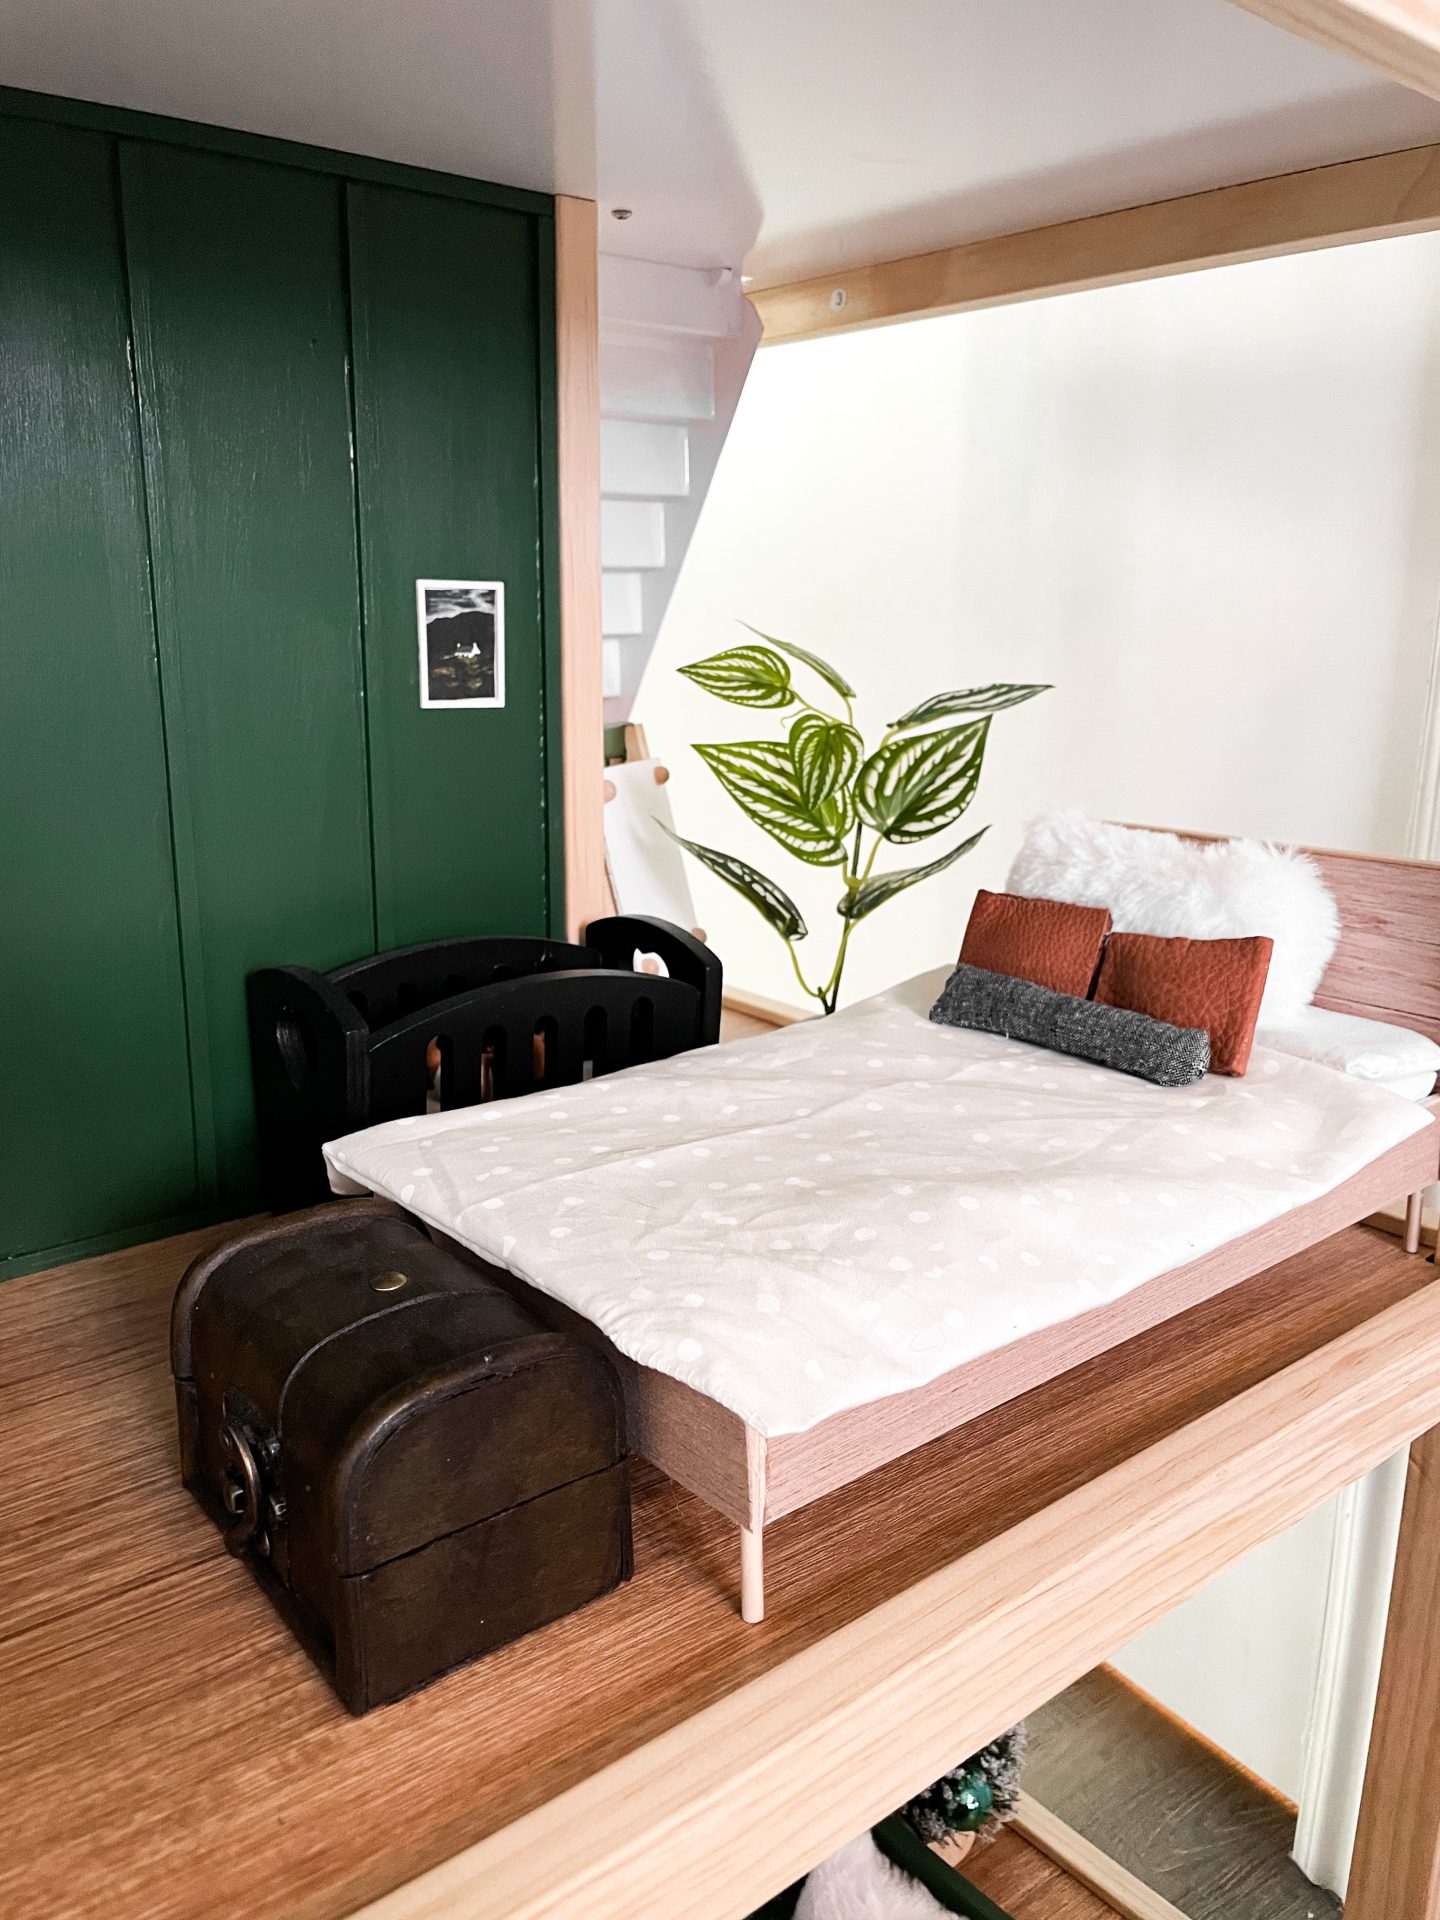
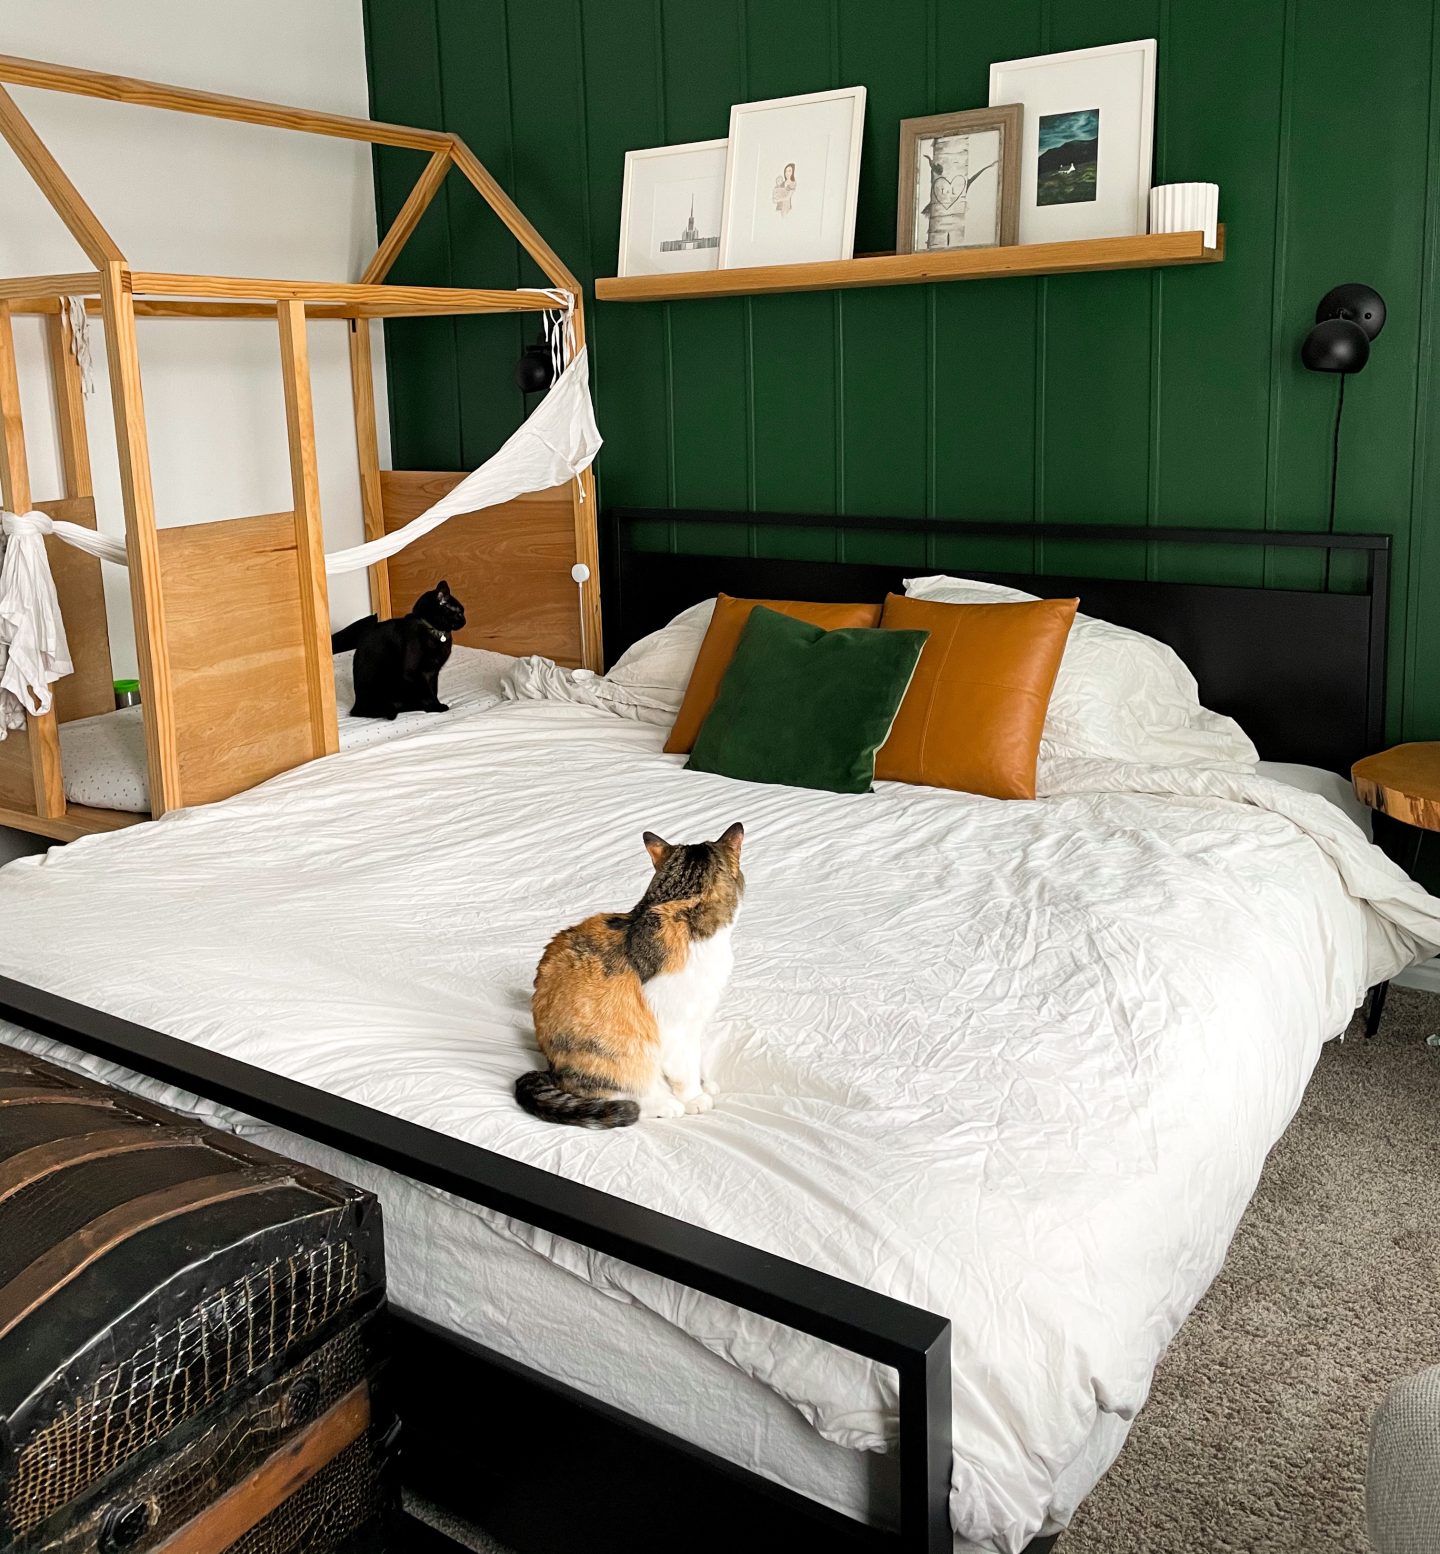
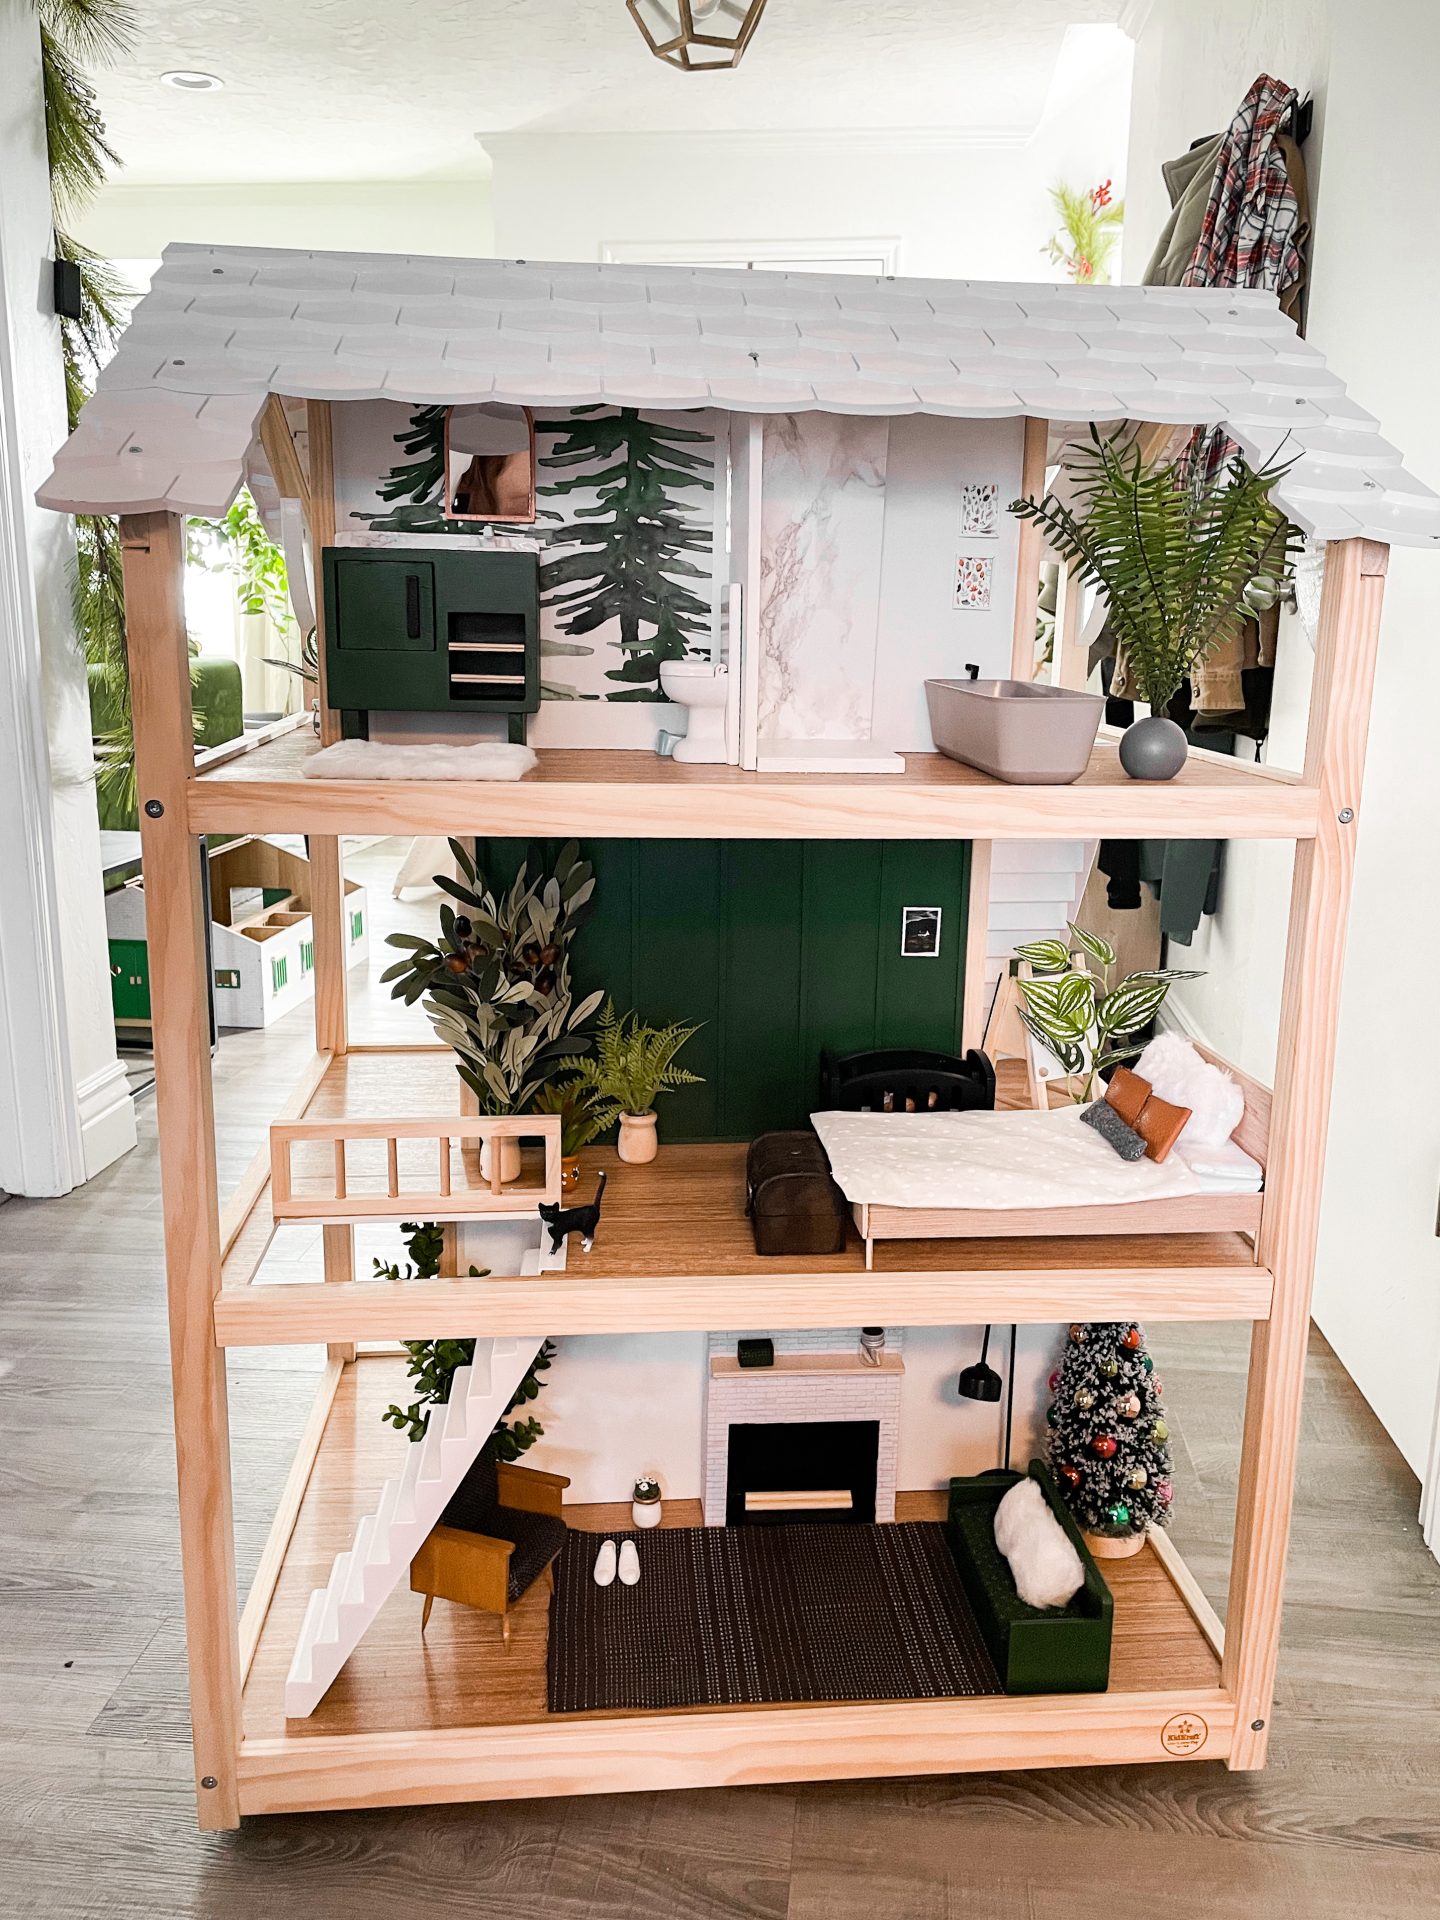
Earlier in the year, I had painted our bedroom wall green with some battens, so, naturally, I made the parents’ bedroom the same in the dollhouse (doing it in the dollhouse was much easier!). There’s also some actual art from one of my favourite artists that we have in our room, again scaled down. I put all ‘extra’ plants I had in here, as well as a trunk for the foot of the bed, the dollhouse’s crib painted black, and a bed I bought off etsy. I did, however, make the duvet, and decorative pillows (glued leather, sewed a bolero, and a fluffy pillow).
Kids’ Rooms:
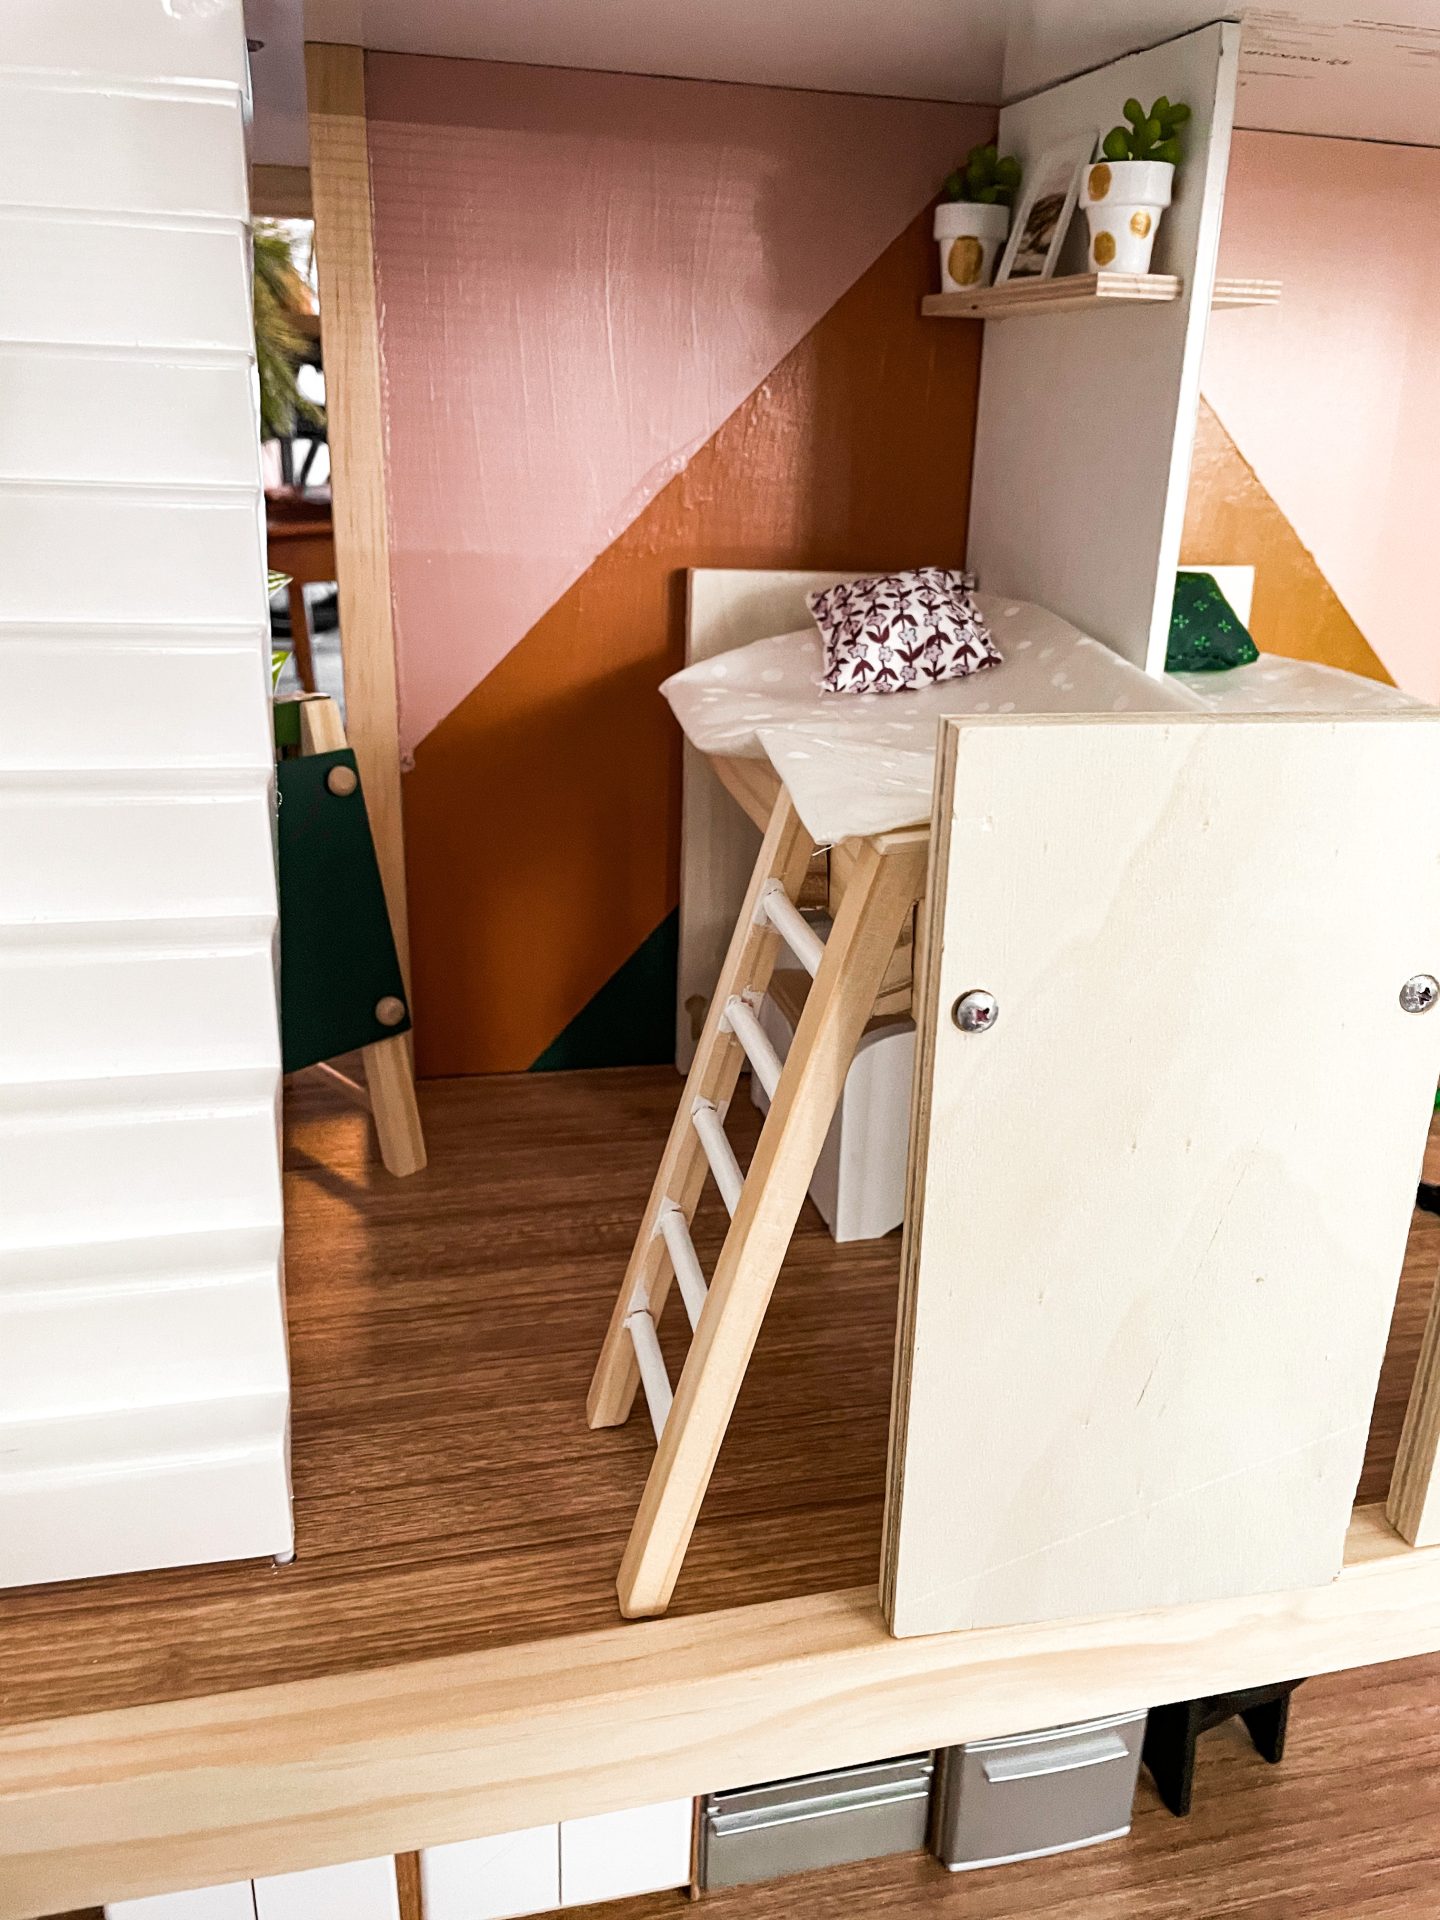
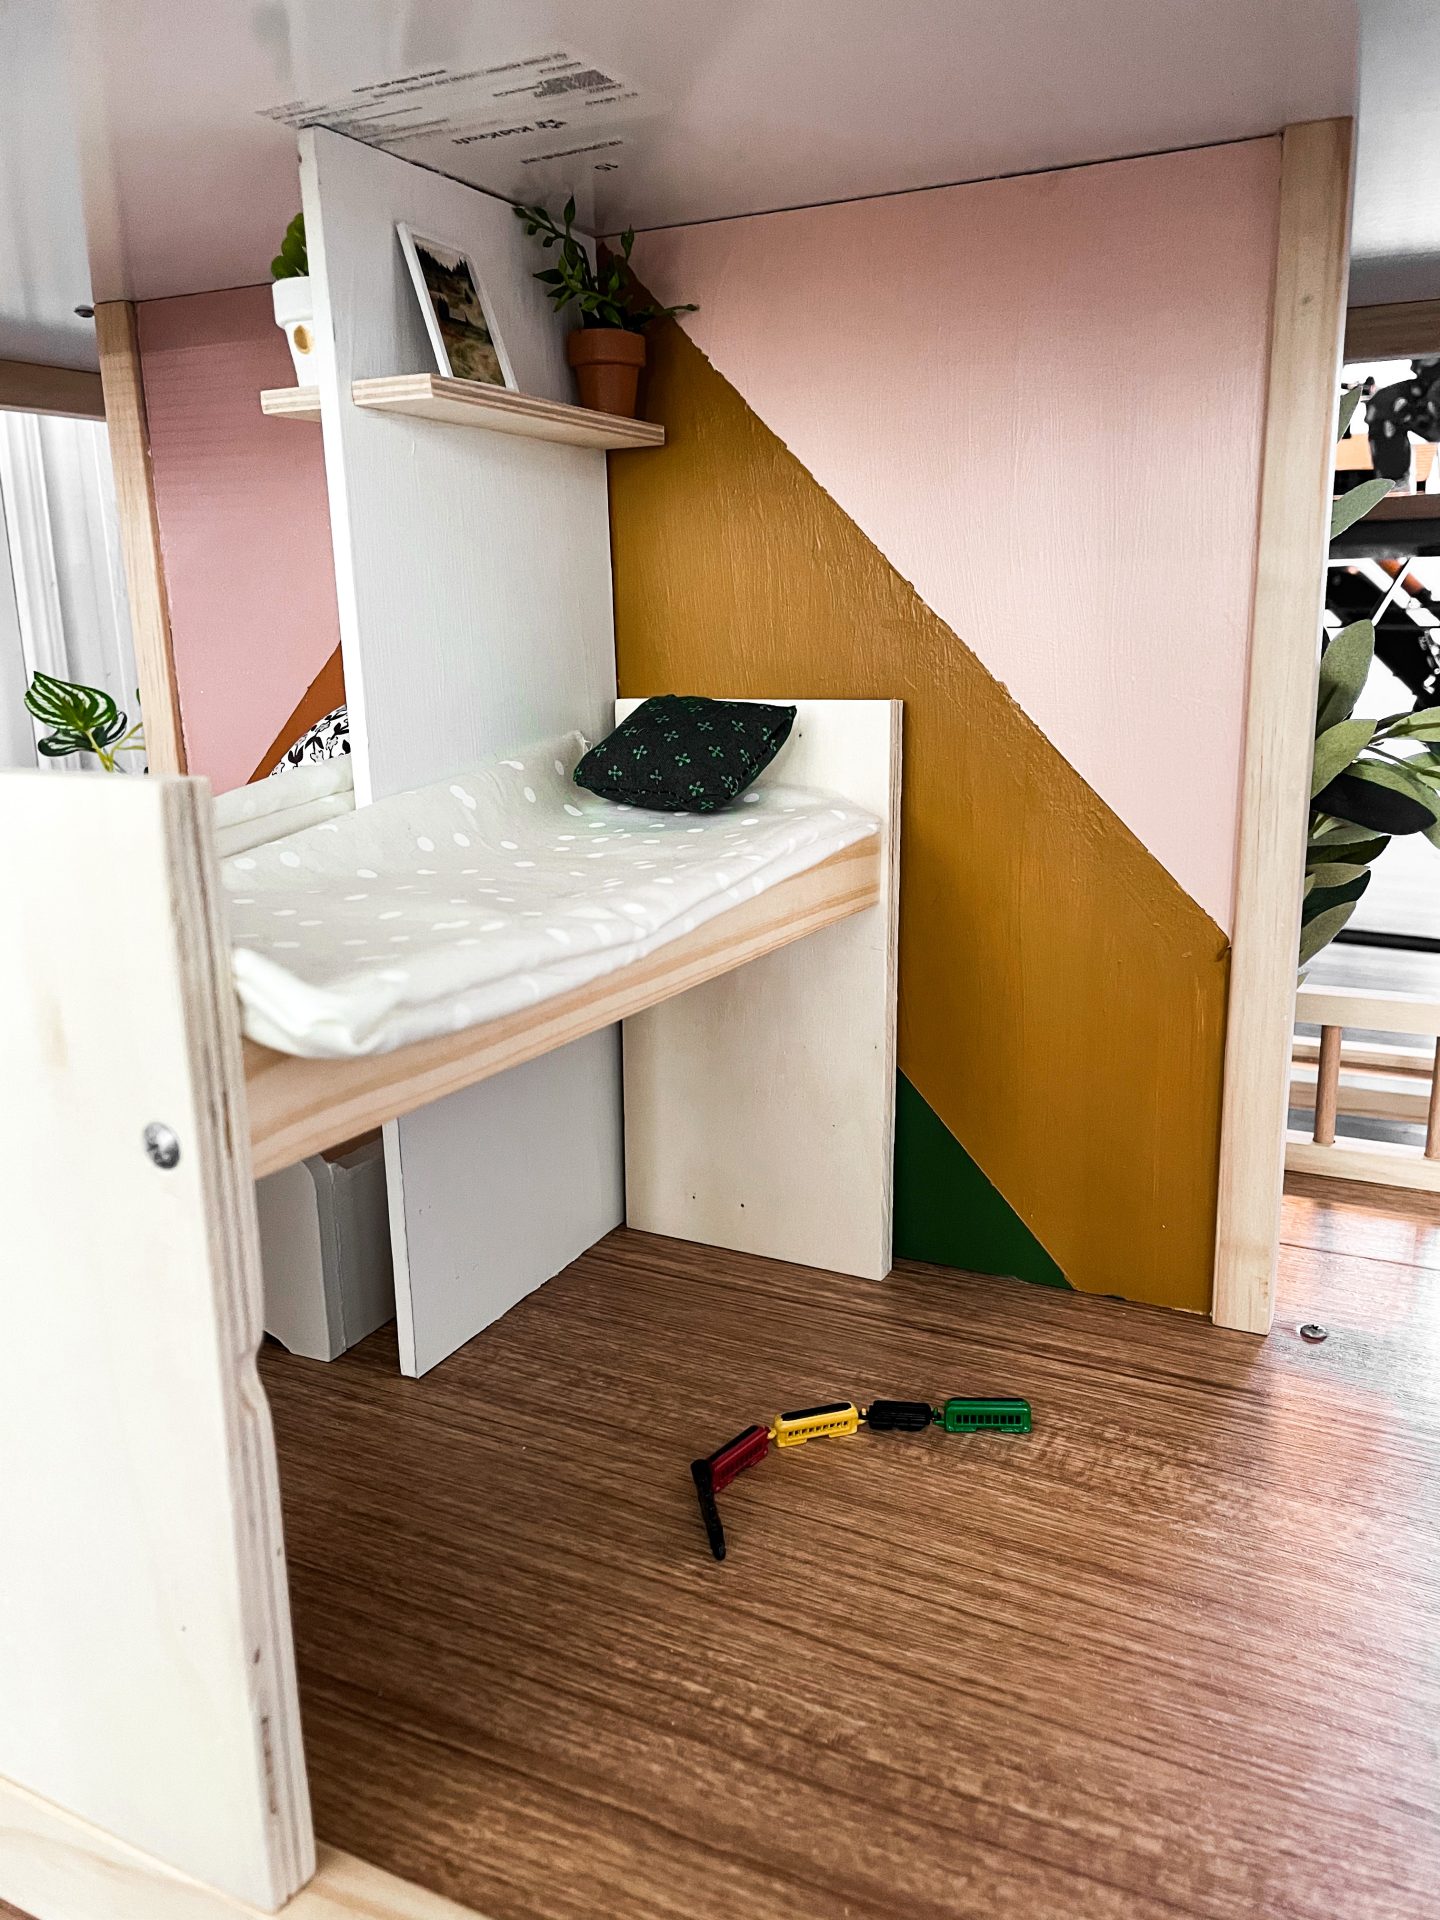
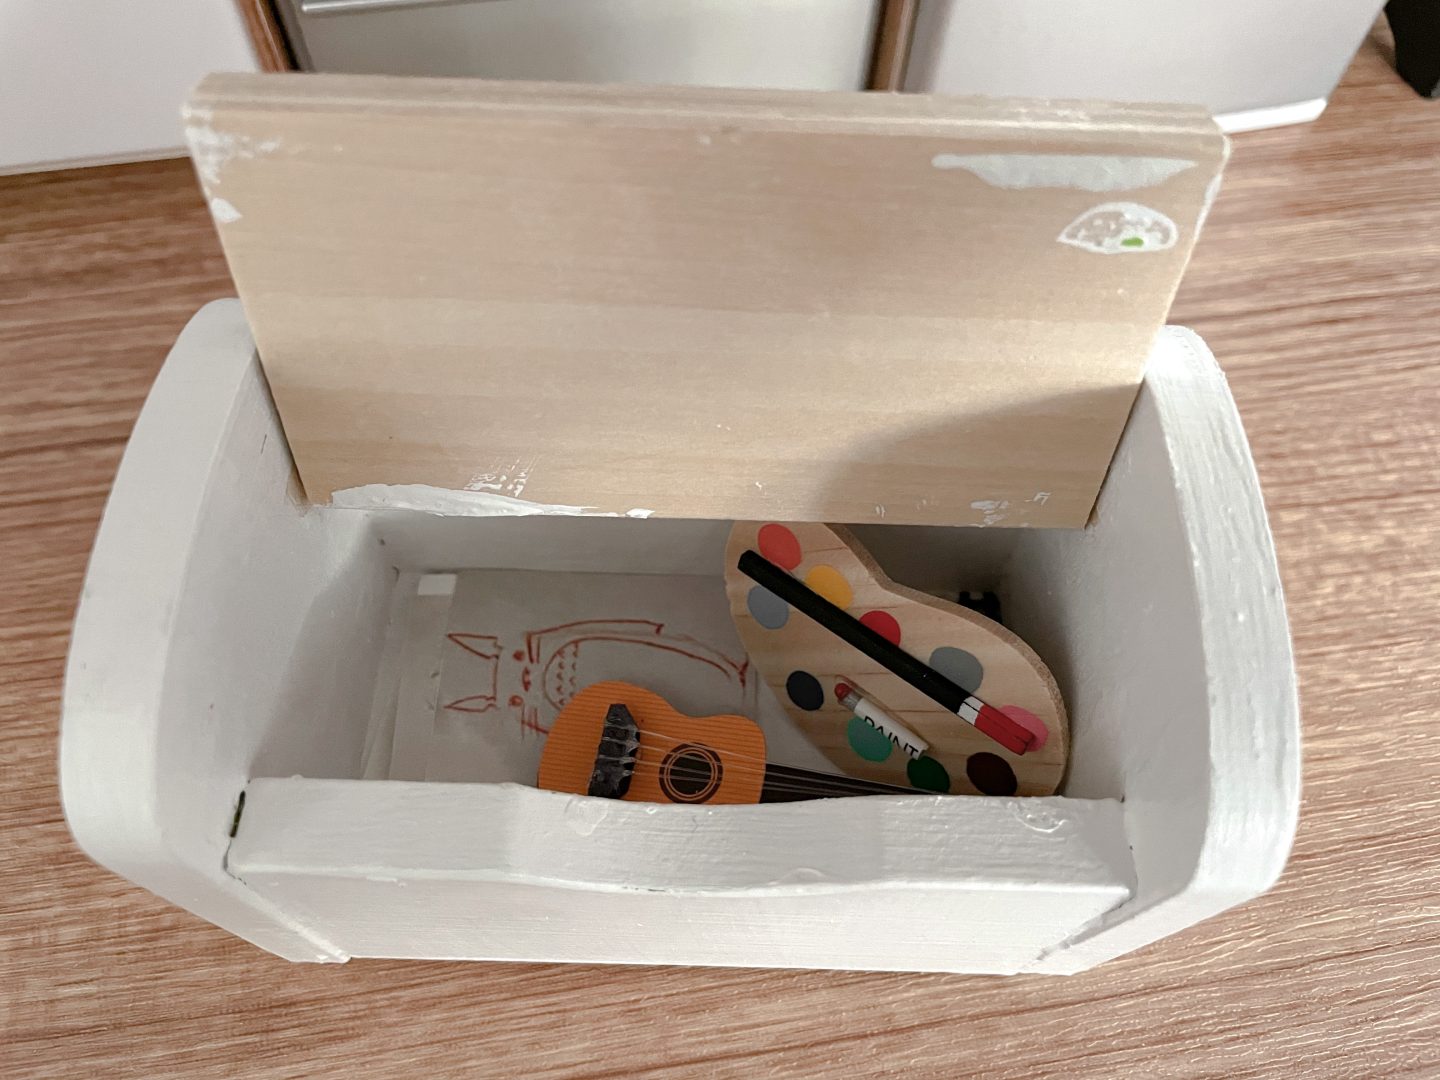

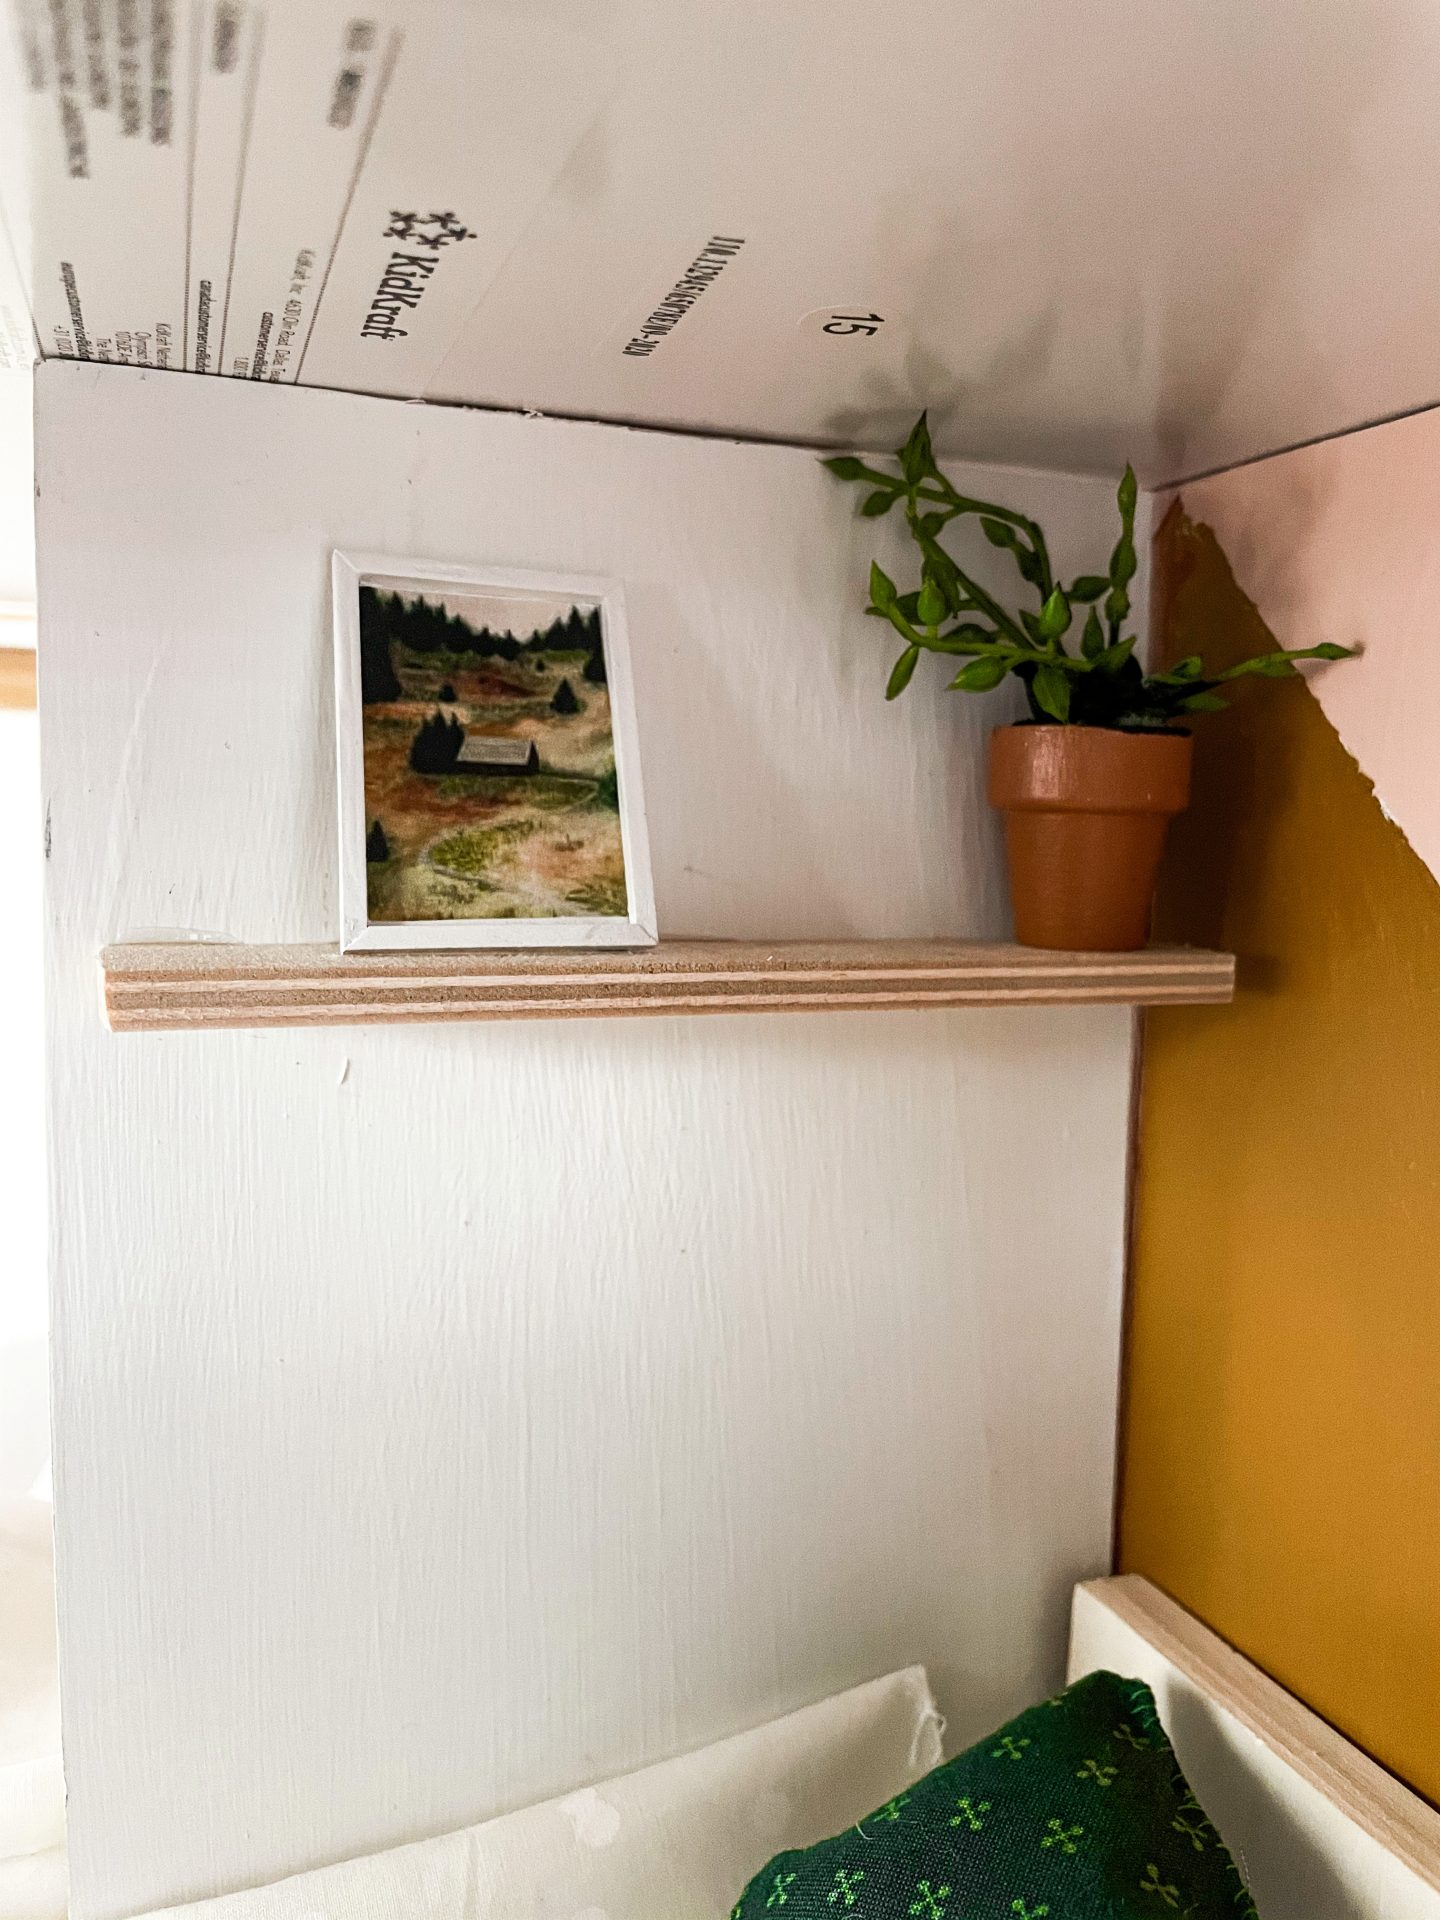

On the other side, we have our divided kids rooms. I had paint leftover from my kids’ combined birthday party’s plank photo wall, so I made a design with that. It was a bear. Remember how I mentioned that sanding well is important? When you have to tape that many parts, you’re bound to run into a few bumps. In the end, I think it’s a very fun and striking design. I added more floating shelves with pictures from their real rooms (well Gwendolyn didn’t have one from my fav artist yet, so I shrunk a different one). I even painted the pots to look like the ones she has in her room, with small and large gold polkadots. Since dividing the room into two left it a bit small, and I’d like to get my kids loft beds irl, I had Todd help me turn the bunk bed that came with the dollhouse into two loft beds. I made all the bedding, and accent pillows there, too. Inside the Barbie toy chest, I had a mini train set, guitar/ukulele (which she got for Christmas, as well), and some miniaturized pictures, and painter’s palette to go with the easel.
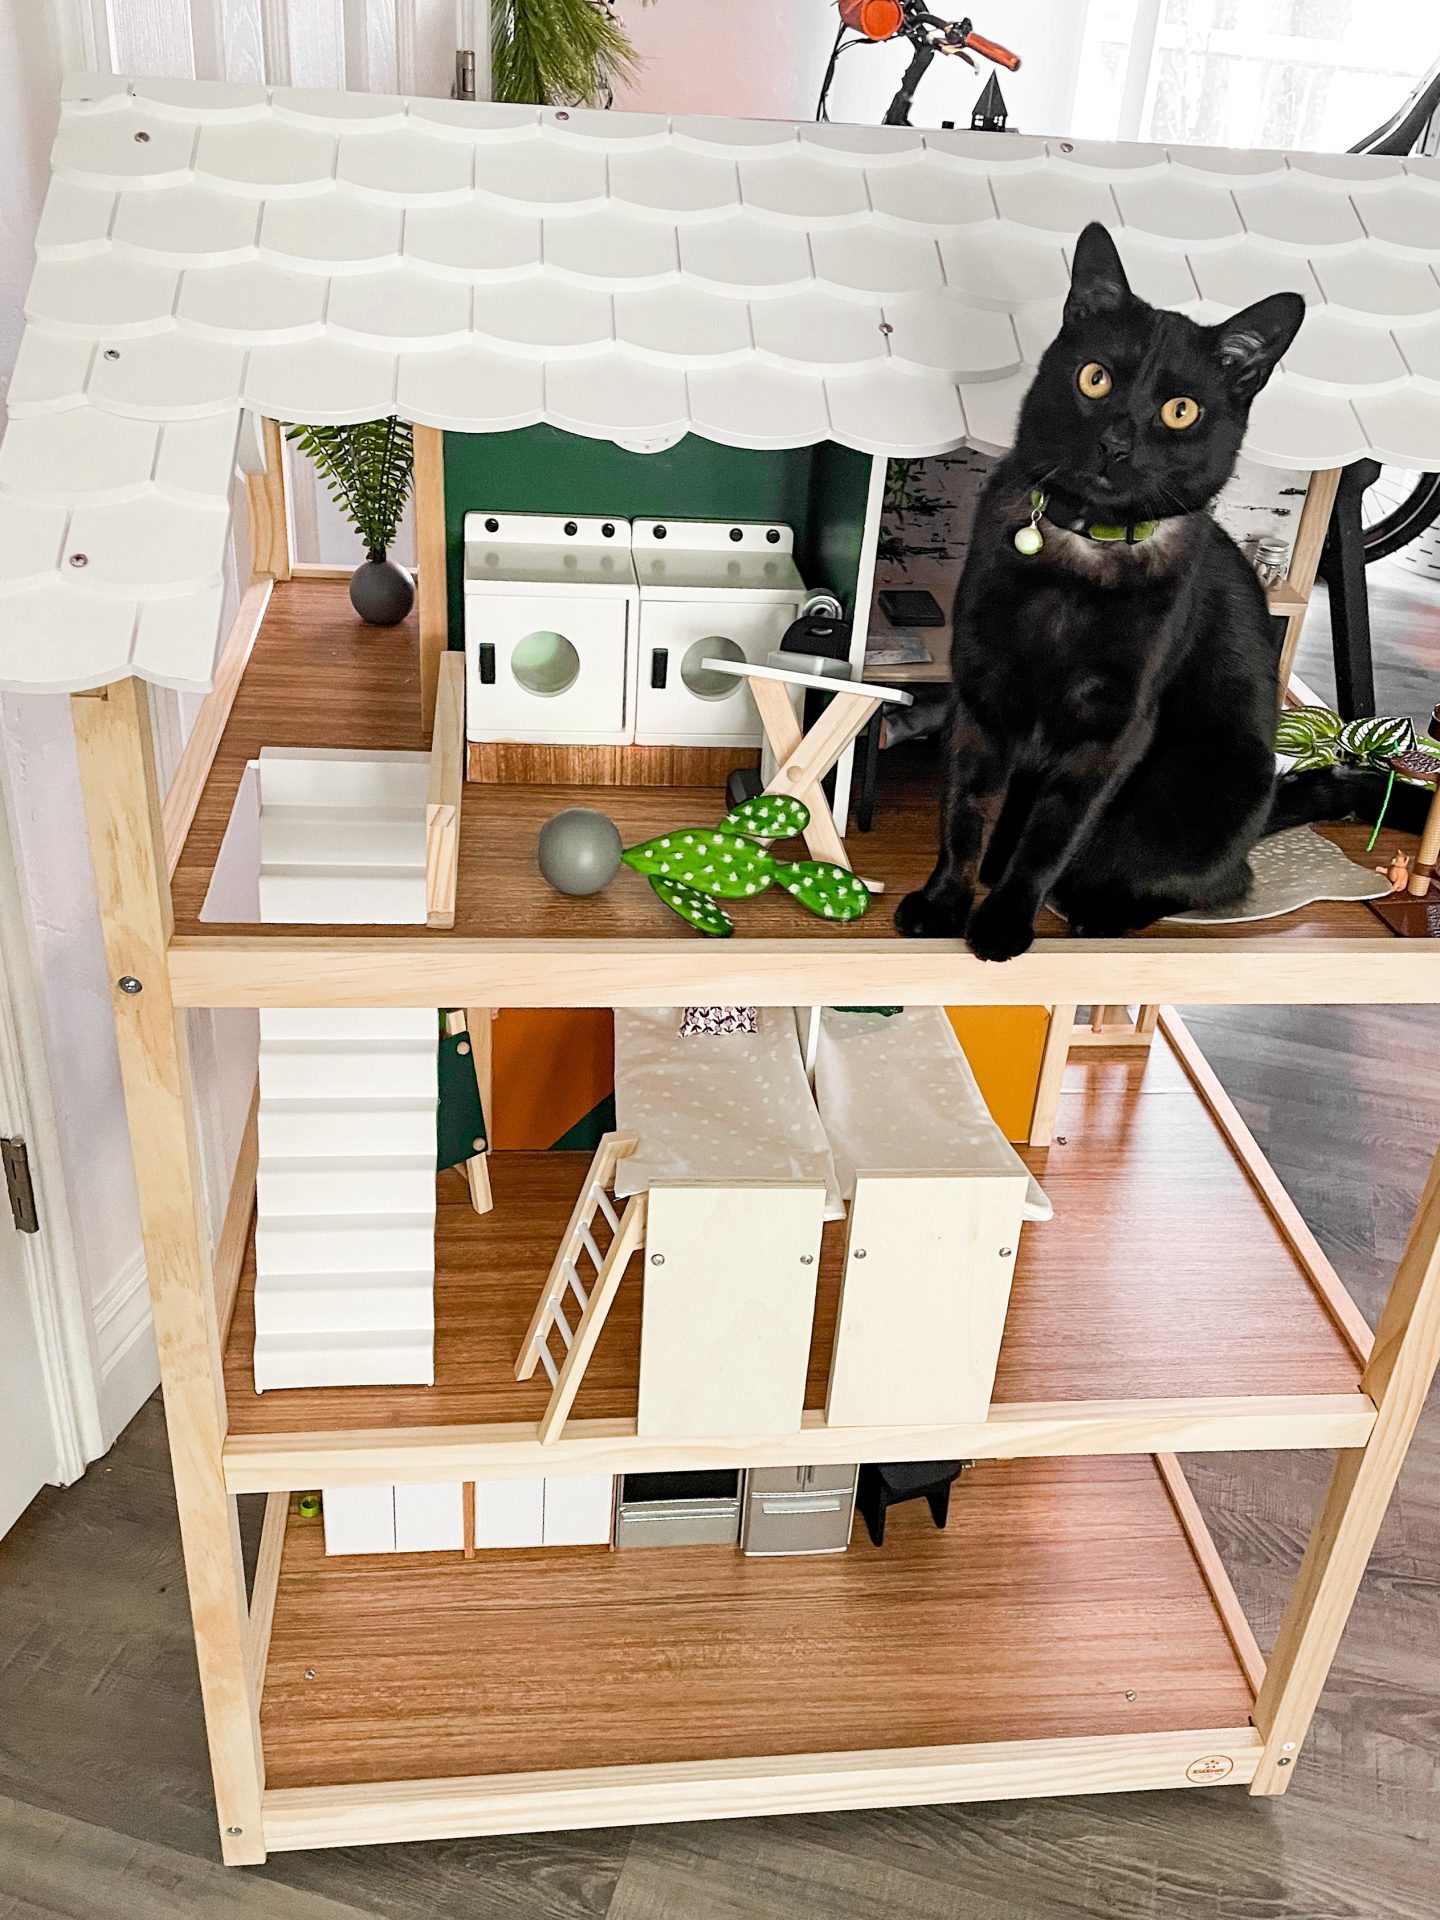
Laundry Room:
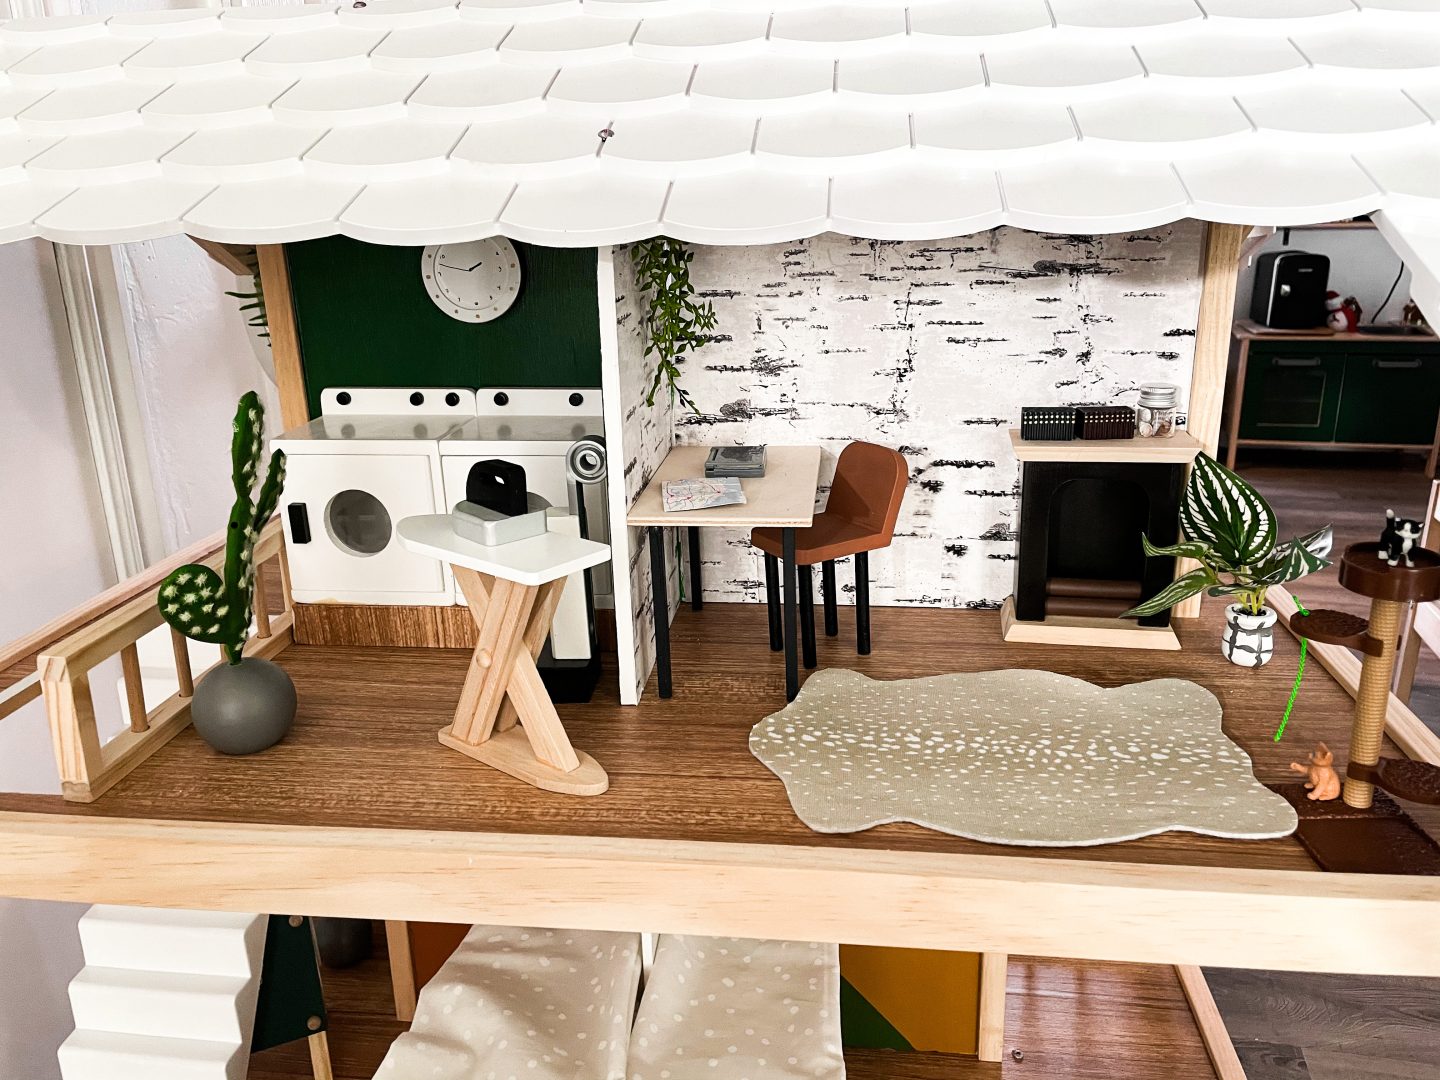
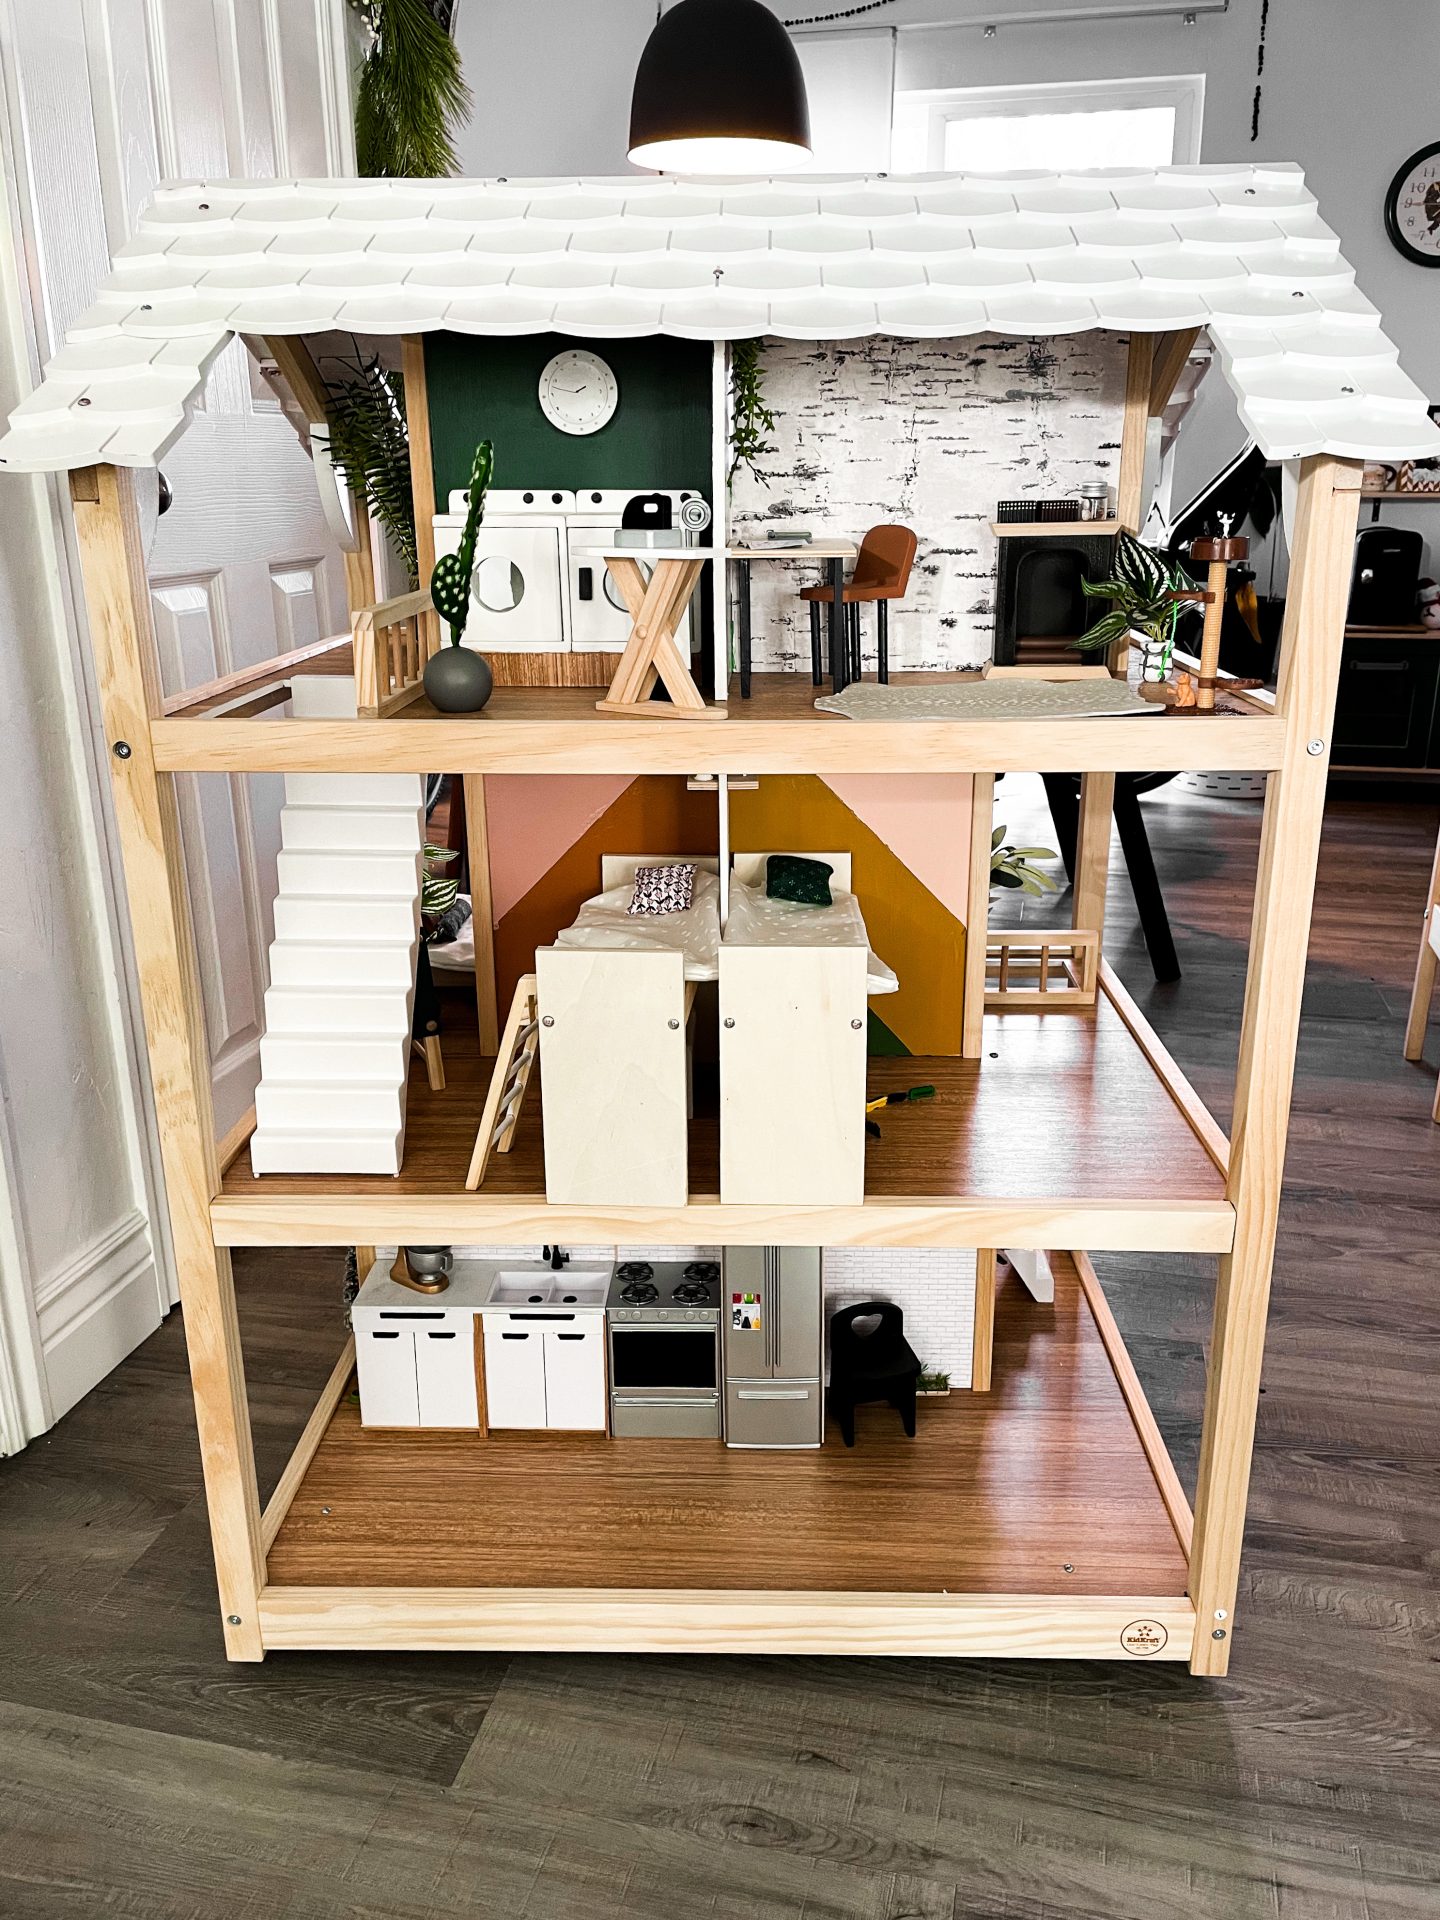
Finally, we’ve made it to the top floor! To keep the green accents going throughout, I painted the laundry room green, and repainted the clock that came with the dollhouse to be more my style. All the furniture that came with the KidKraft dollhouse is just slightly too small for Babies (Barbies are 1:6 scale, and though the furniture technically ‘works’, it’s more like 1:7/8), so I used a block of wood, covered it in my wood contact paper, and glued the washer and dryer to it so it was the right height.
Office:
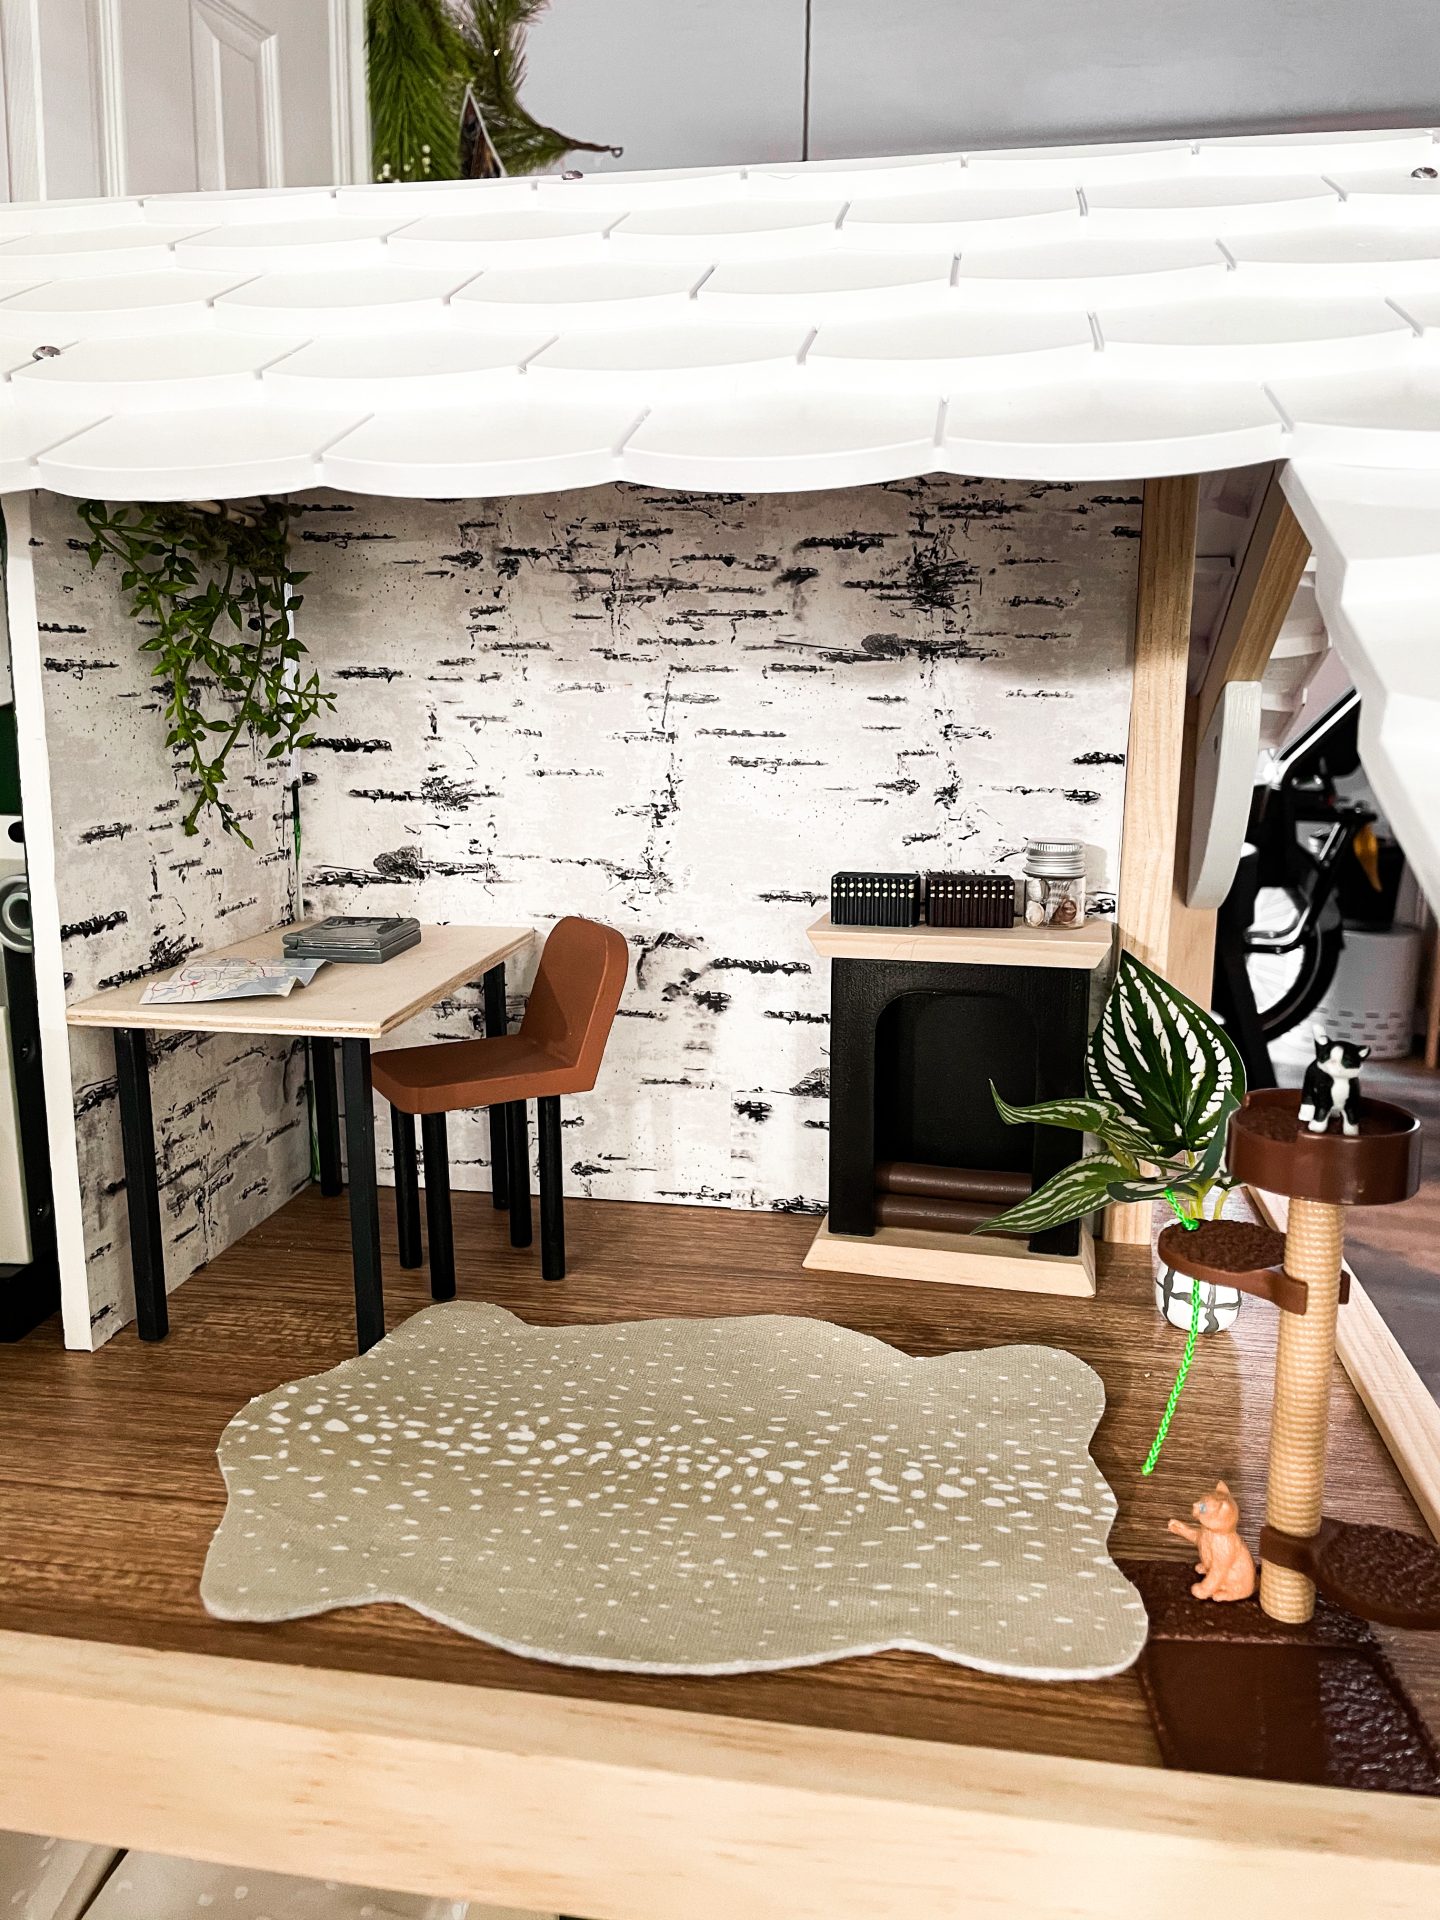
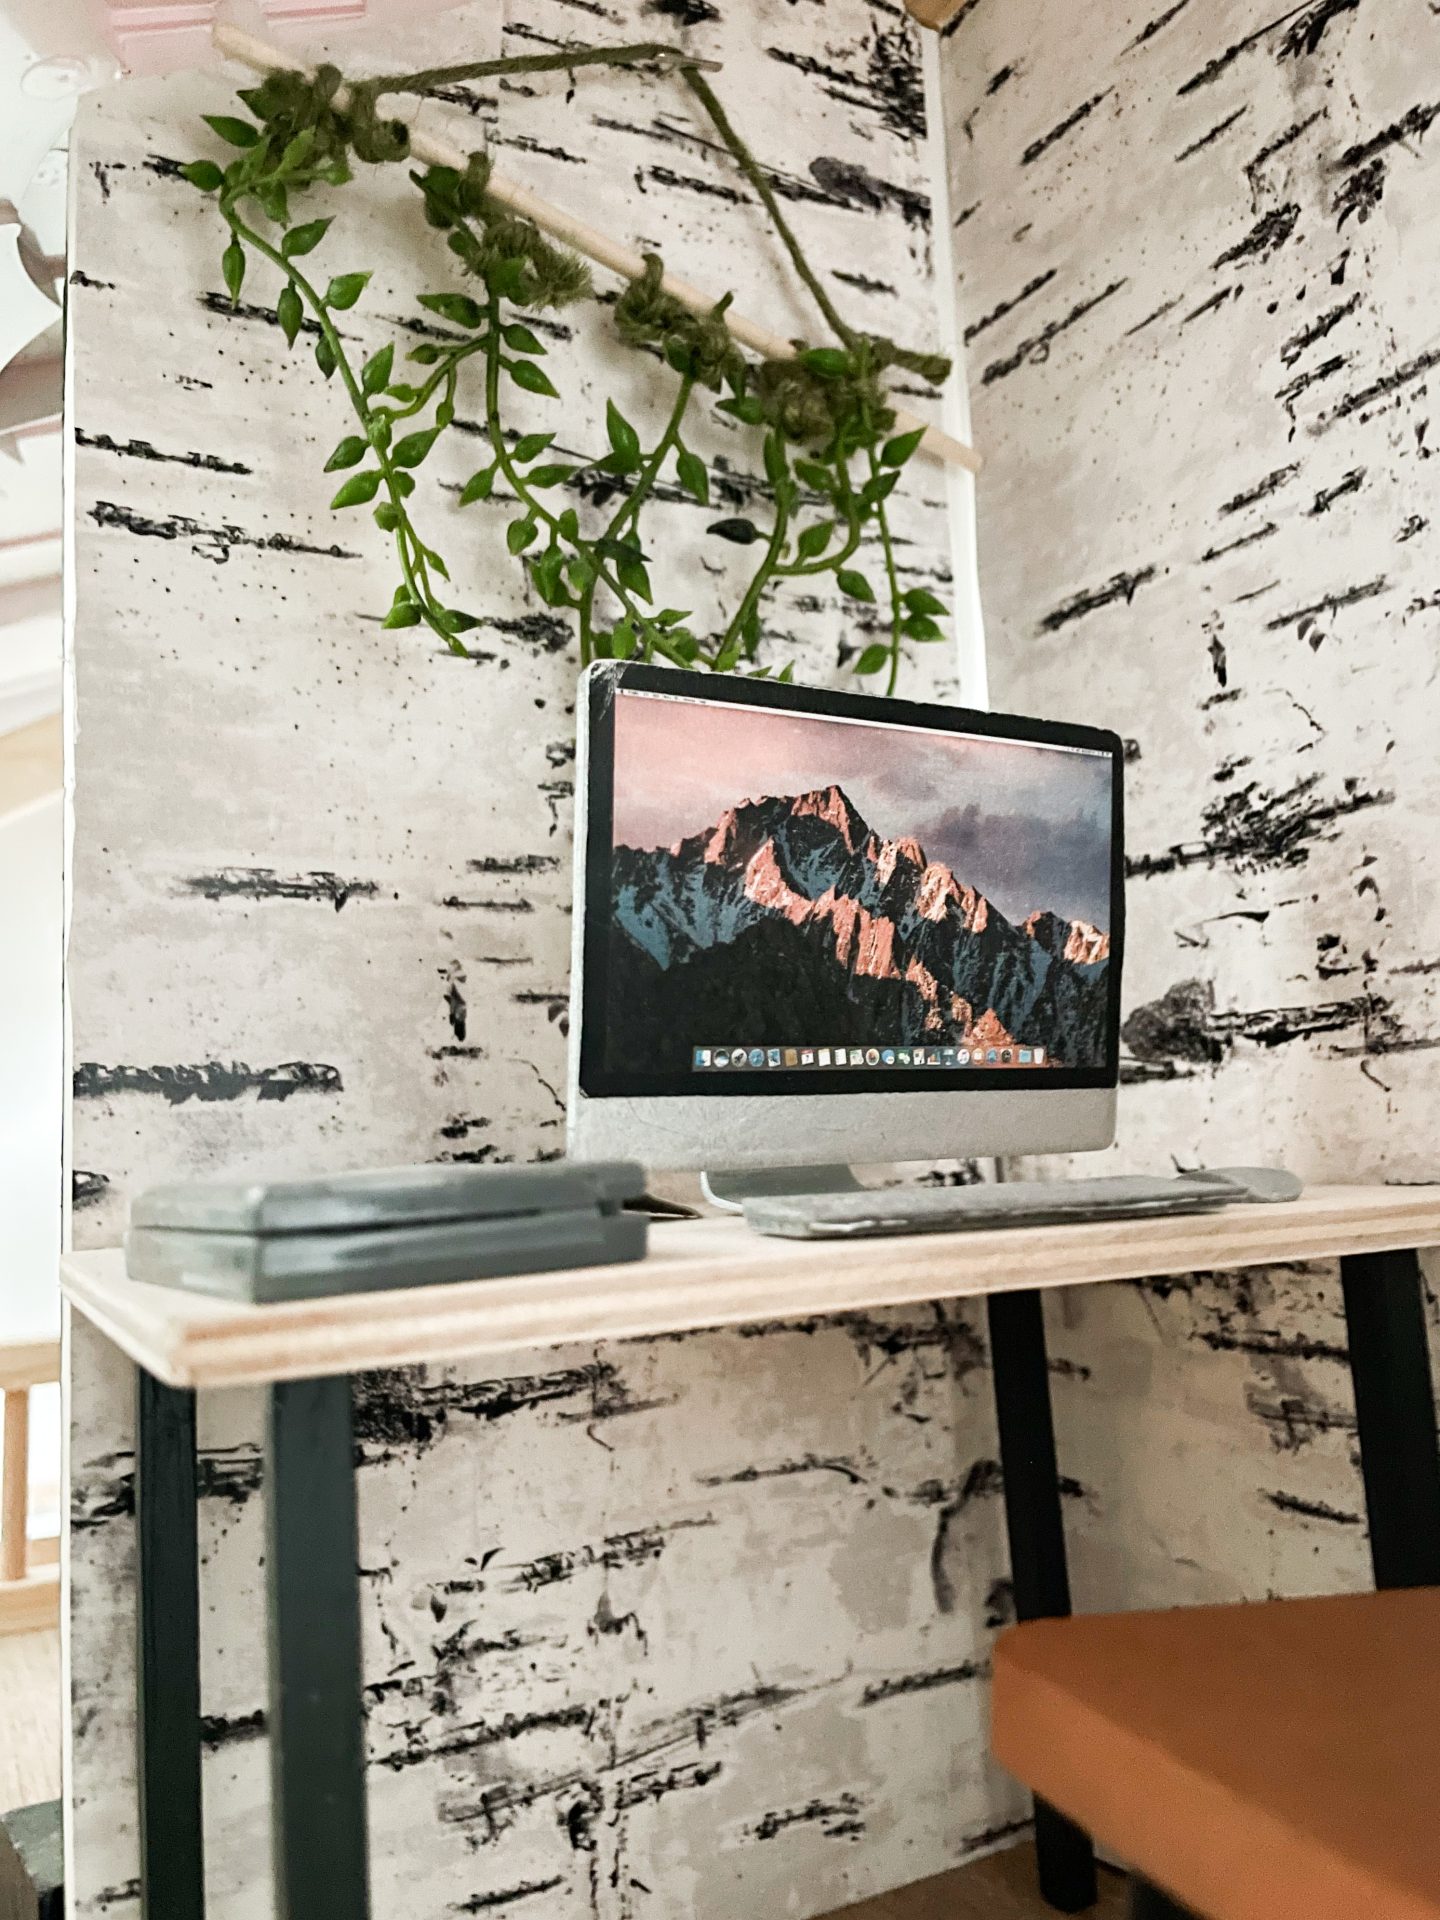
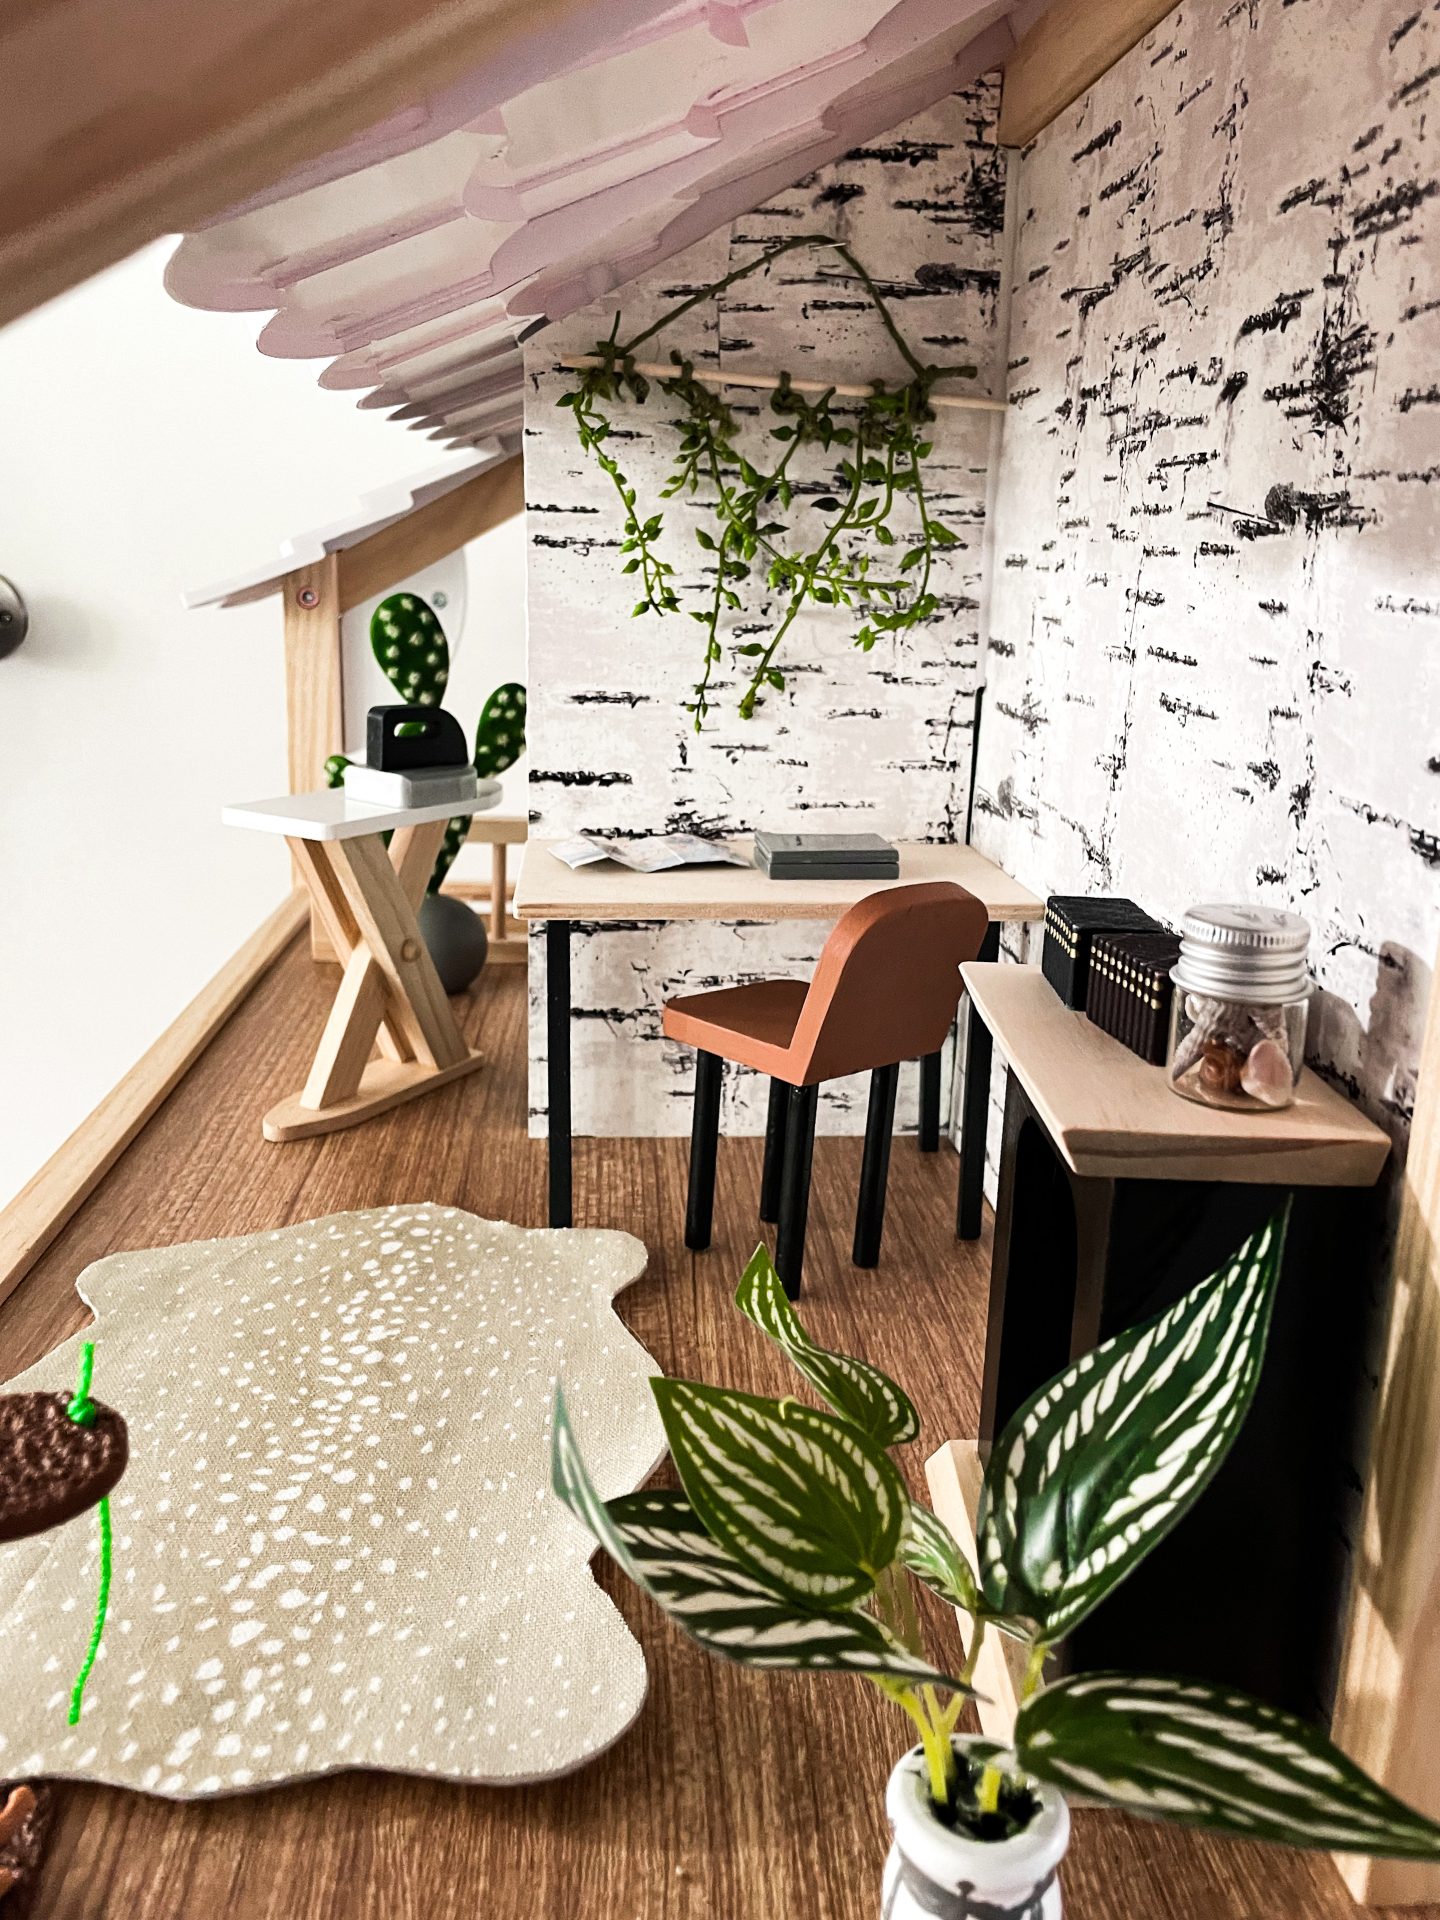
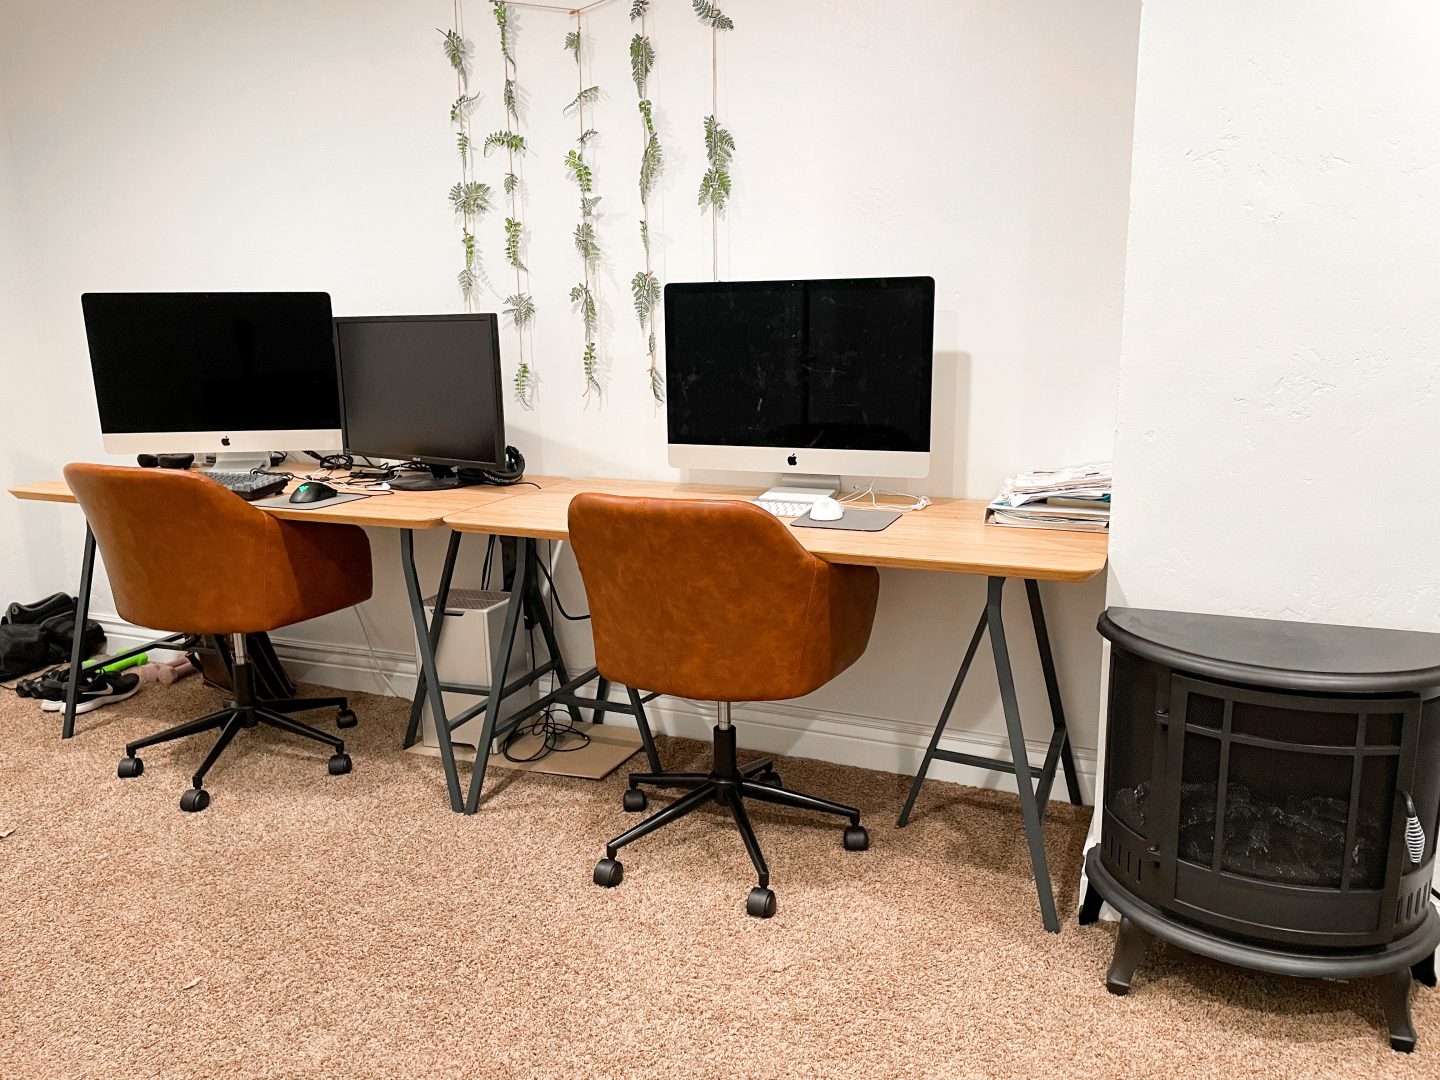
In our home, an office is a necessity, so I prioritized it for the dollhouse as well. I made the desk out of craft wood and tiny round dowels. The desk chair that came with the house was okay (in that it existed), but it wasn’t modern enough for me, so I sawed off the base, and drilled in spots for new legs to go in. I used some extra faux plant bits to make a fake greenery garland (like we have in our actual house), and bought a desktop Mac replica off etsy. I bought the adorable fawn rug, and used the dollhouse’s fireplace as it was, and added miniature books, and some shells in a tiny jar I got with several of my etsy purchases. Of course, I bought a Schleich cat set, so the cat tree went there, too.
Bathroom:
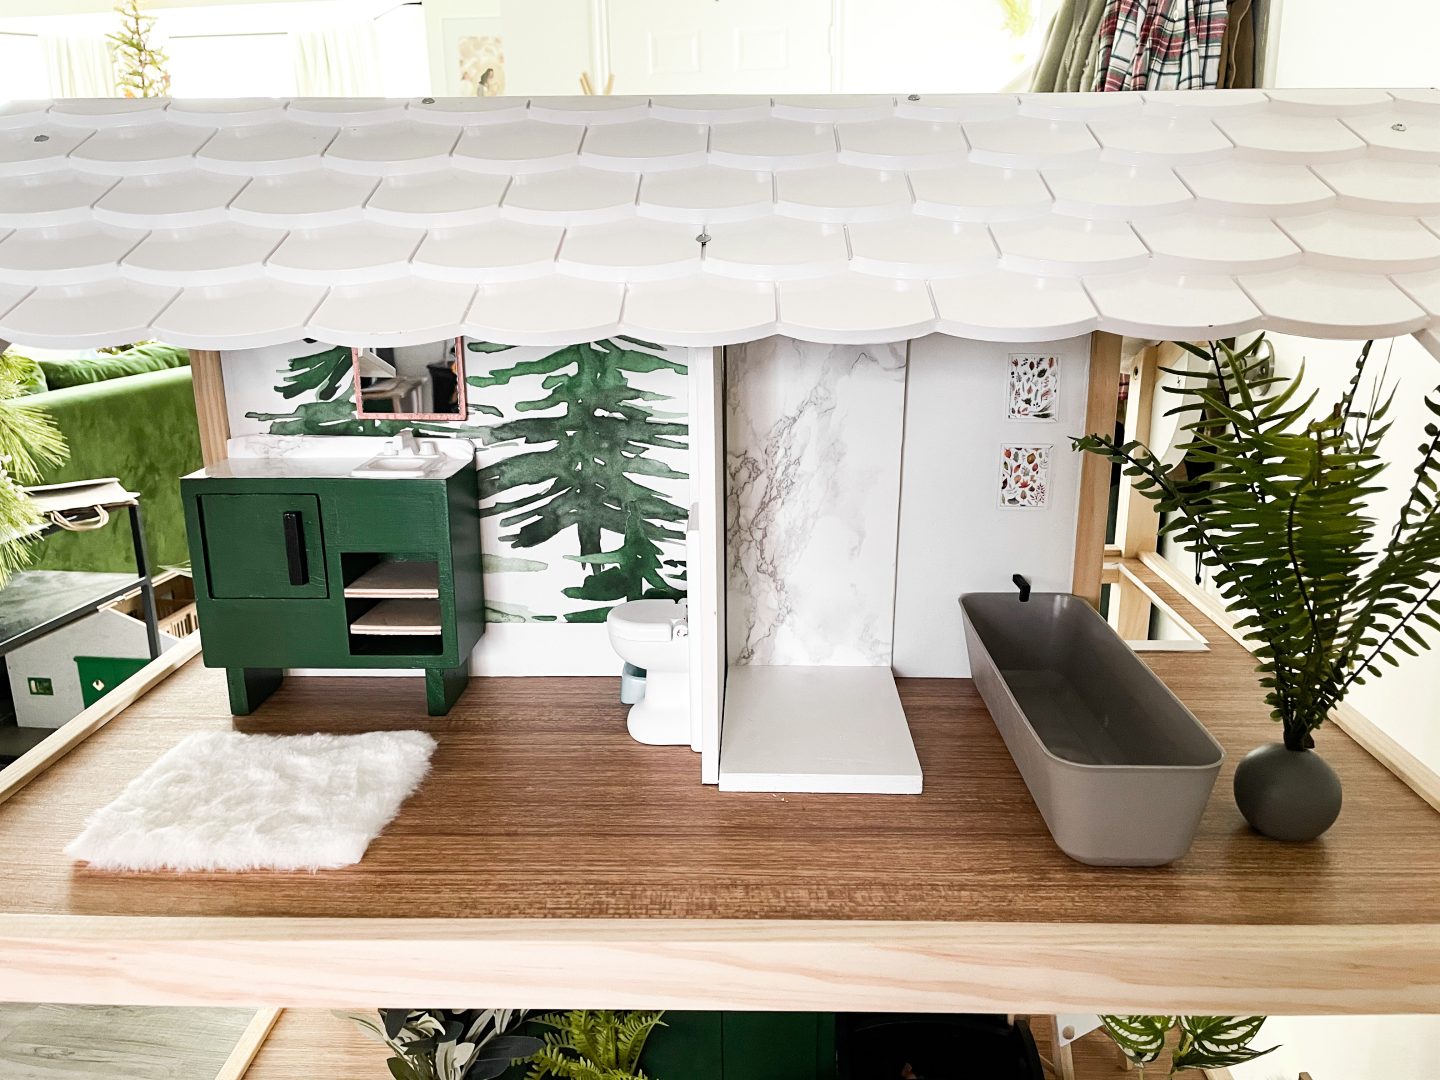
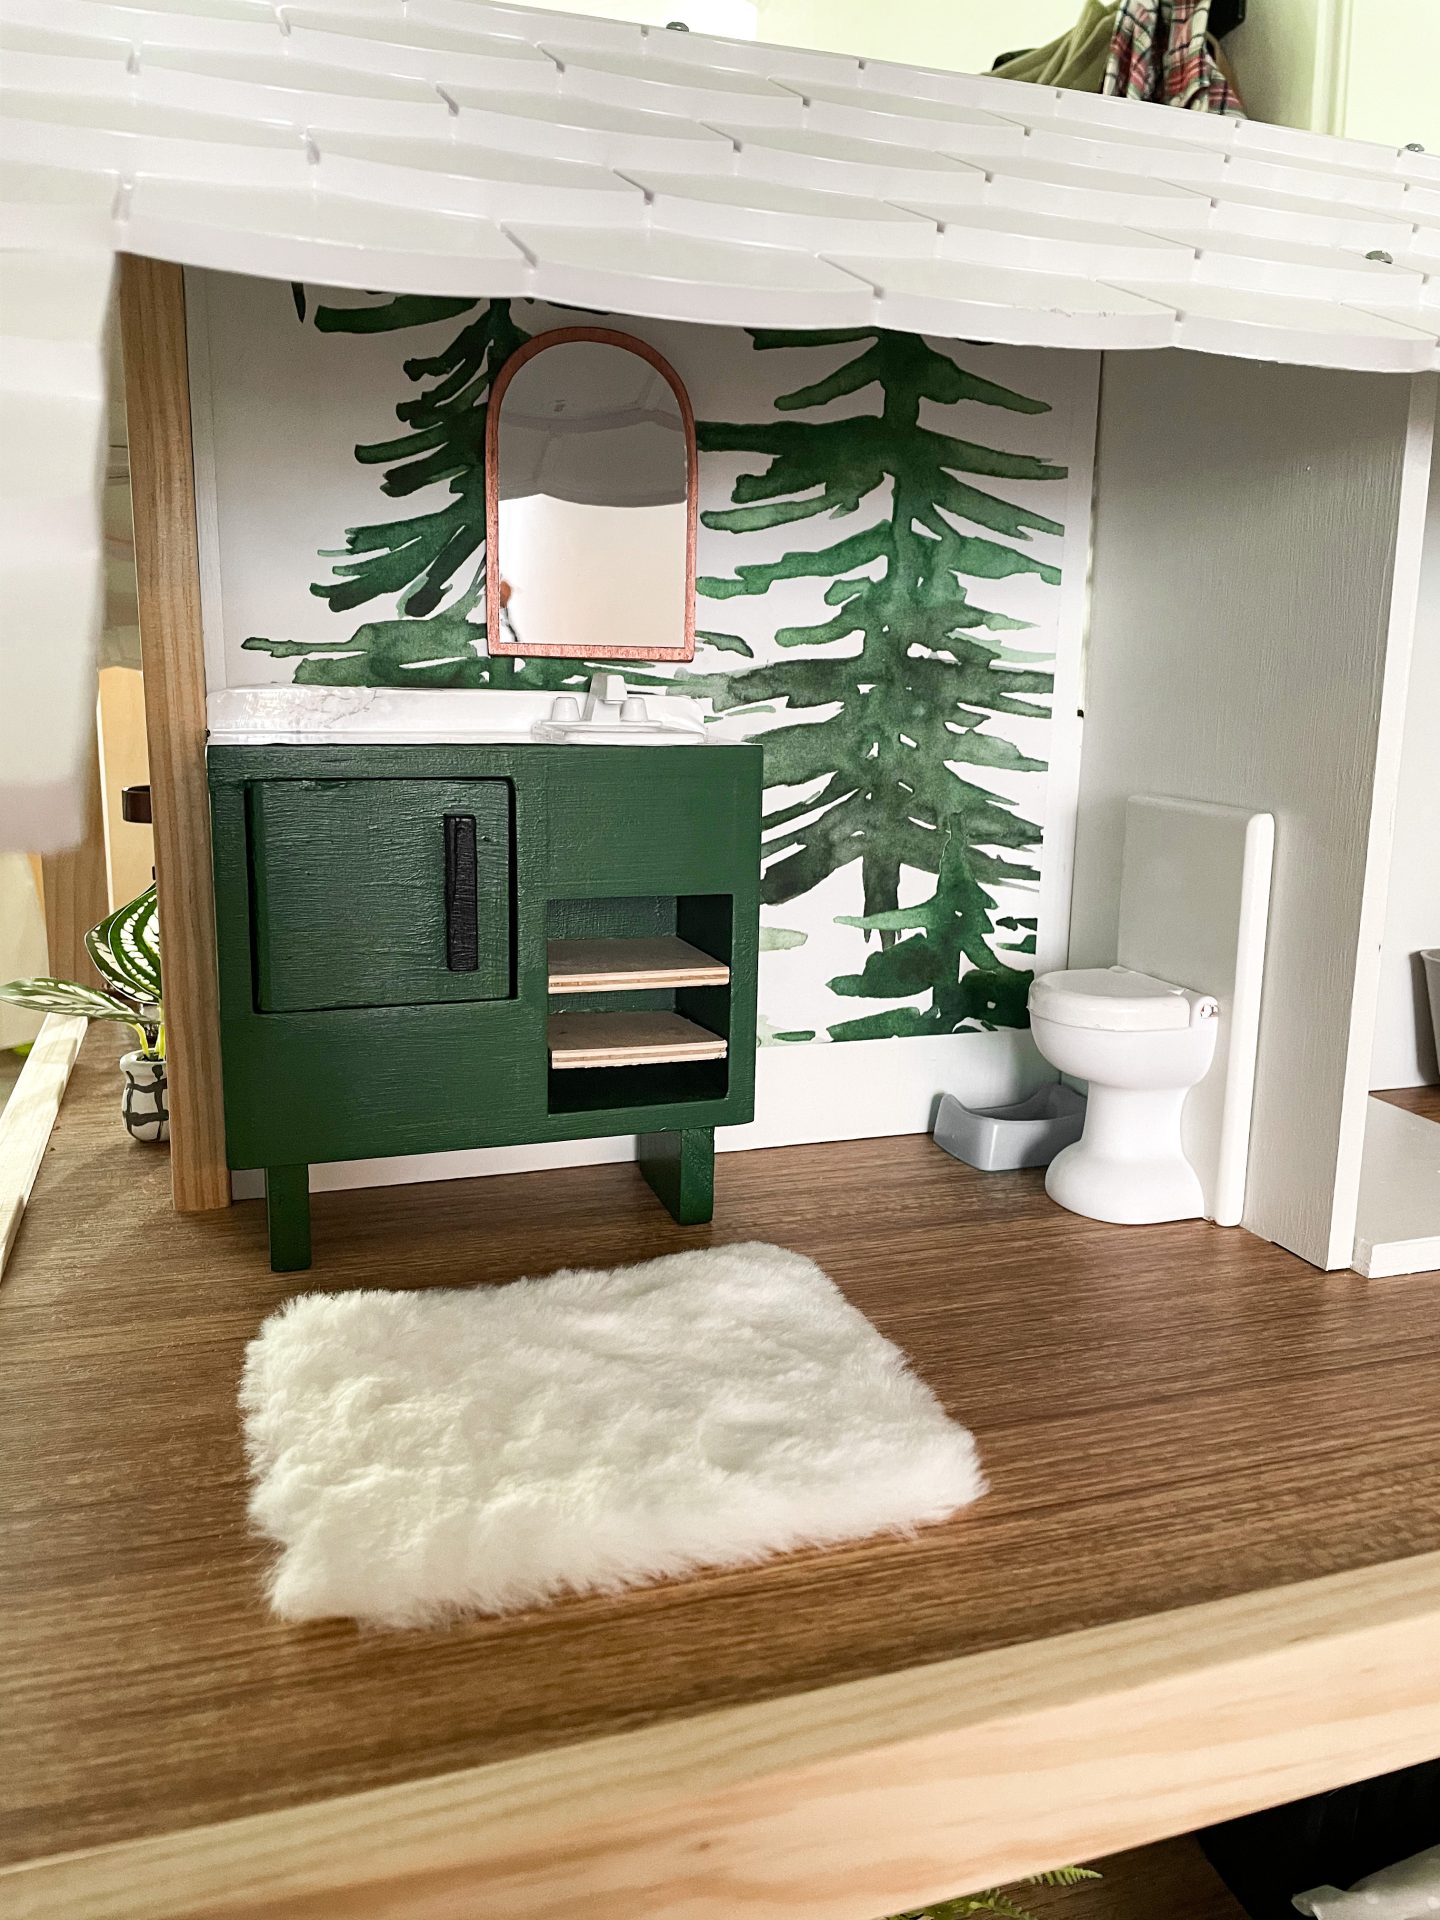
The entire opposite side is a bathroom. On the one side, I have the dollhouse’s toilet with the lid painstakingly painted white (from garish orange), a fuzzy rug I cut, a mirror off etsy, and what used to be the kitchen for the dollhouse. I also used a wallpaper sample that I actually hope to someday cover our powder room with. Being just slightly the wrong scale, and totally boring as a kitchen piece, I added two strips of wood to bring it to the right height, then sanded the purple away, and gave it a nice green coat, with black handles. On top, I painted the sink and faucet white, and used some marble contact paper my mom brought me to make it feel extra nice. I also added two little shelves in the cavity.
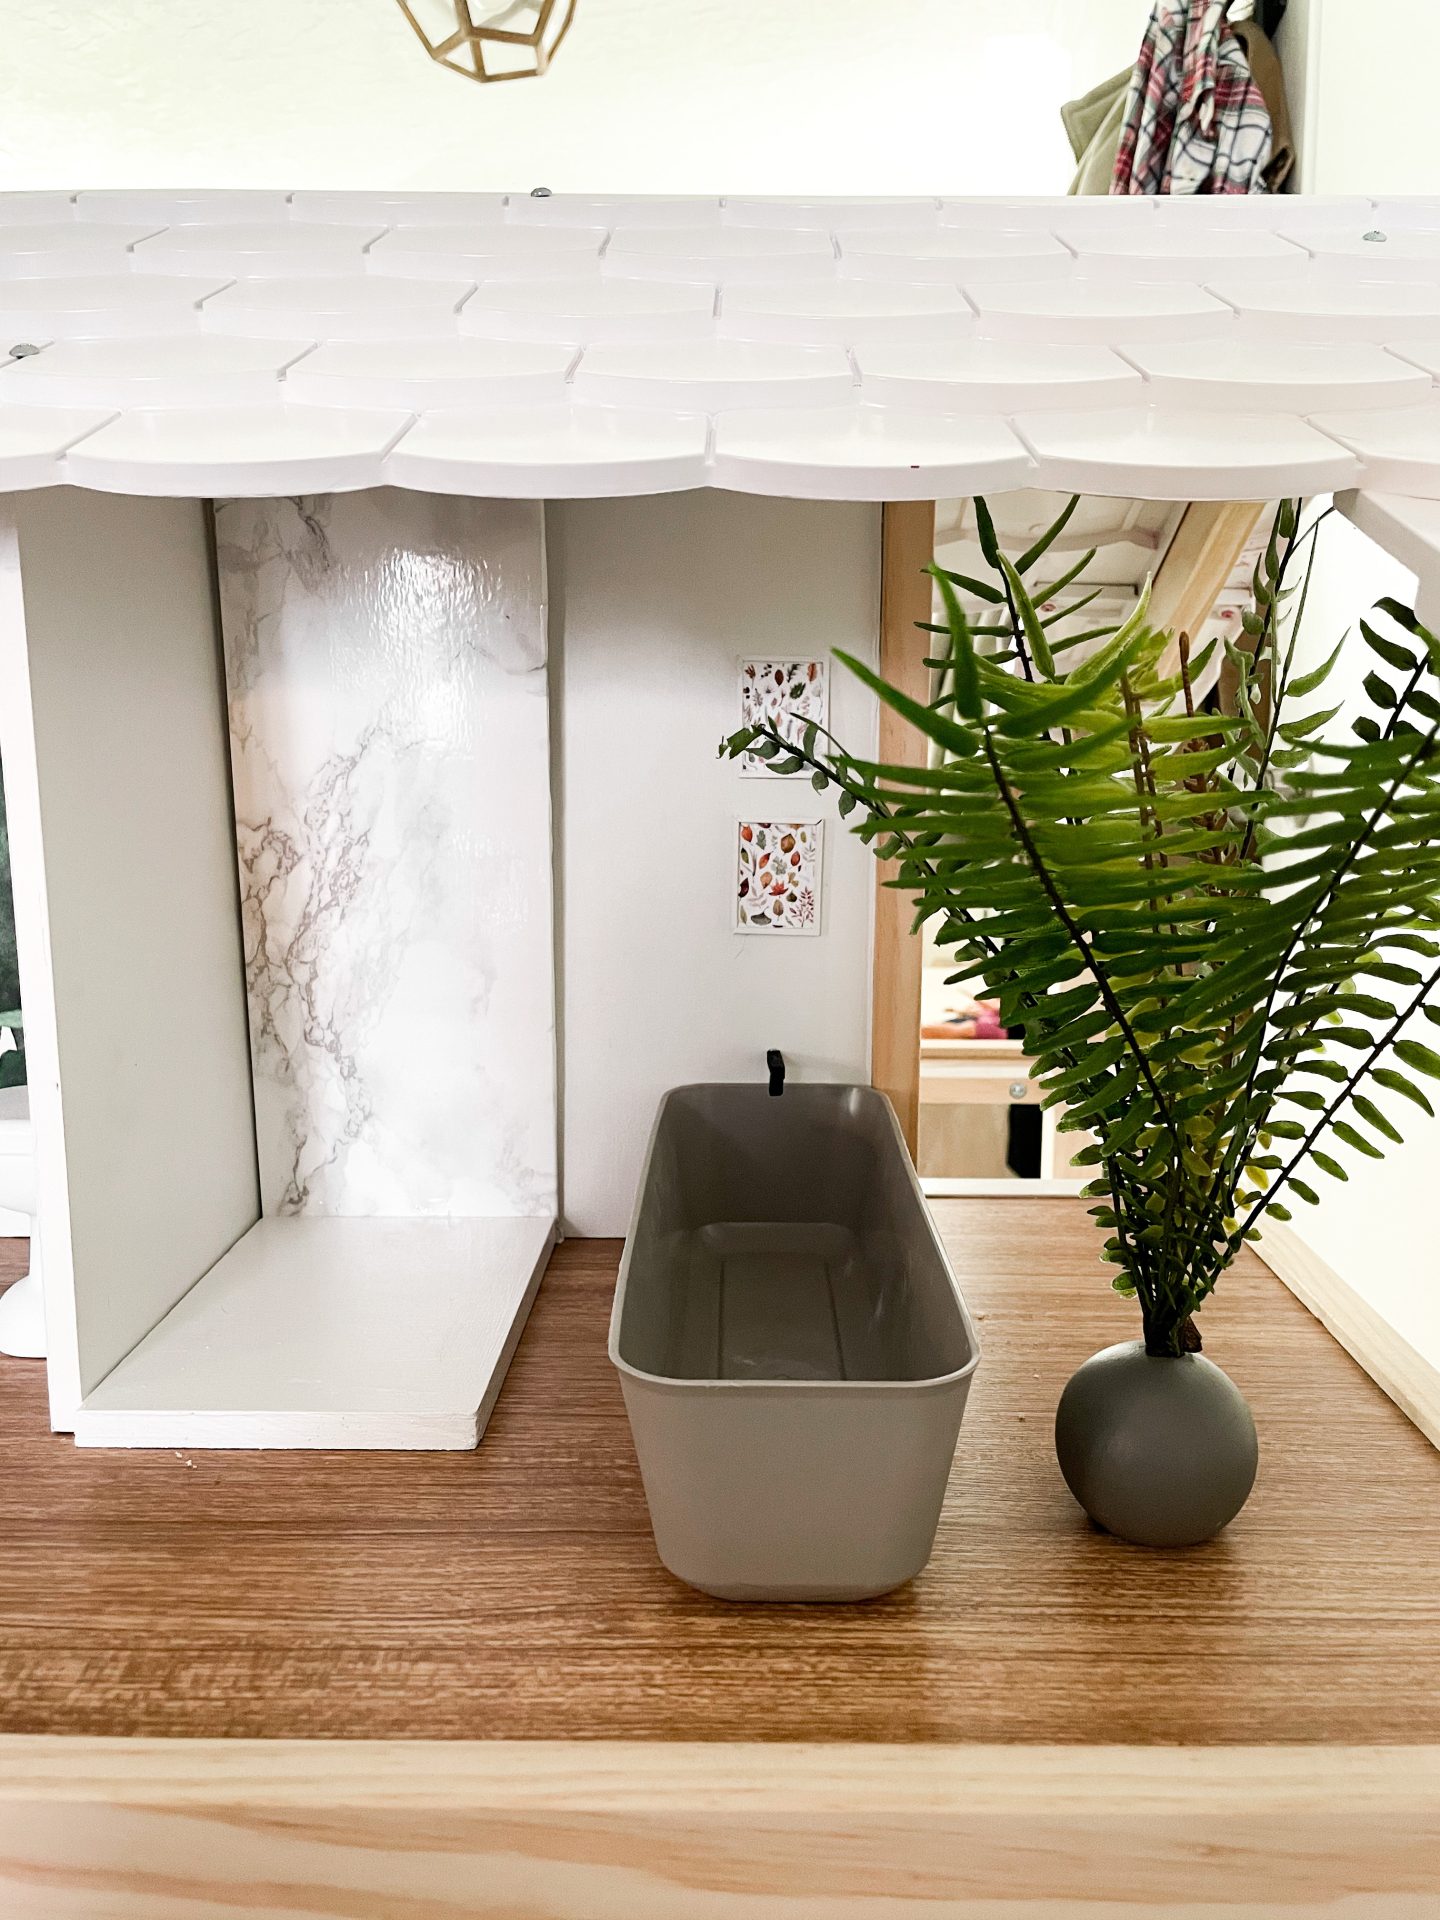
In the second half, we have a shower I constructed from wood, painted the base of, and added marble contact paper to the side. I was planning to add in some plastic, or some cheap glass from frames to make a shower for, but never got to it. Honestly, it’s probably for the best, given how young my kids are. Still looks alright. There’s the last of my smaller-sized art, and a faucet I made, painted, and glued to the wall hanging over…a storage container from Target—it was the perfect size to be a Barbie tub!
I told you I changed e v e r y t h i n g. Todd says it took him an entire month after Christmas to decompress from the project. I’m super glad it’s done (you may imagine, it was a nuisance to get upstairs, too). But I’m also extremely proud of myself for doing so much of it solo, and really stretching my crafting capabilities. My daughter loved it, and seeing it still makes me proud!