
As you progress through pregnancy, especially as you near the end of the second trimester and enter the third, you might notice that you could use a little extra support—for your belly. When I was pregnant the first time, since I didn’t know what pain was normal or not, I had terrible pelvic and back pain. I got one of those pelvic girdle belt things, and though I won’t say it was totally useless, I didn’t feel like it did much to help either.
If you’ve got hip/pelvic pain specifically, I’d suggest visiting a chiropractor, or using a pelvic belt. If you just feel stretched (say after eating, because you’ve also got a baby in there), I highly highly recommend KT tape; I’ve used it a lot the pregnancy, and it’s really helped me. OTHERWISE, I suggest you belly wrap.
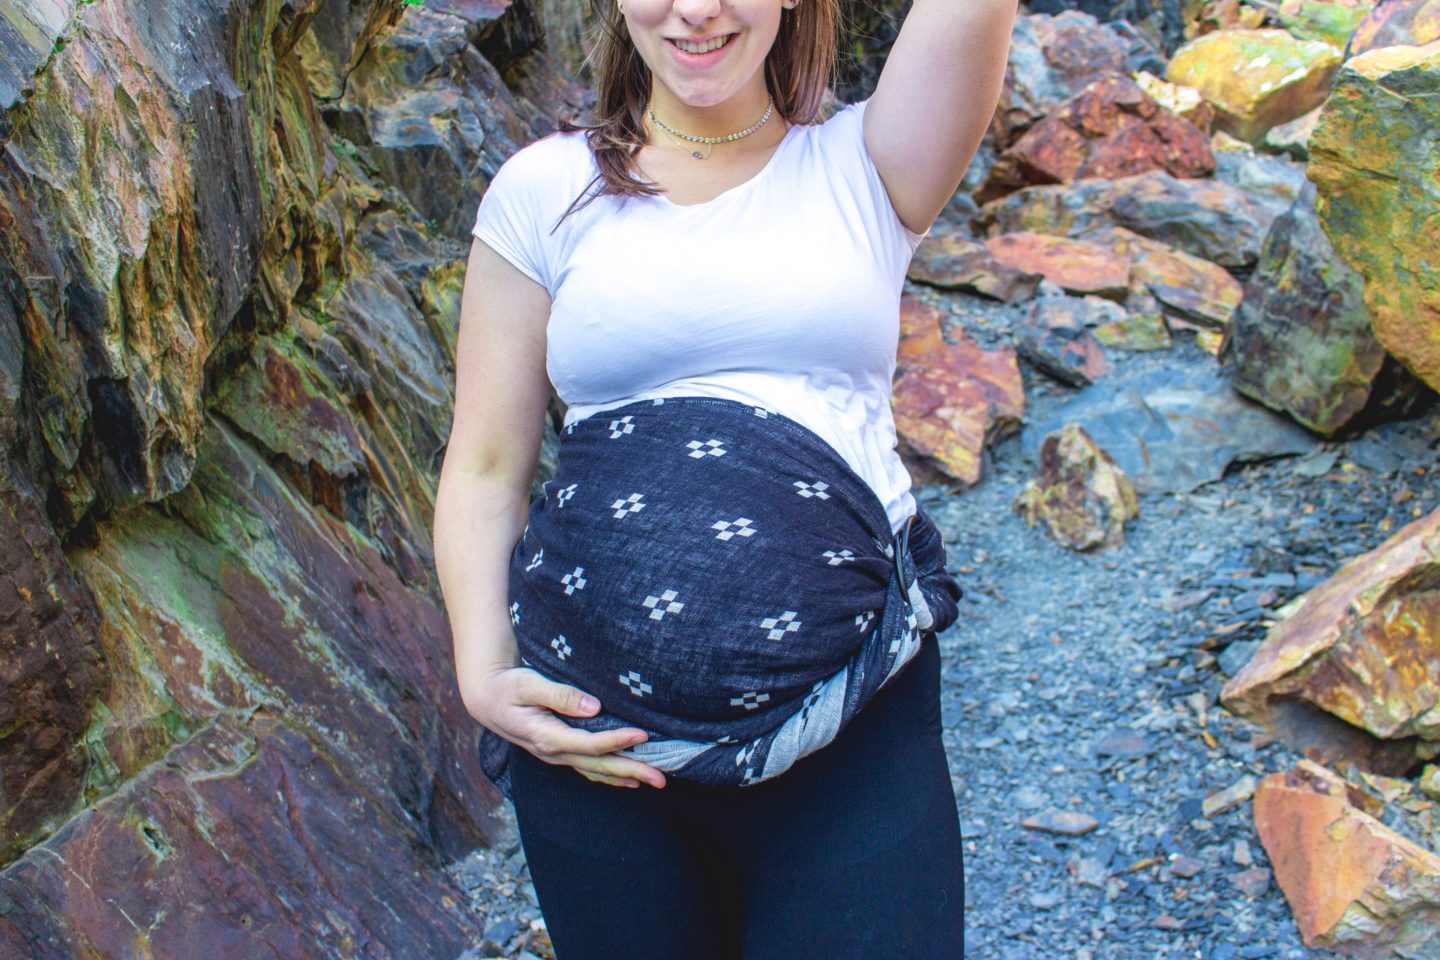
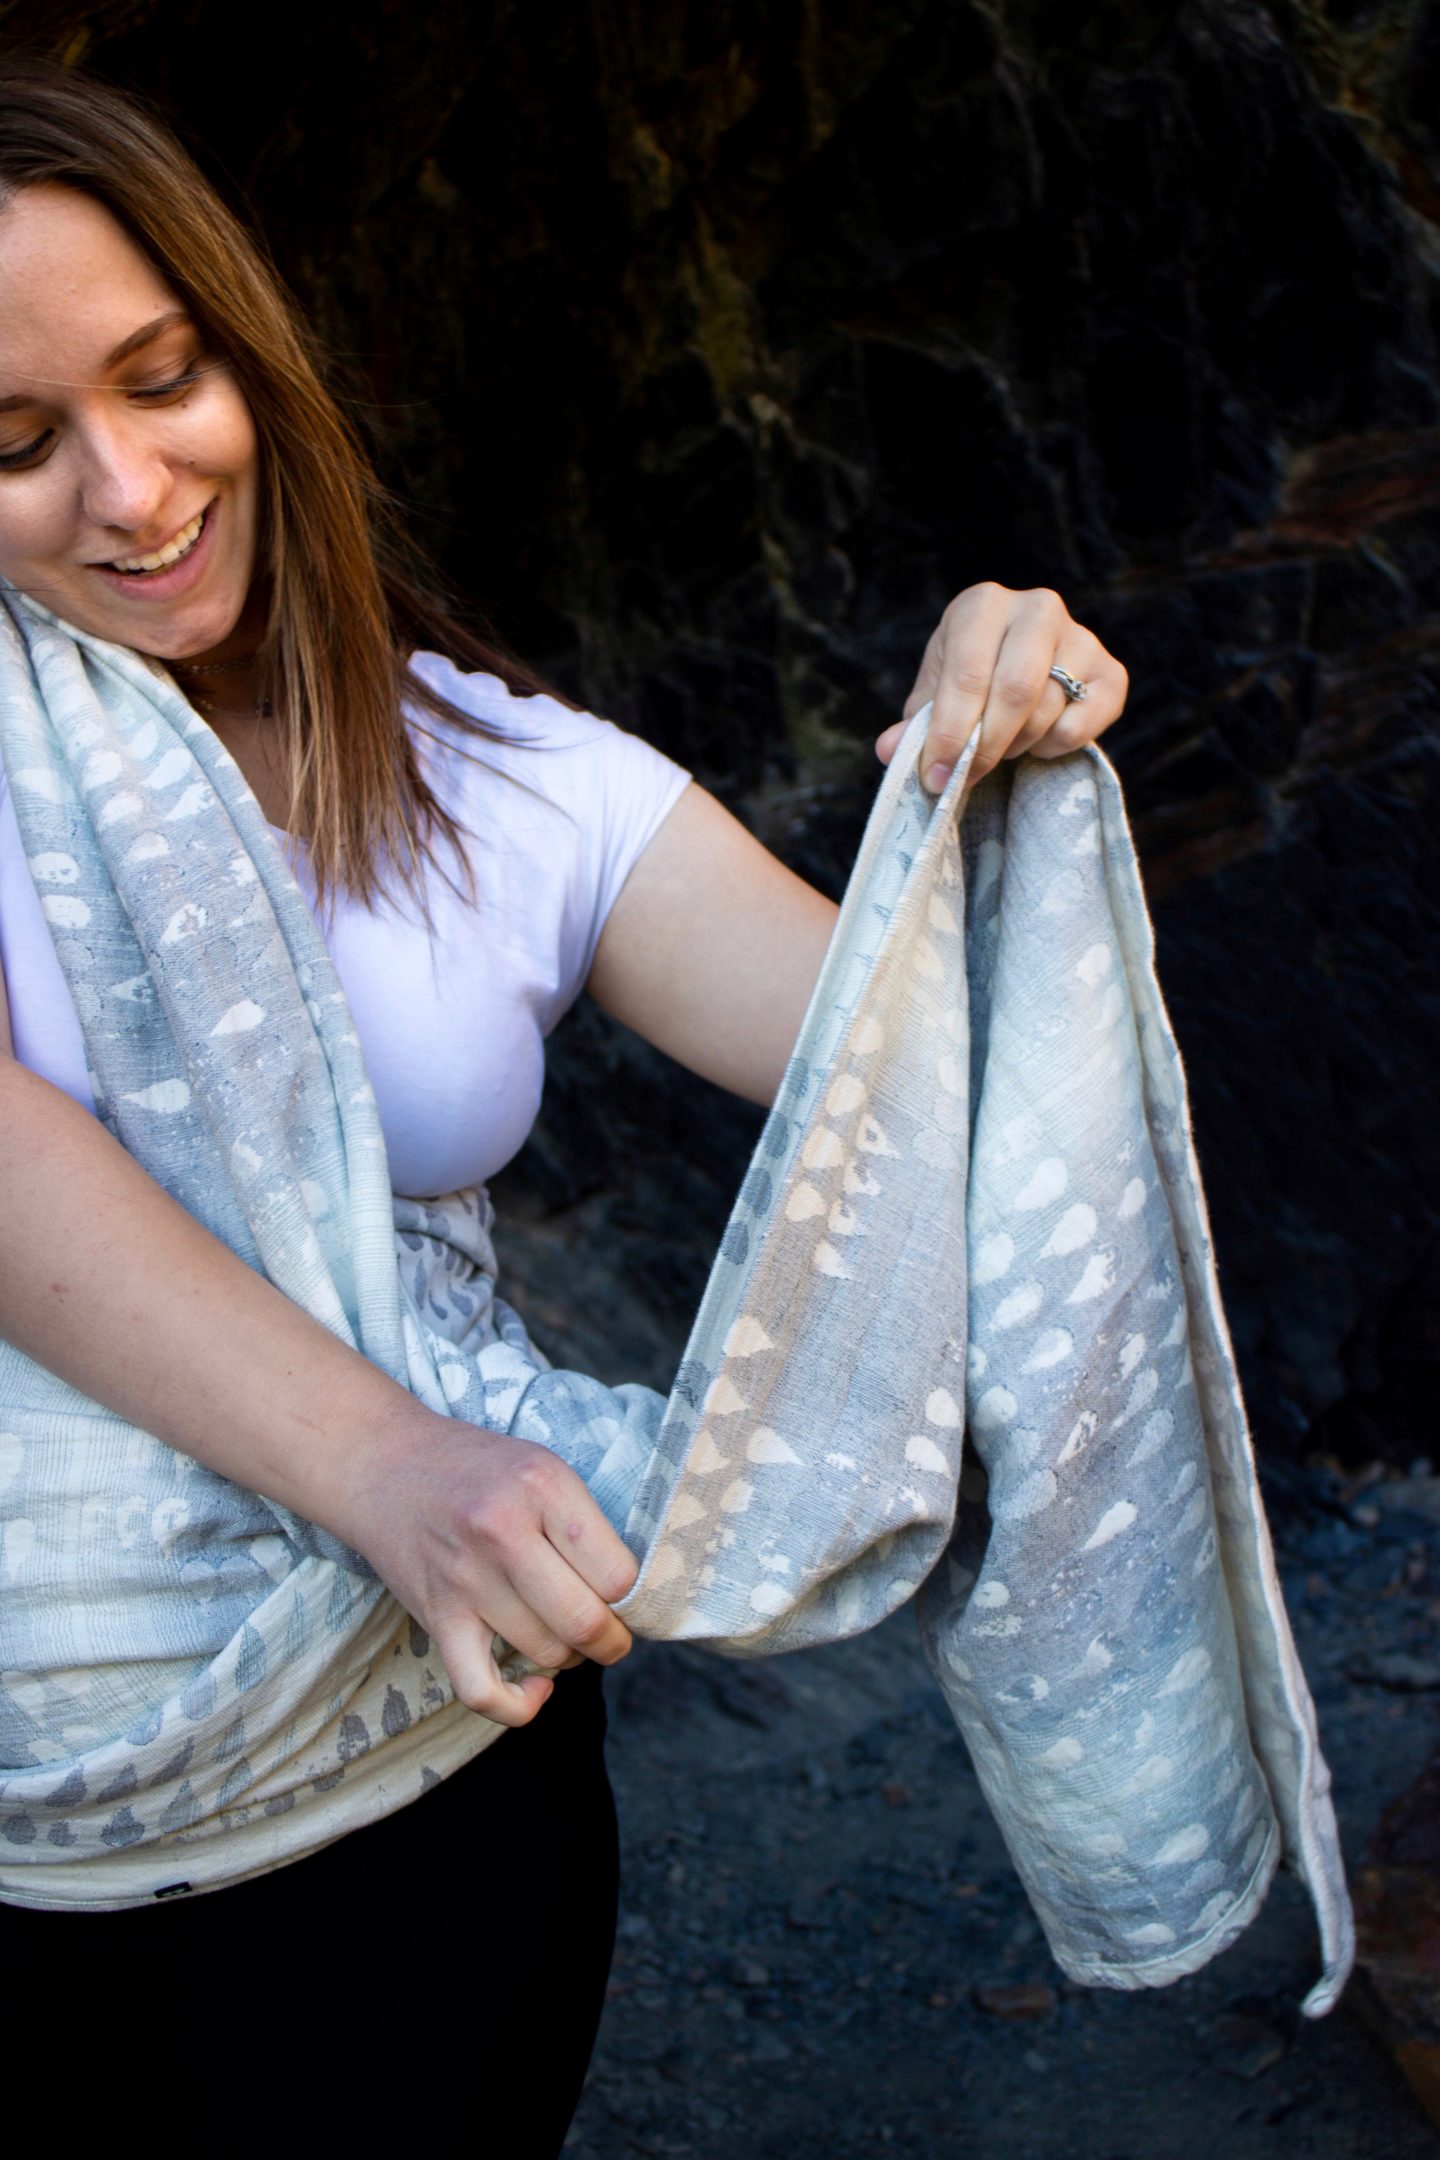
What is it? Belly wrapping is the use of woven baby carriers to support your growing bump. It’s especially nice, because you get multiple uses out of them! The result are immediate, and definitely helpful, especially the farther along you are.
Since I didn’t know about belly wrapping during pregnancy the first time, and knew I wanted to utilize it with bump #2, I decided the best course of action would be to craft some tutorials, so other moms who were new to the concept, and looking to figure it out could learn, too!
*Please note that when I took these tutorial pictures, I was quite new to belly wrapping, and in a scenic location where I had to keep an eye on my toddler. As a result, I could have spent a touch more time really tightening the fabric; but you’ll still get the right idea. These are also not official names—just a way to easily reference them.
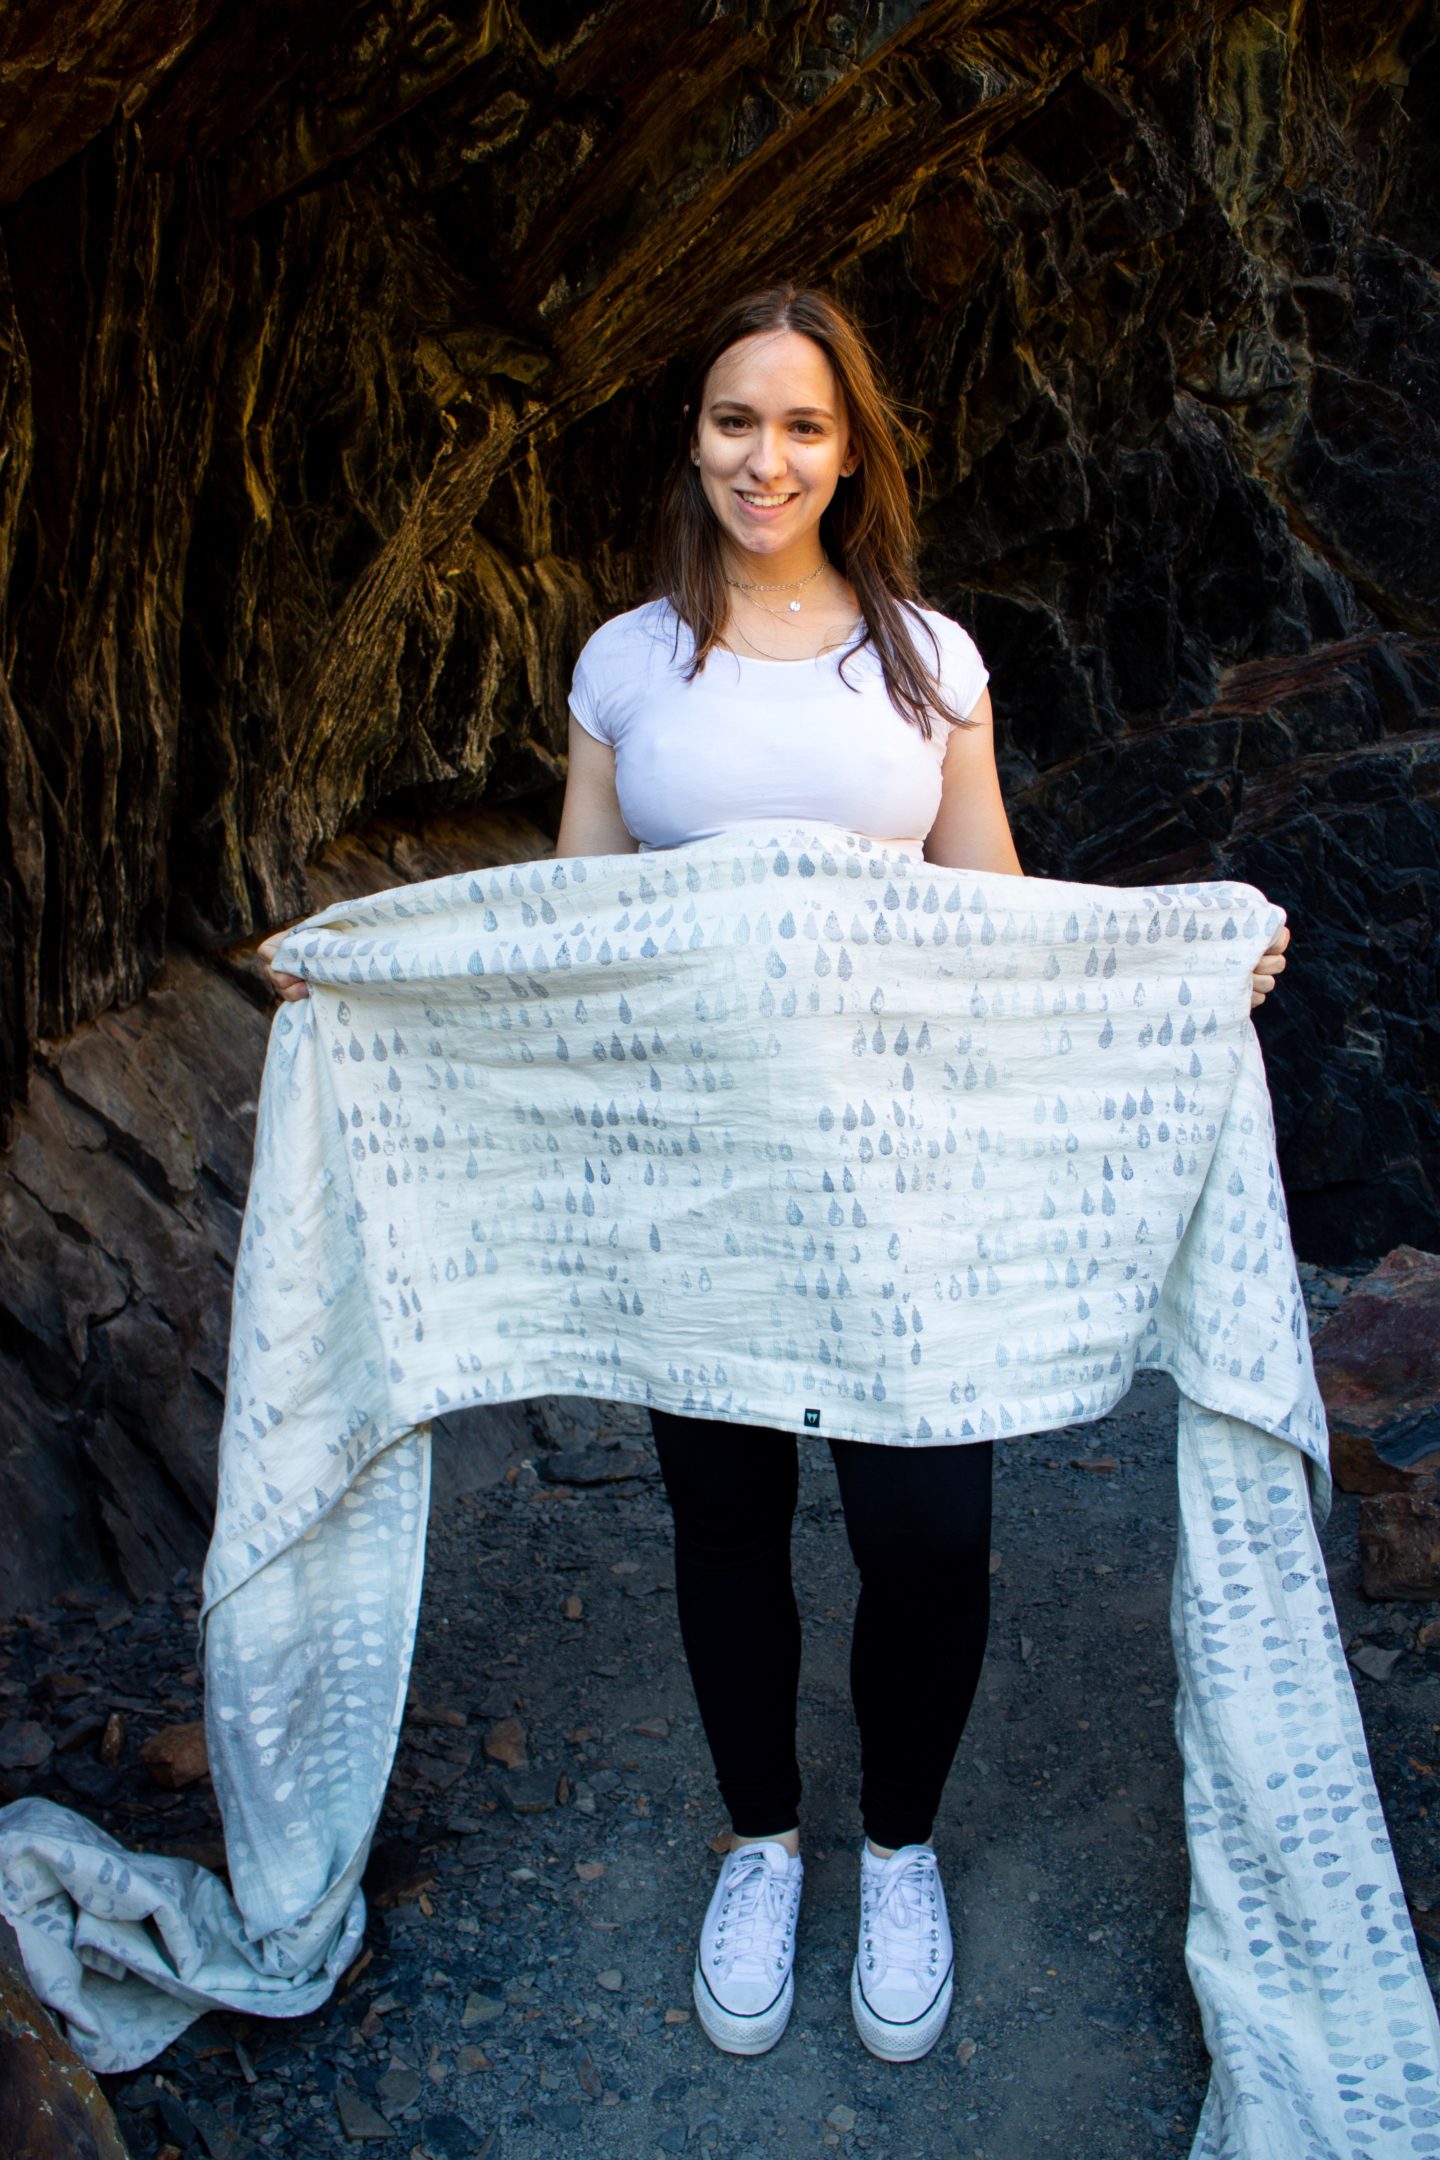
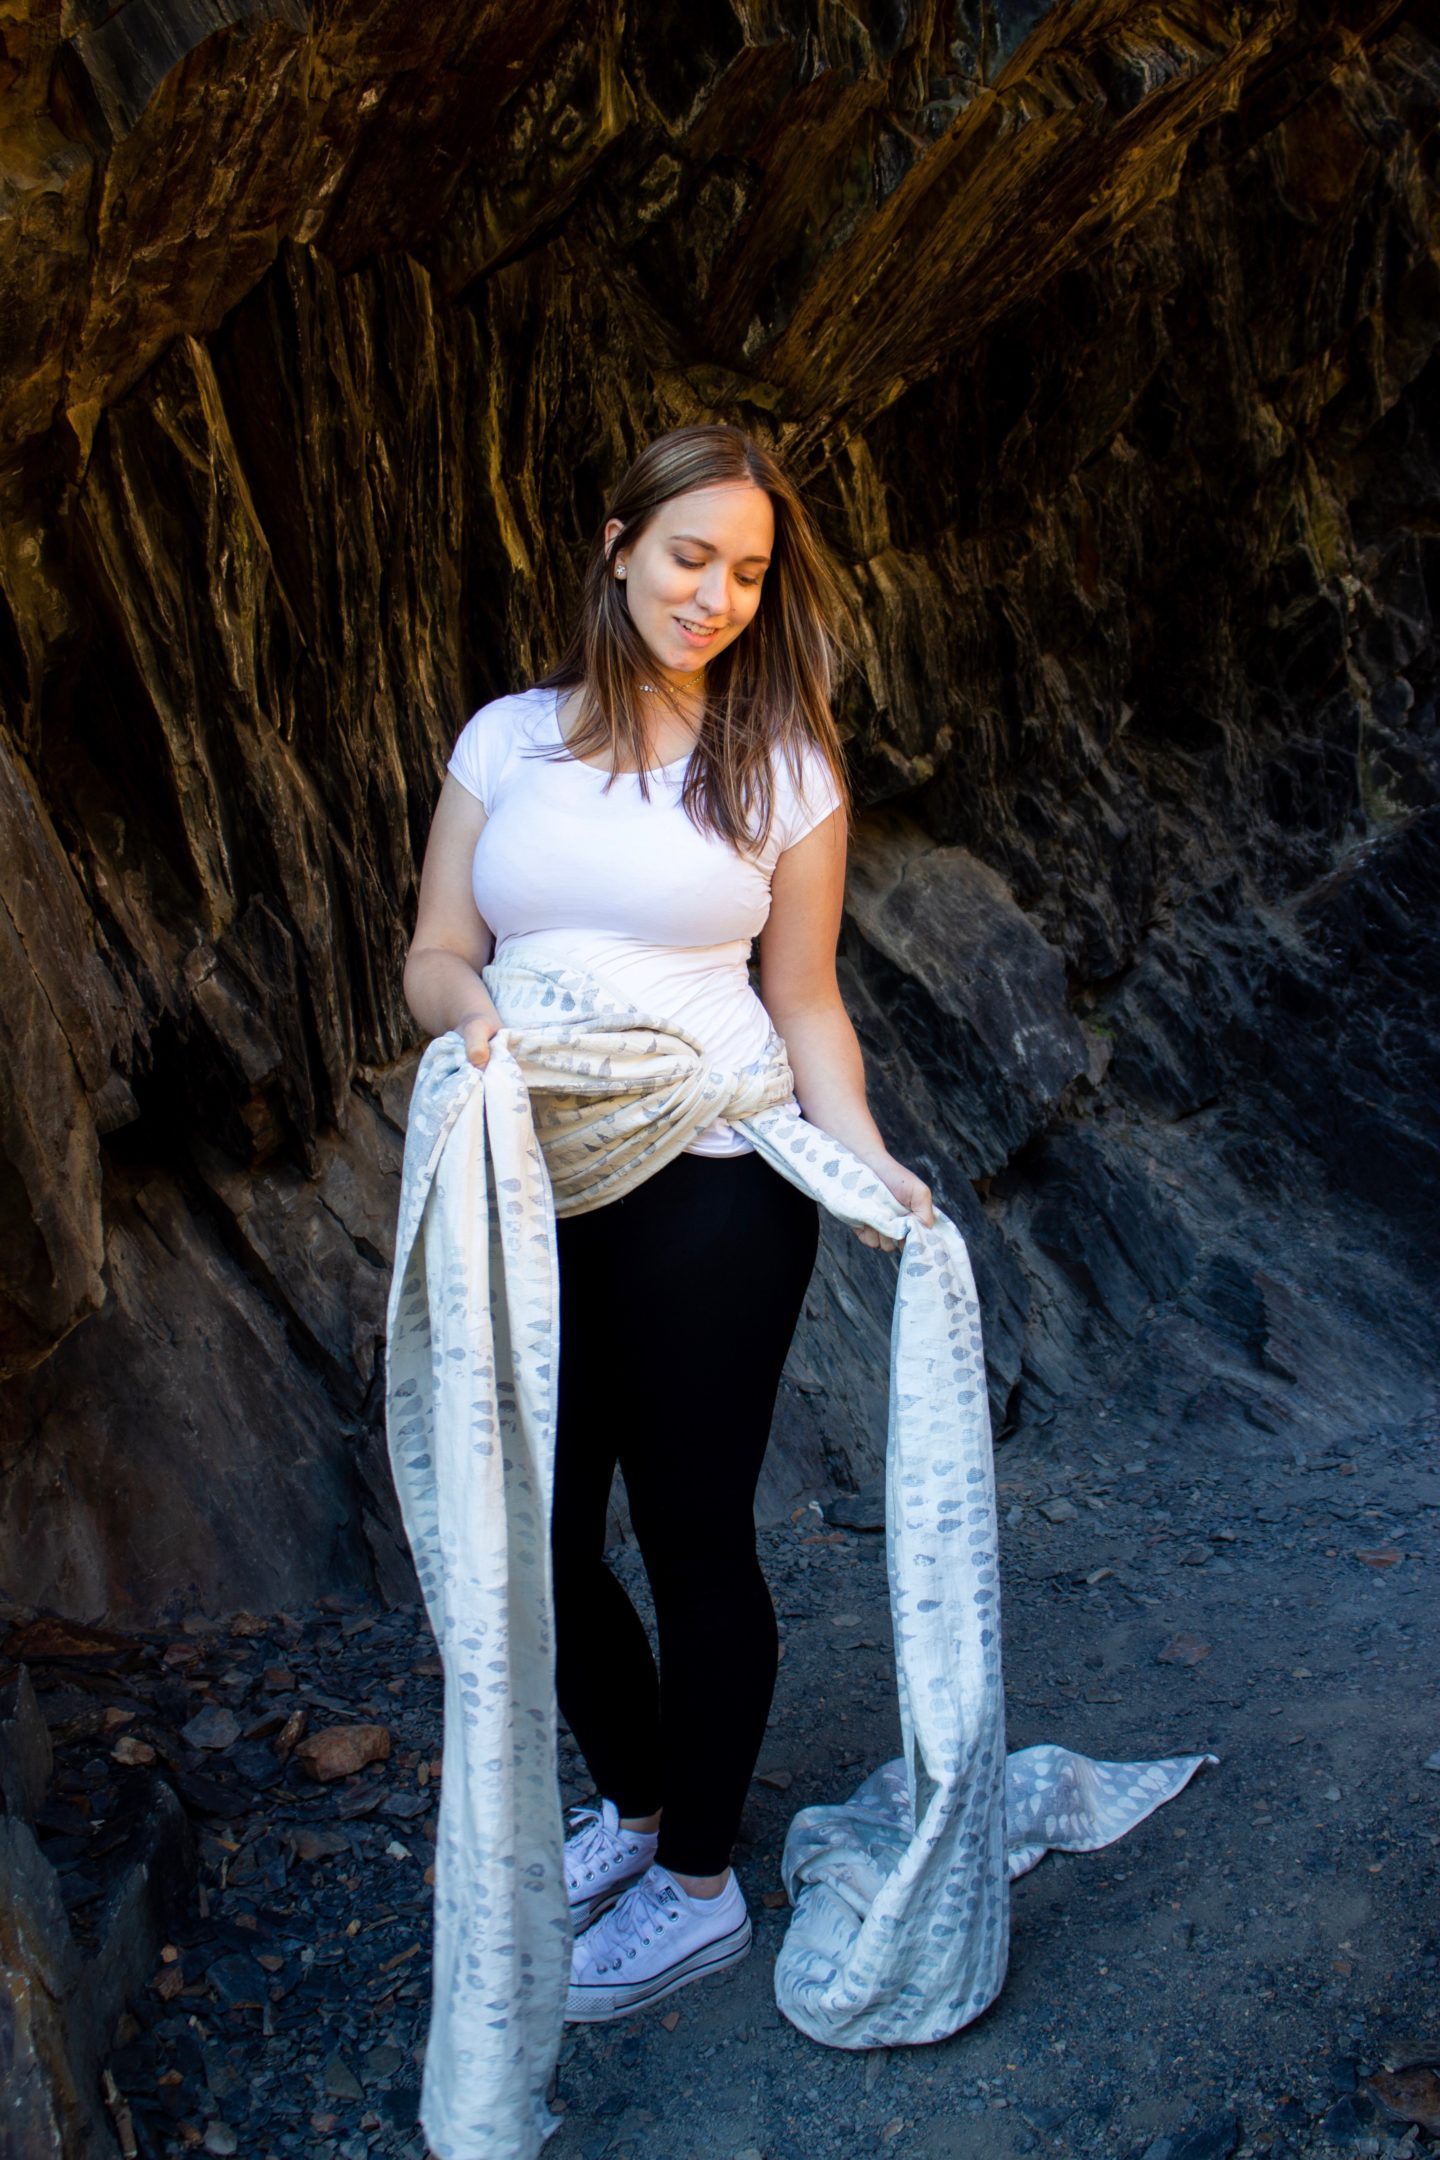
It’s important to remember that—with a woven wrap—you need to tighten strand by strand, to endure you work out any slack, and that the belly wrap stays in place.
Below are six different ways that you can belly wrap: 5 using a woven wrap (I’m using my base size; 6), and one using a ring sling, but with a few different finishes.
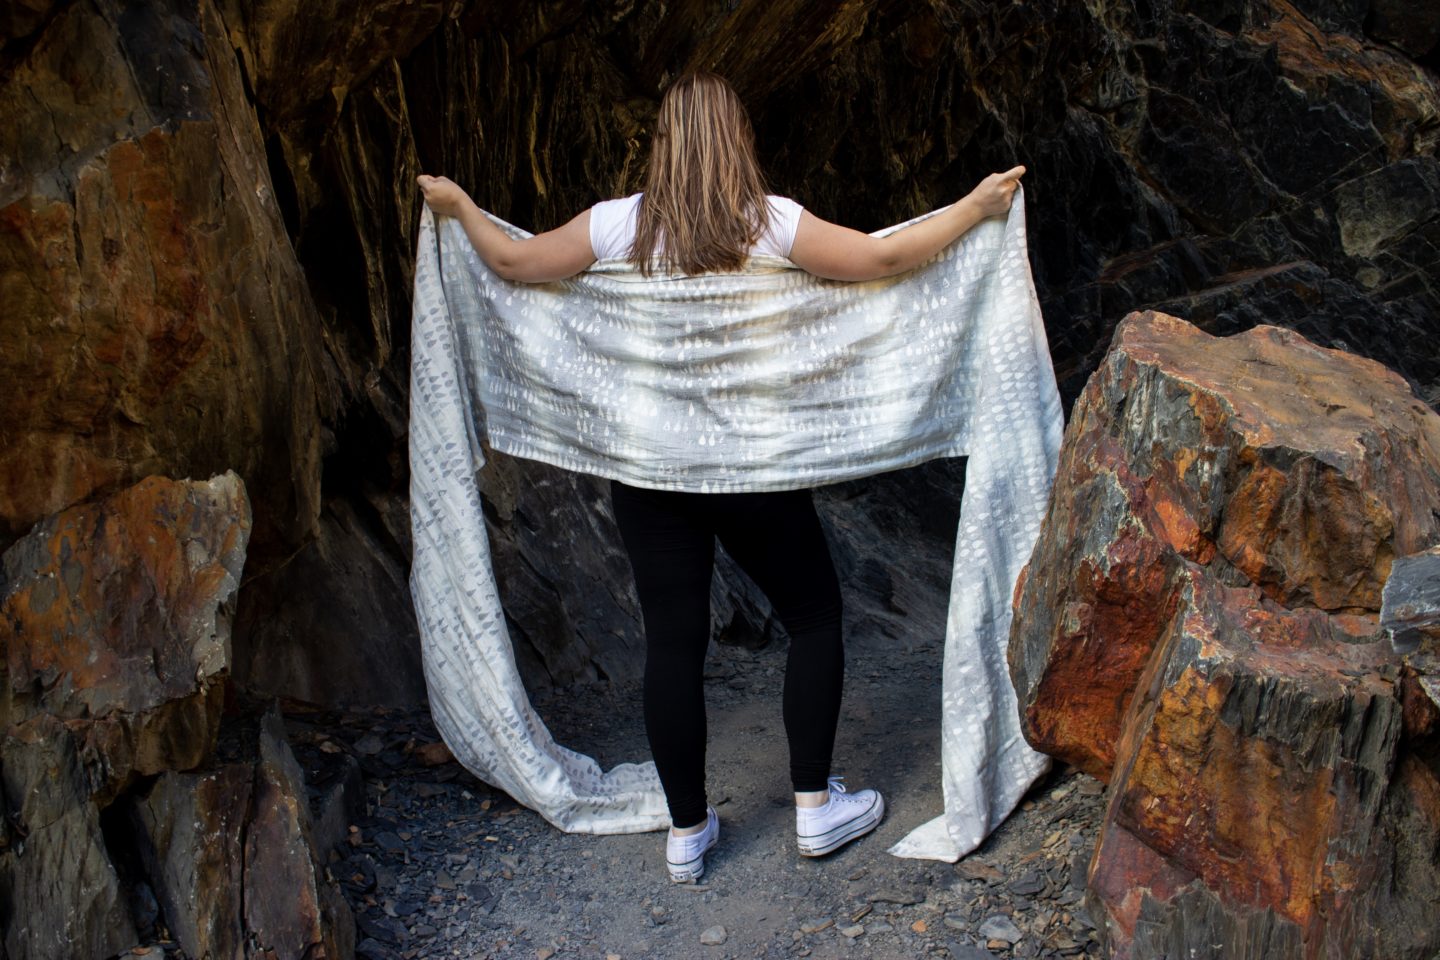
Simple
Start with with middle marker at your middle!

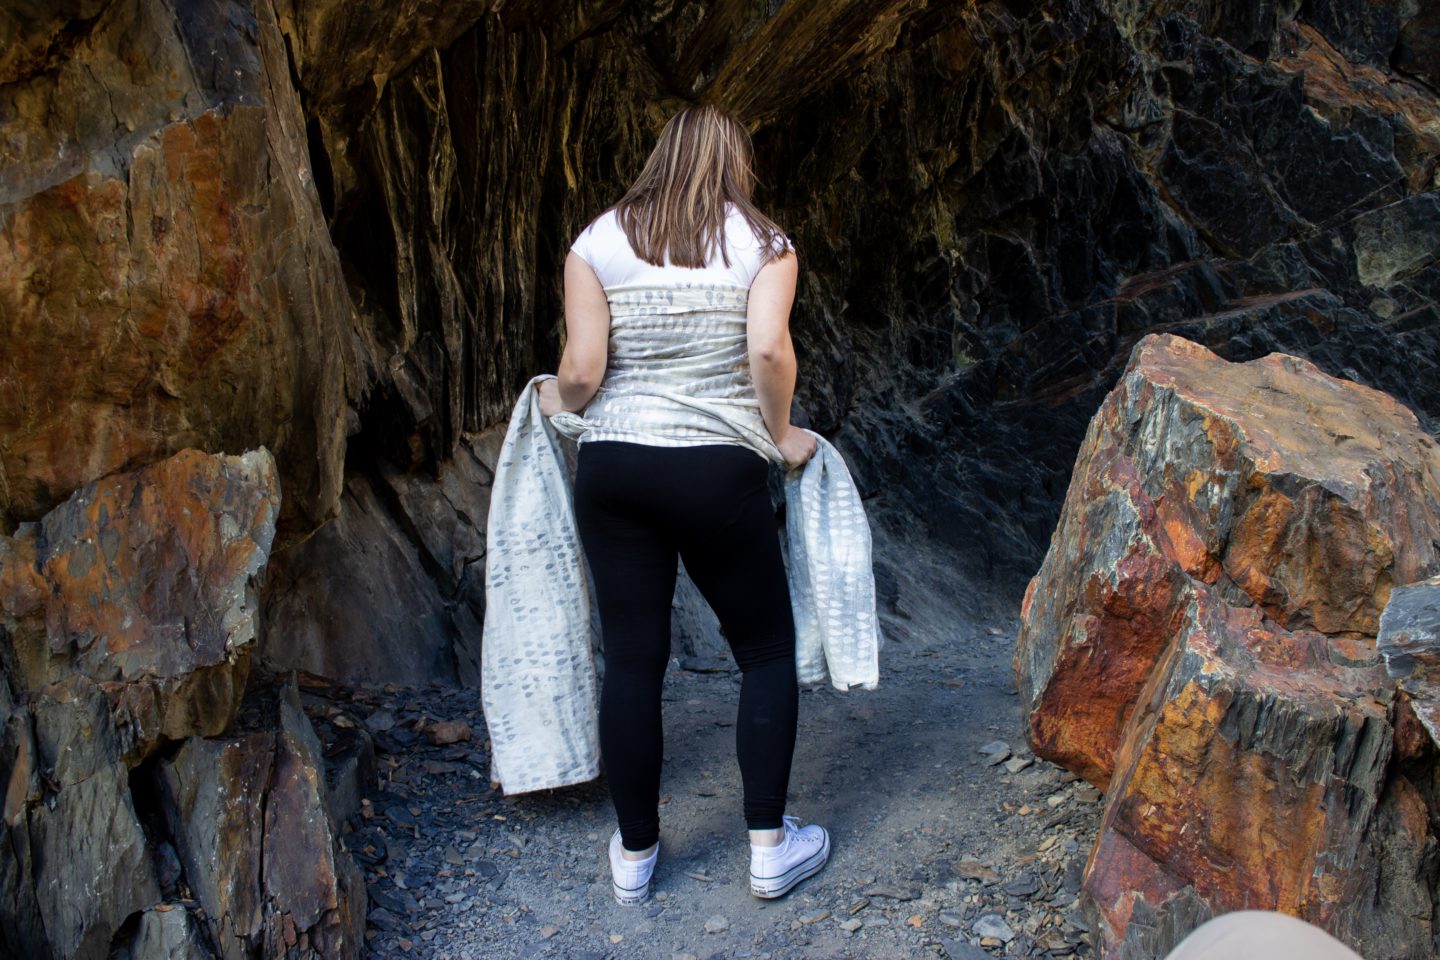
Take one tail–making sure to keep the fabric taut—and pull it around to the opposite hip.
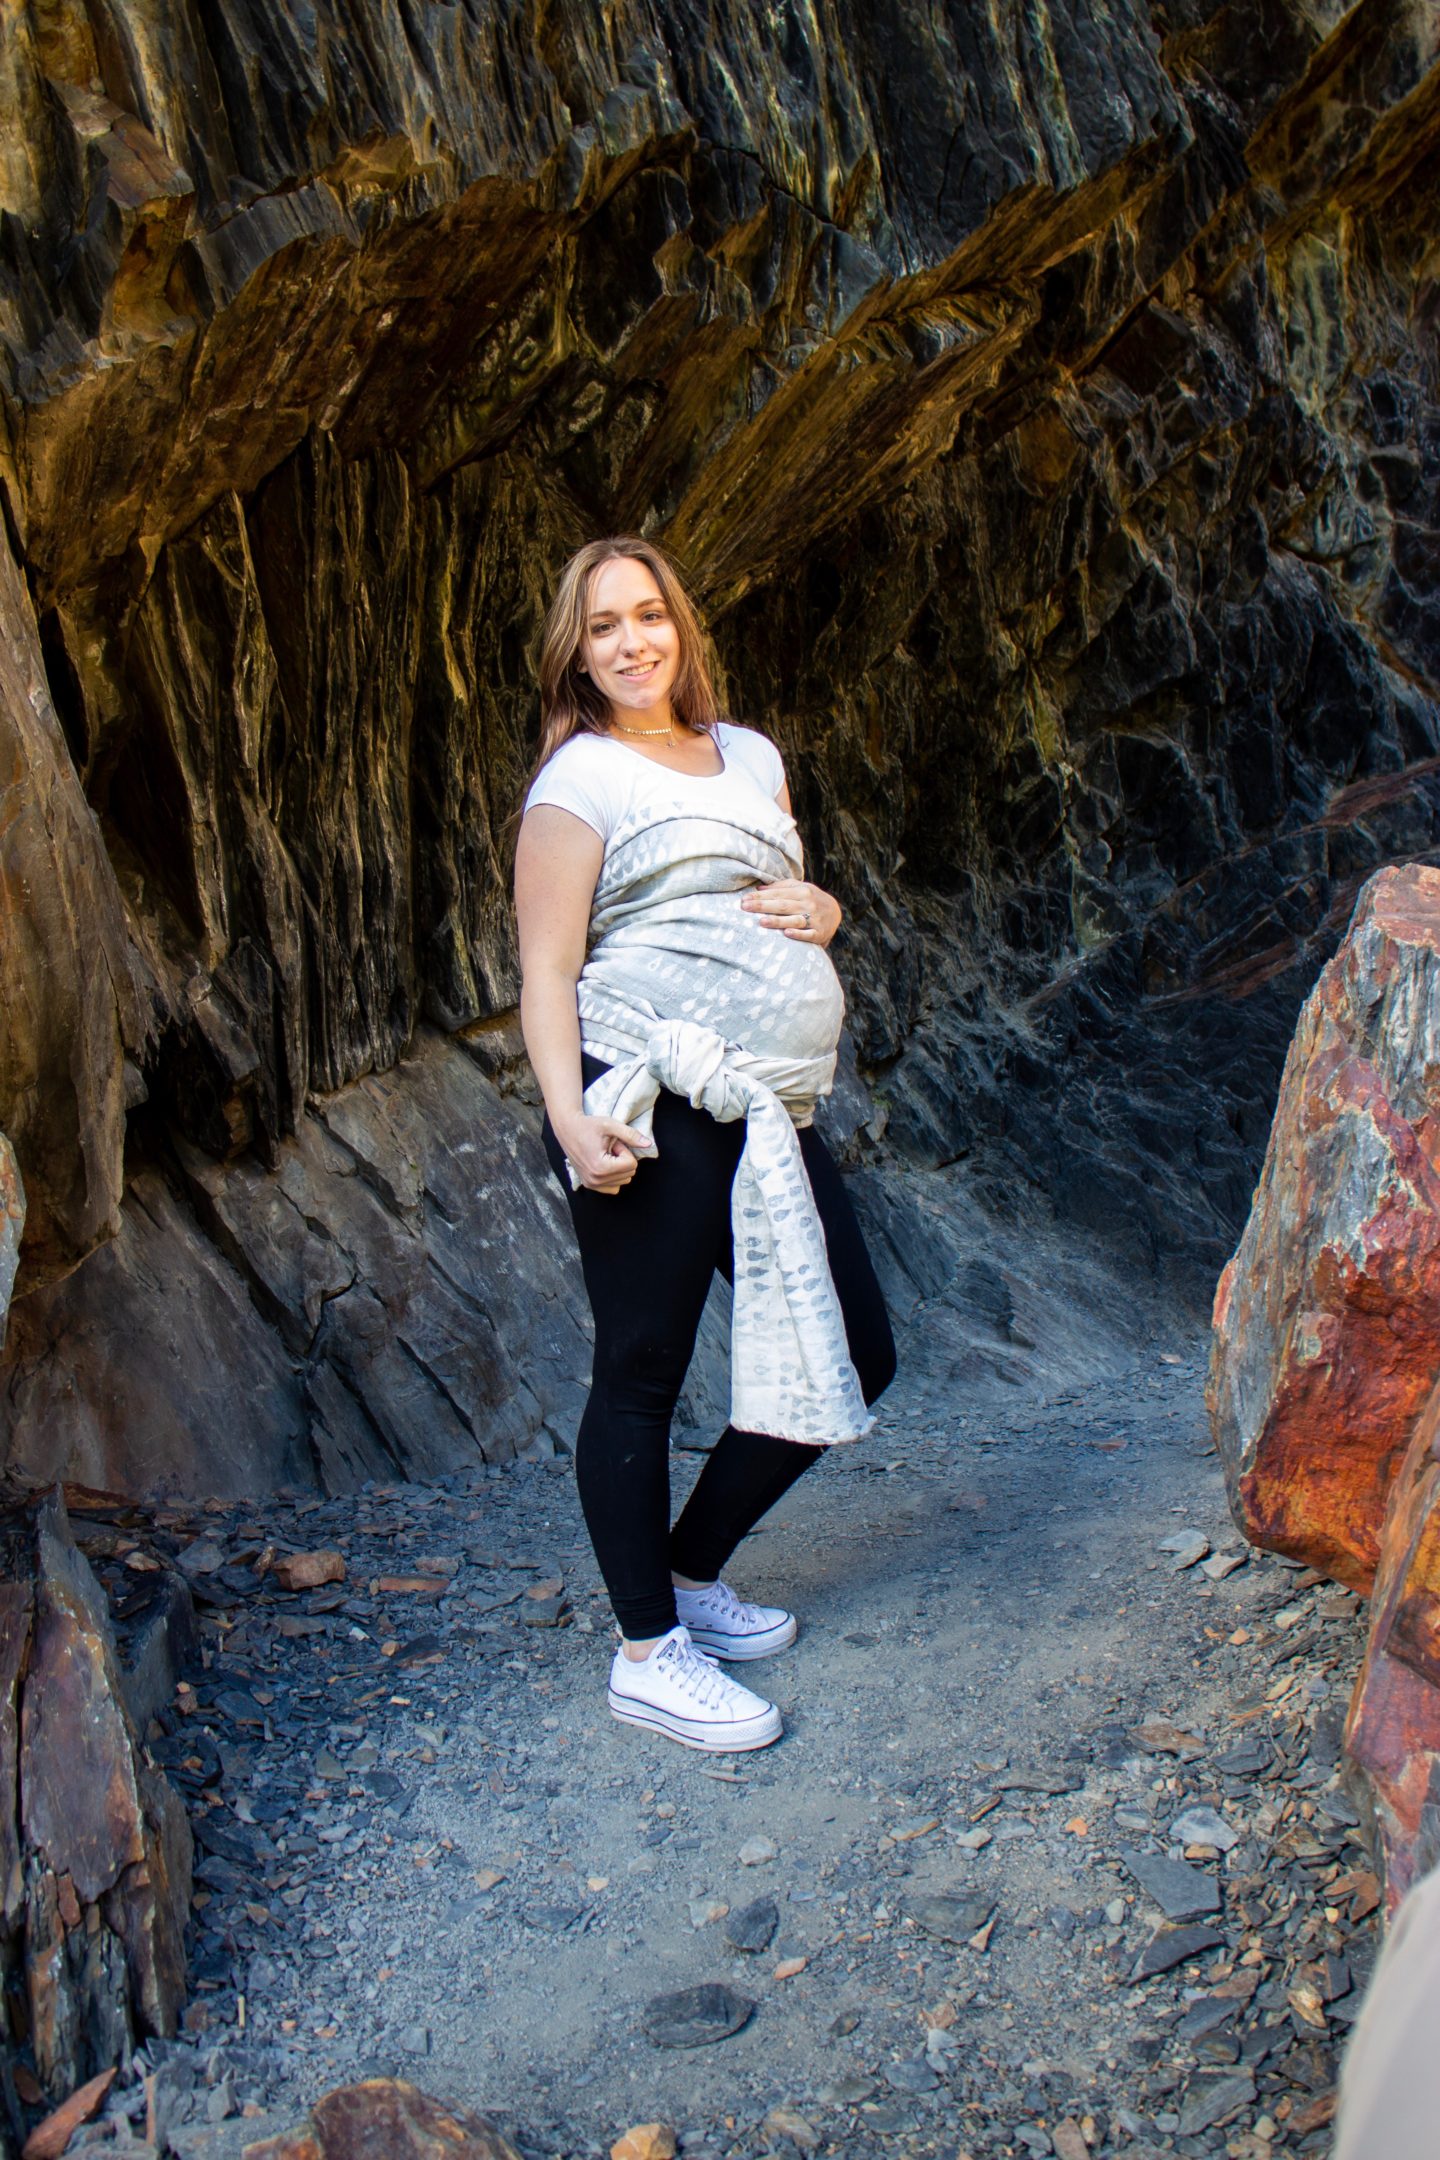
Tie.

You’re done. It’s that easy! My wrap is long for this particular style, so I recommend using a shorty if you’re keeping it this simple.
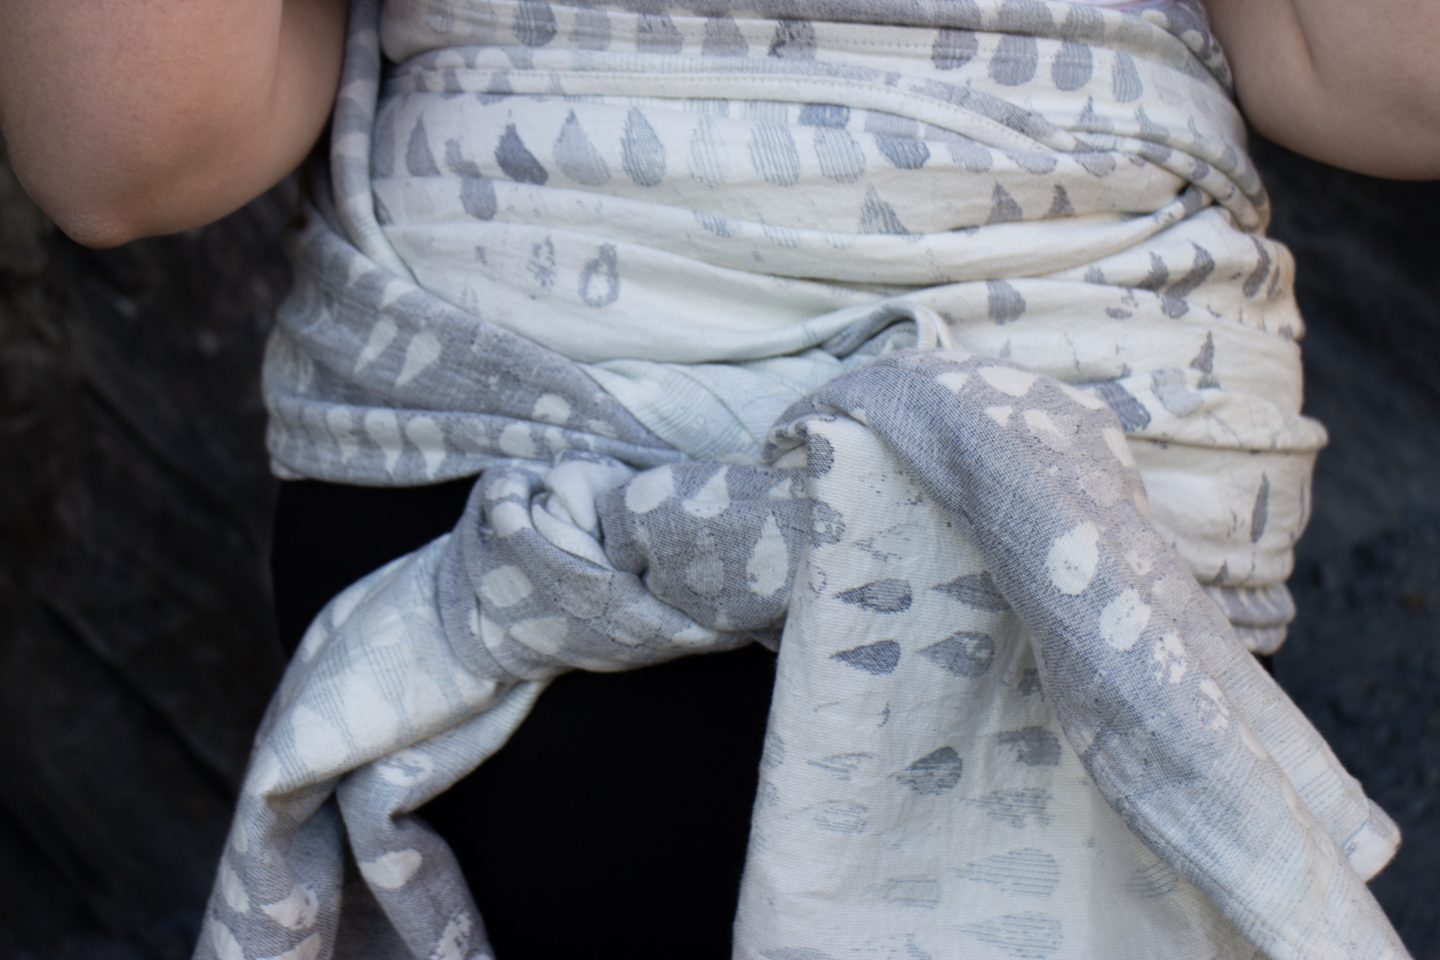
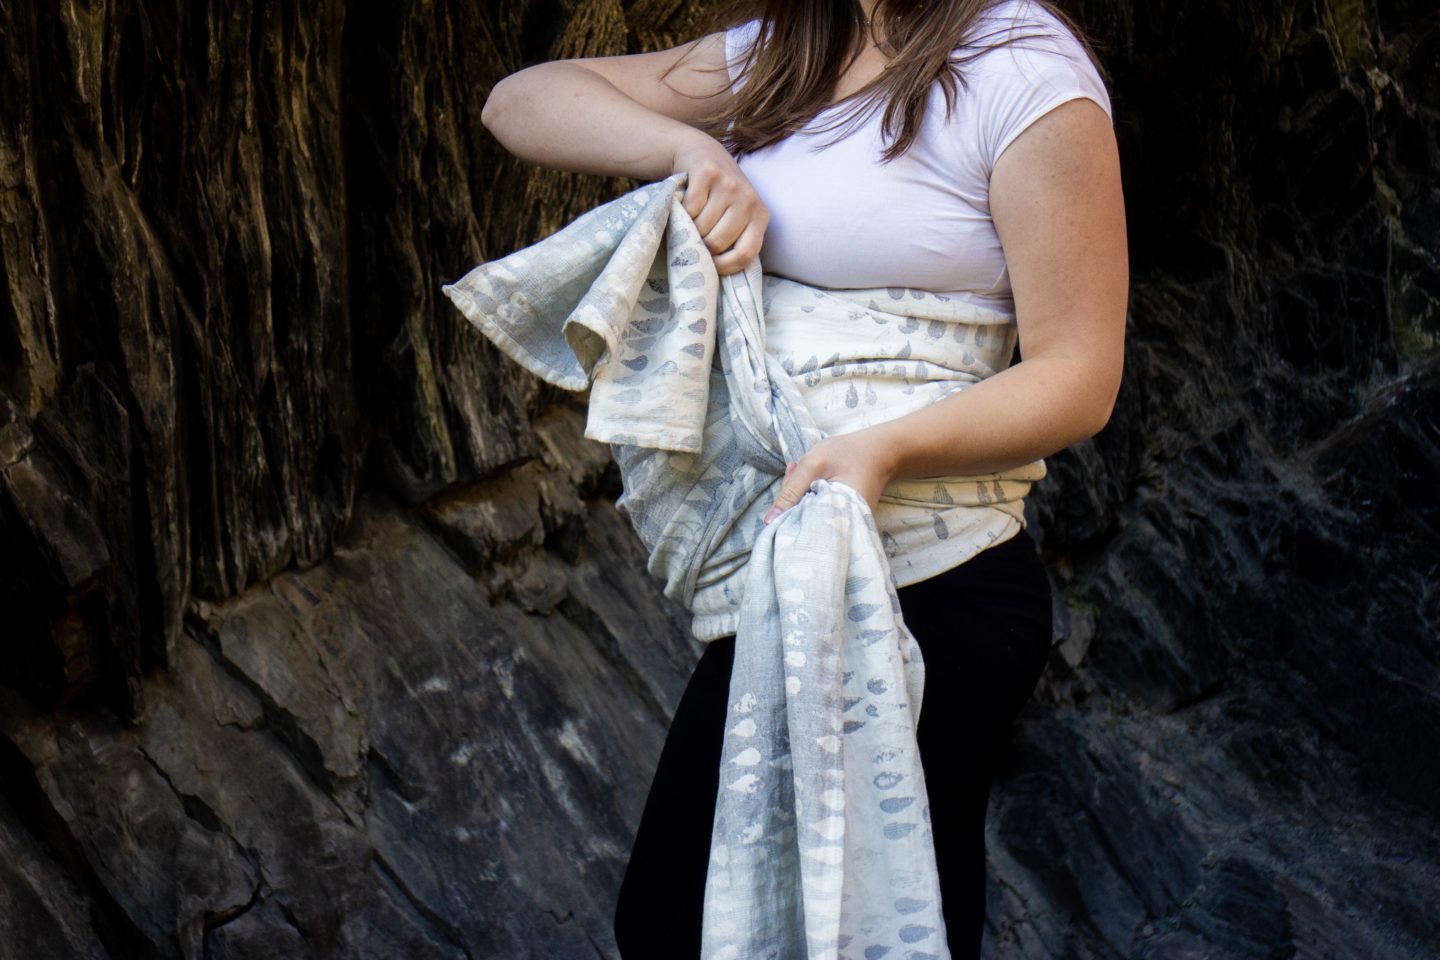
Double Pass

Like with the Simple wrap, start with your middle marker at your middle, and secure the wrap on your belly.


Take both tails around back, criss-crossing them as you bring them back to the front.
If you want to get ‘fancy’, you can add a twist here, so that the opposite side of the wrap is showing. I did this on one side, so that you can better tell which side I’m working with as we continue. I was on the cream side; now one tail is grey side up.


Tuck one tail firmly between your knees, and pull the opposite (untucked) side across your belly. Keeping it tight, wrap it around your back, and stick that end between your knees.
Take the side other side (the one you didn’t wrap around back), and pull it tight, stopping at your hip.
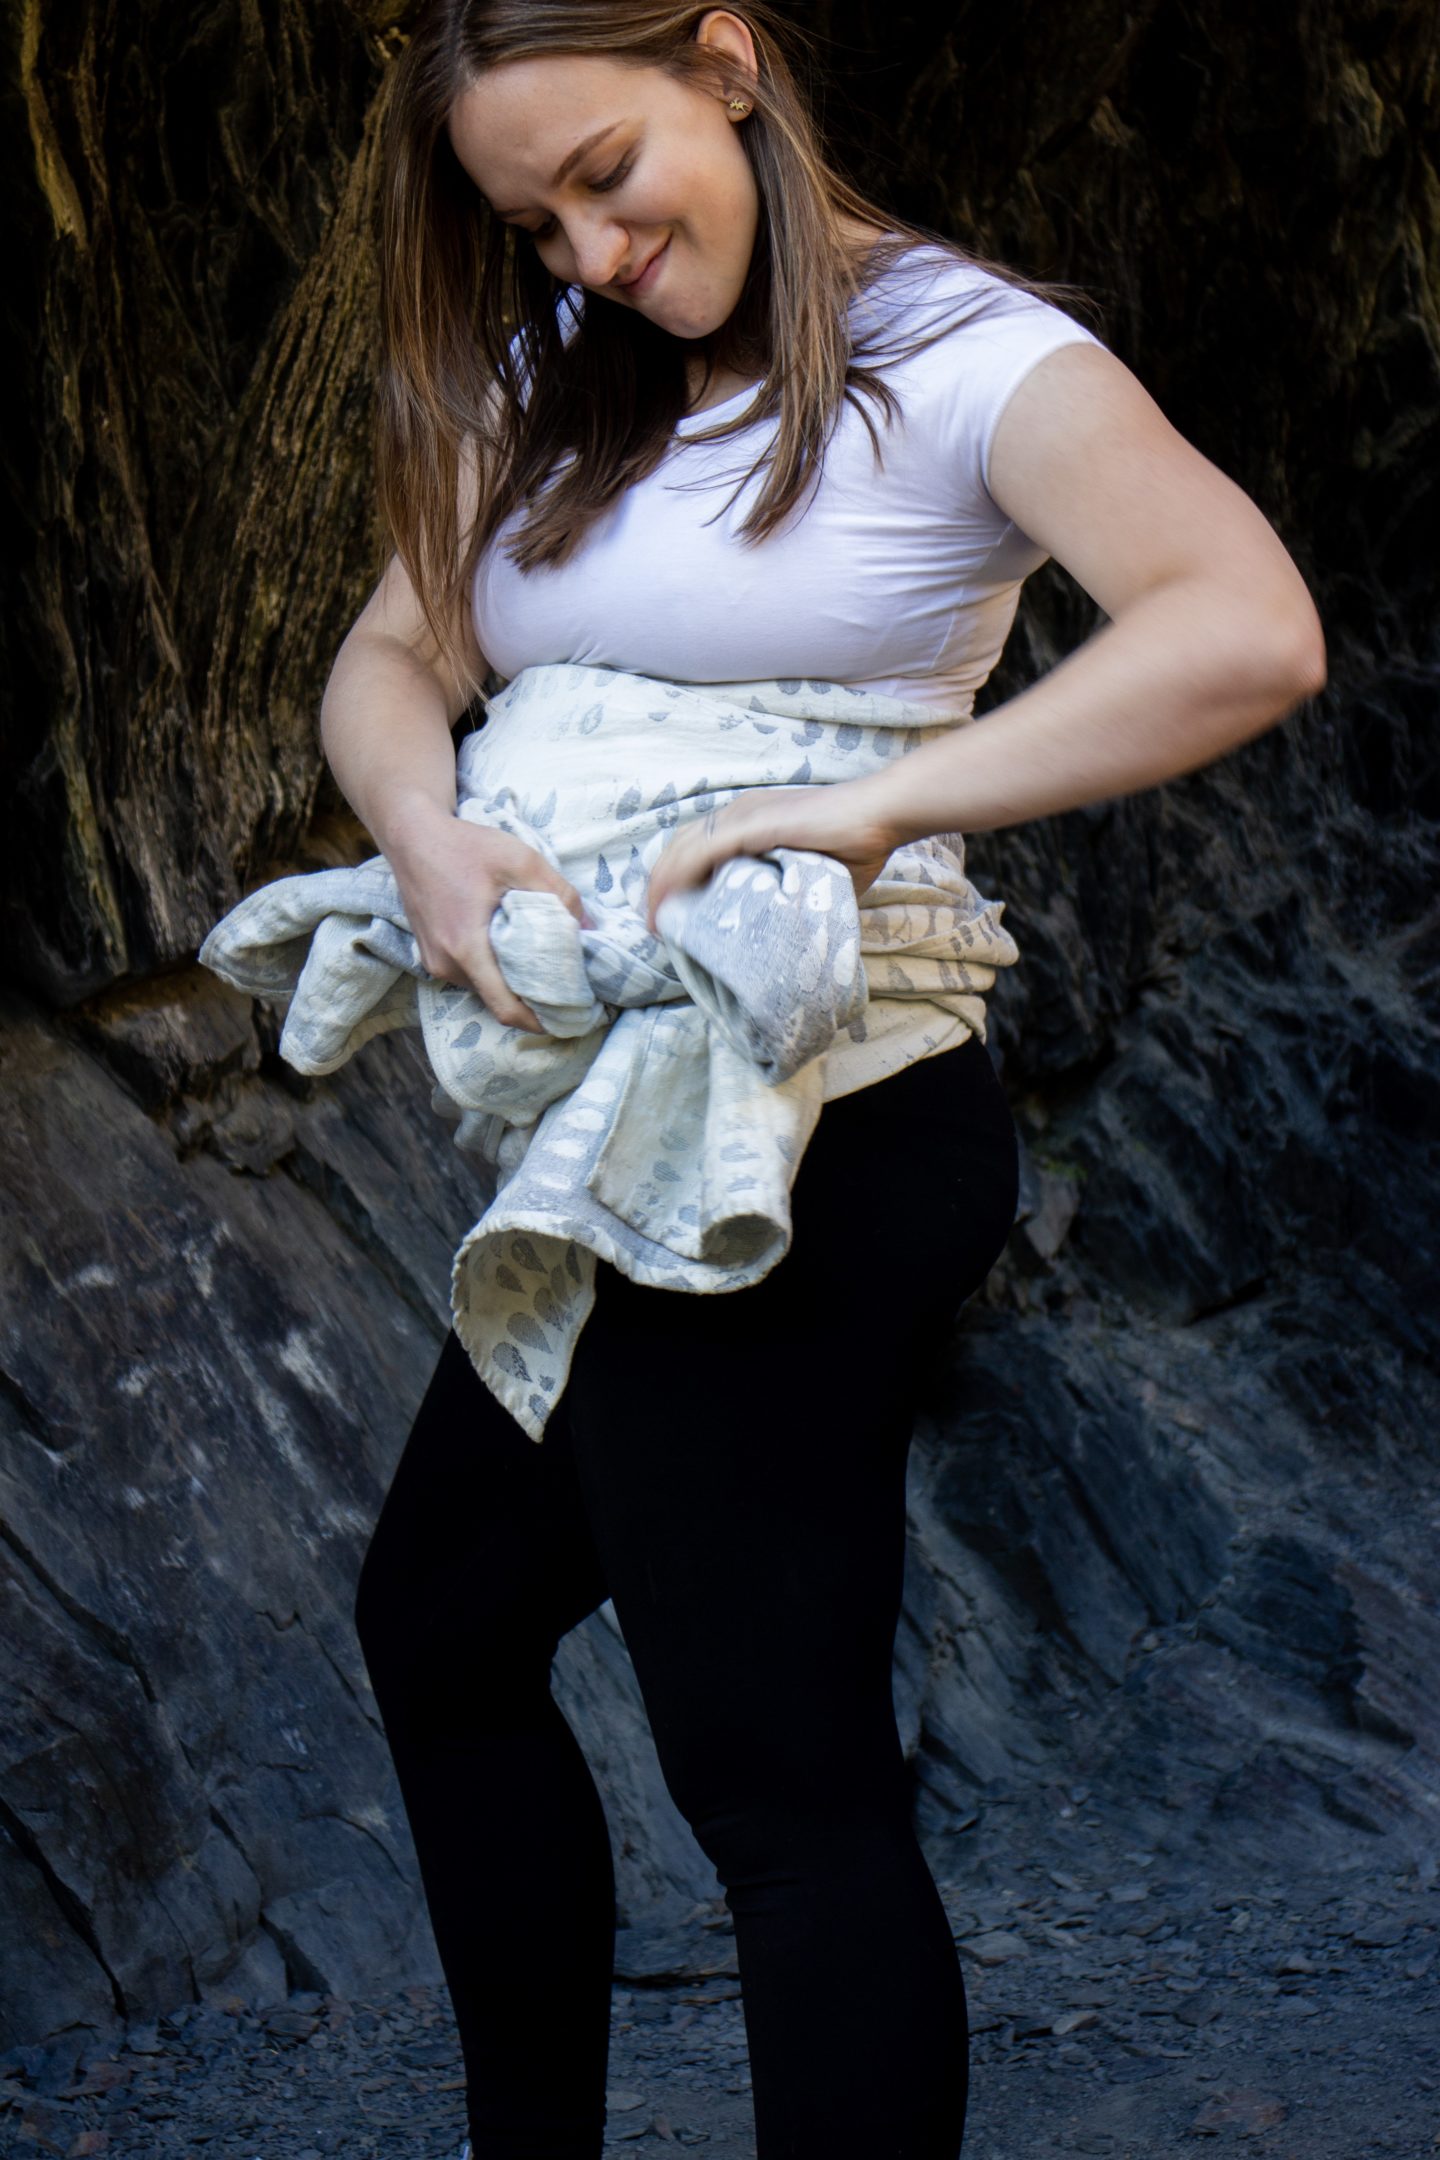
Knot the wrap, with the side you wrapped around your back being pulled up, and the second side that you stopped at your hip being pulled down—this will help keep everything secure.

That’s it. Though this one, like the rest, requires more steps than the Simple wrap, it is also more supportive, because the fabric passes around your bump more times. Definitely worth it if you’re farther along, or just really need the support.
Corset

This wrap starts the same at the previous two–middle marker at your middle, and pull it tight across baby—but it’s very different from the previous two.


At the back, criss-cross, and take each side over the opposite-side shoulder. Both tails will now be in the front again. Keeping the fabric taut on your shoulders, take the ends back, going under your armpits.

Now, criss-cross each side once more before taking them around to the front.

I end the wrap here, as I’m out of room. If you have a longer wrap, you can cross the tails—spread out—over your belly, and tie off in the back.

Tie a knot under your bump, and you’re finished! This wrap is nice, because it passes a few times in different places, so you can have your upper back aid a little in keeping the weight of your belly up.
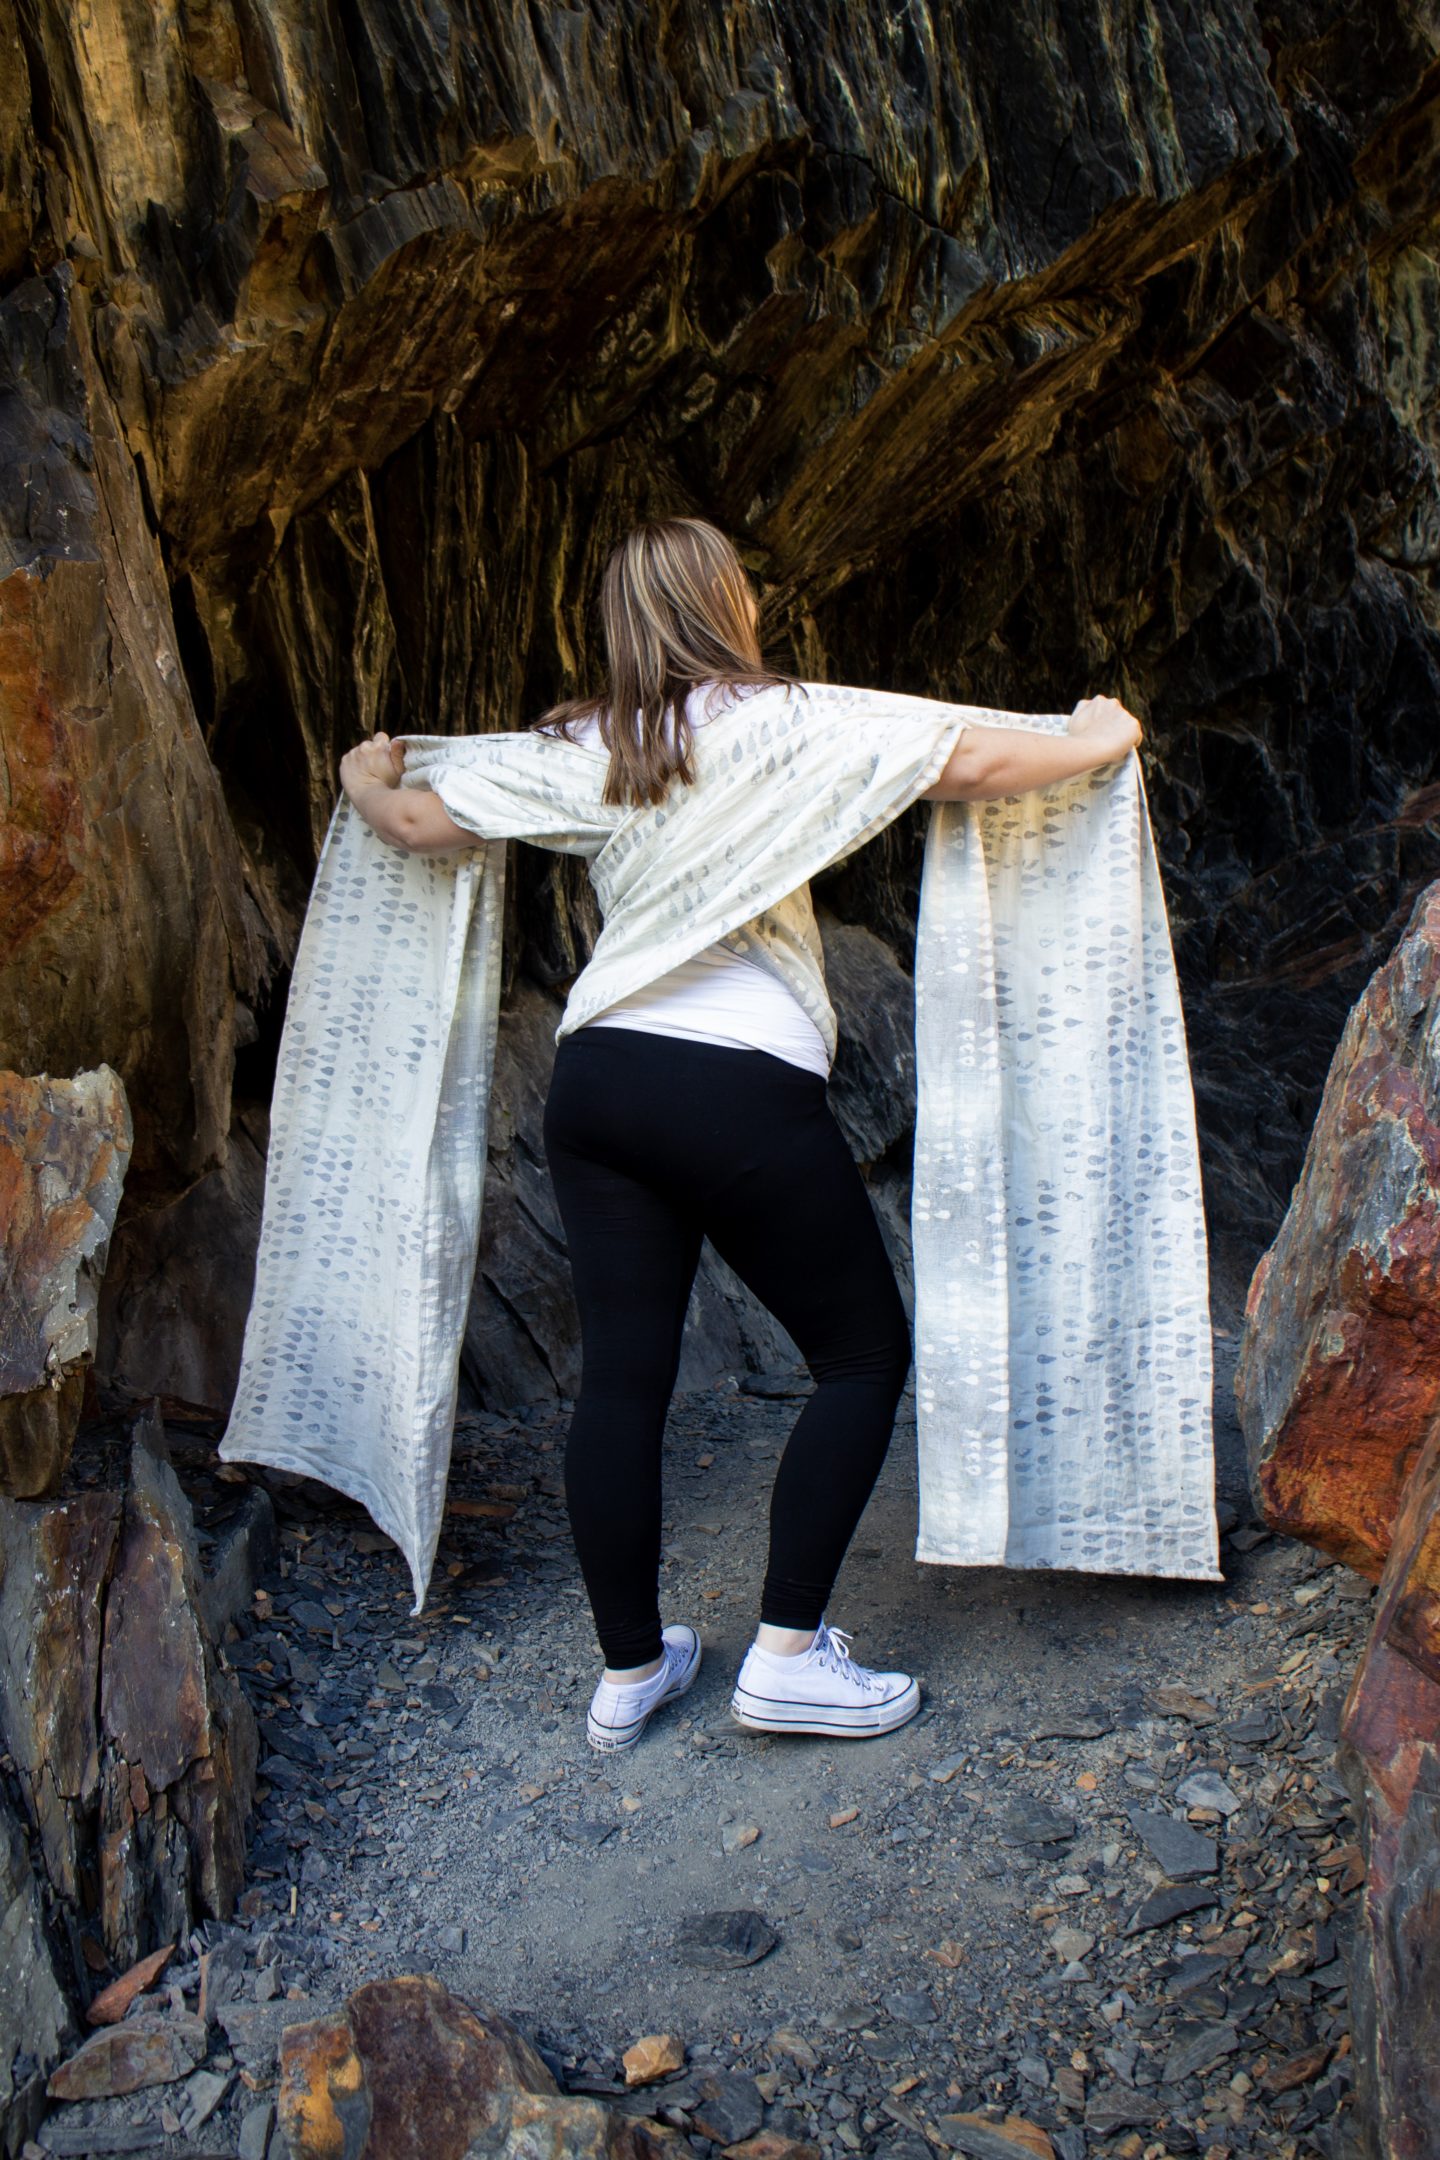
Sweetheart
This time, we’re going to start with the middle marker in the middle of your back.


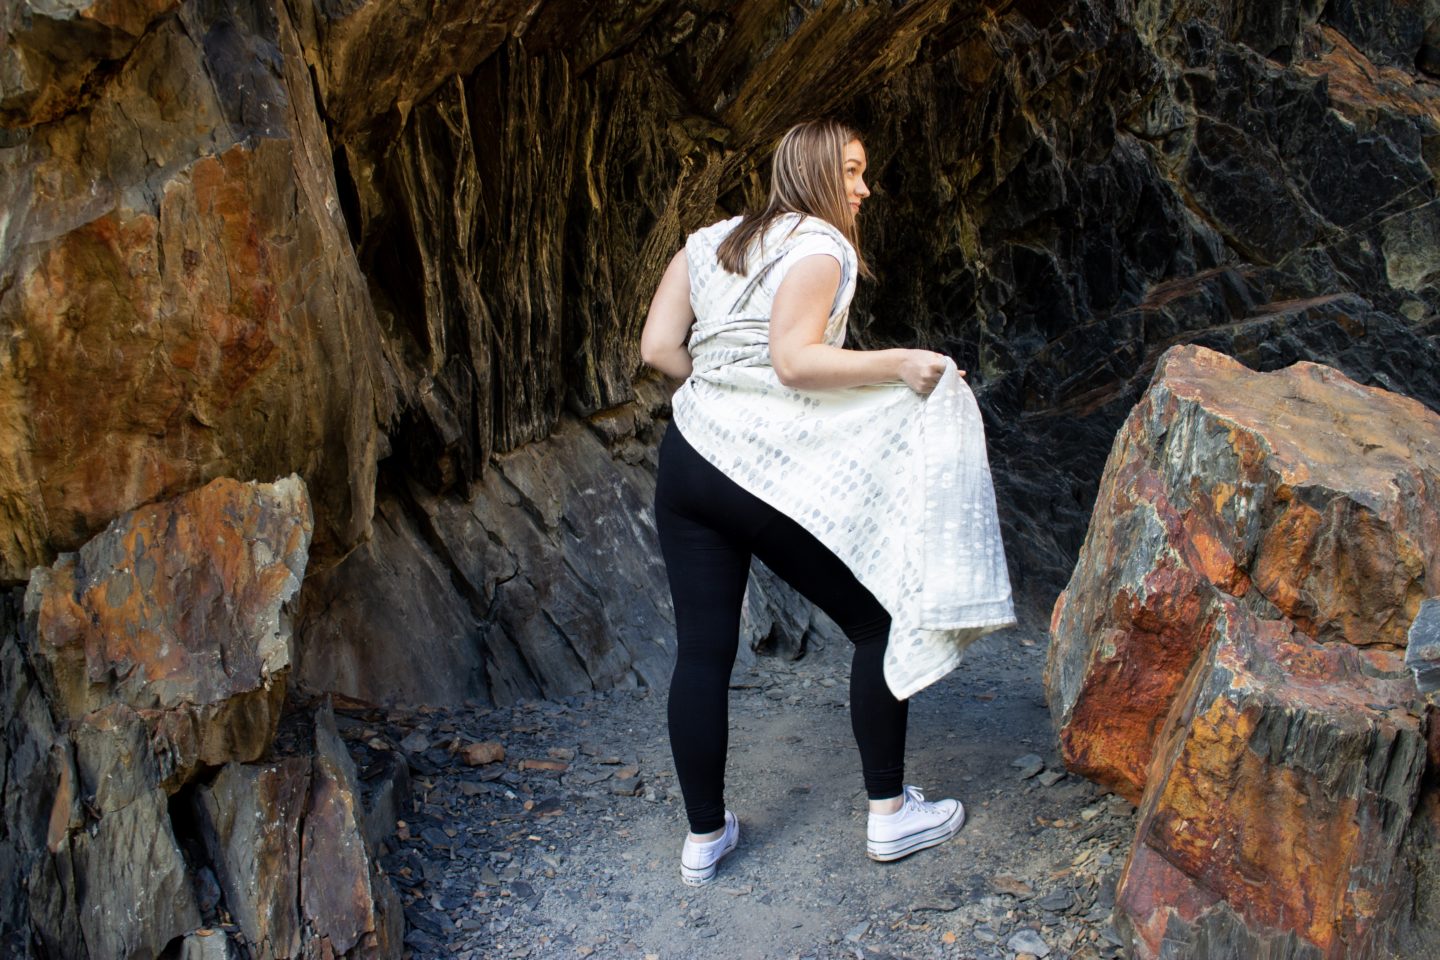
Take one side around to the front, taking cary to get the fabric up on your chest, and down across your belly. Stick that tail between your knees (wrapping around back, if need-be), and repeat on the other side.
With both sides in place on the front, take the tails and criss-cross in the back.
You can tie under bump, or at your hip. This wrap is relatively easy, and looks great, too! Certainly one you could feel cute wearing out.
Extra Support

Our final style with the woven wrap is the most complicated, but also the most supportive. Still, like with most of the others, you start with the middle marker in the center of your belly.


Criss-cross in the back, keeping the wrap taut. Tuck the end you just passed around between your knees as you do the other side. Take one of these passes, and twist the wrap up (opposite side will show).


Take one side, and pull it across your belly, stopping at the opposite hip. Next, you’re going to be crossing the tails as if you were going to tie them (but we’re not yet!). The tail from the front pass should be pulled down, with the other pulled up.


Next, tuck the tail that you’re pulling down between your legs, and line up the two rails of the other tail. Take the tails with lined-up rails, and pass it back around you back, and secure between your knees on the other side. Repeat the folding process with the other tail, and spread it over your belly.
You can tie in the back, or on the side, if you are going to be sitting.

This one is so supportive! Though it takes a few minutes to do, I think it’s really great at keeping the belly, and hips feeling secure.
Ring Sling

We’re going to begin with how to thread a ring sling. Once you get the hang of it, it’s super sinchy. But this tutorial is for everyone, so we’ll start with the basics!
Put the rings on your shoulder, doesn’t matter which side—it’s up to you.
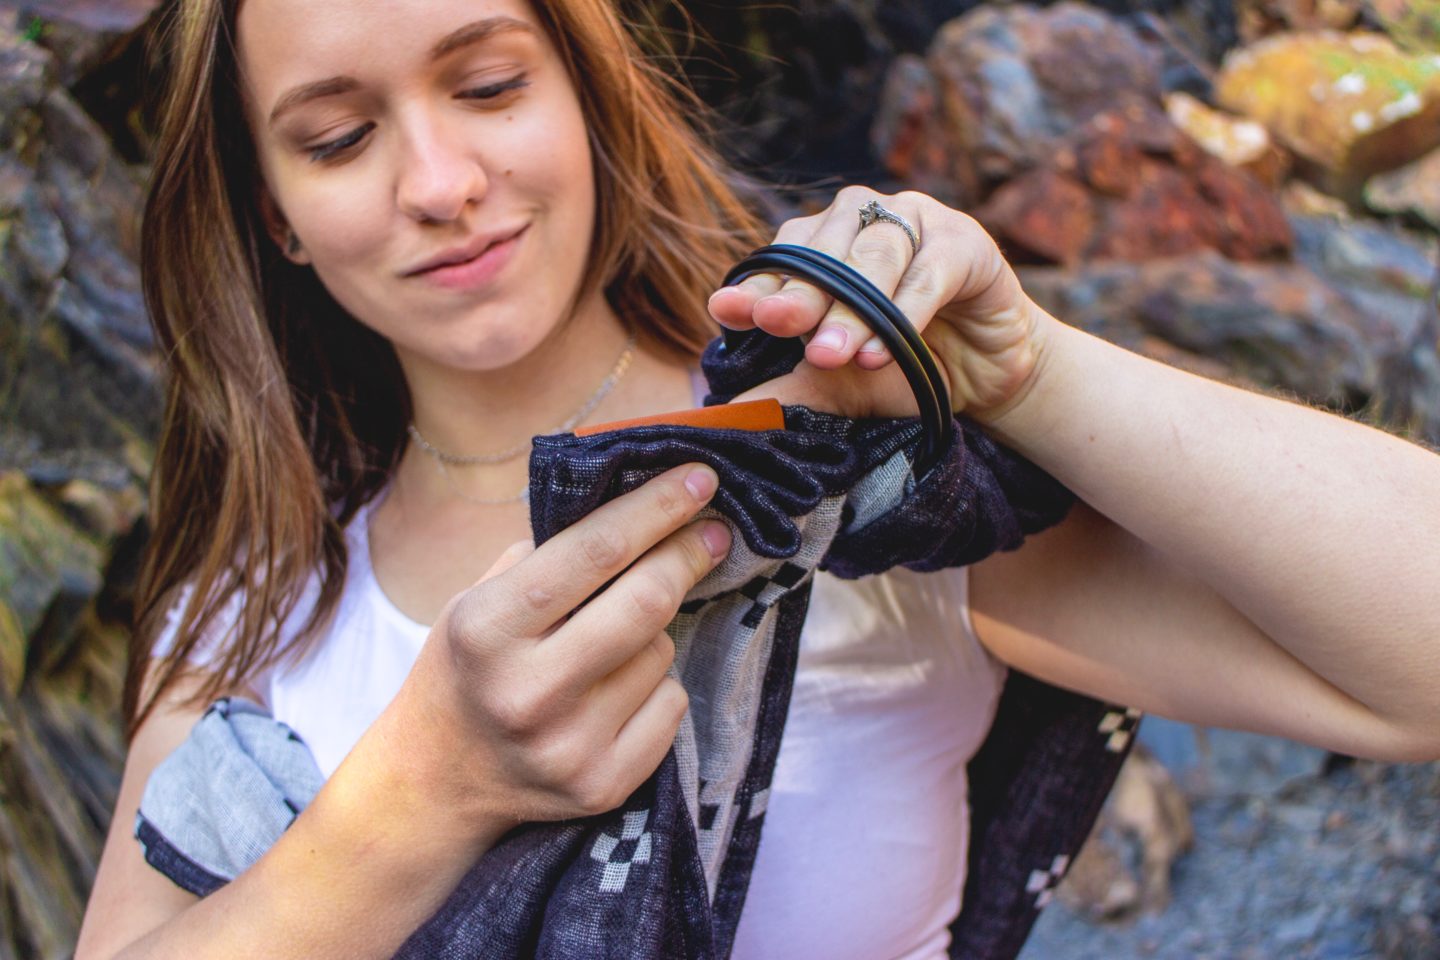
You’re going to take the tail, fold the end accordion style, and pull it up through the rings.

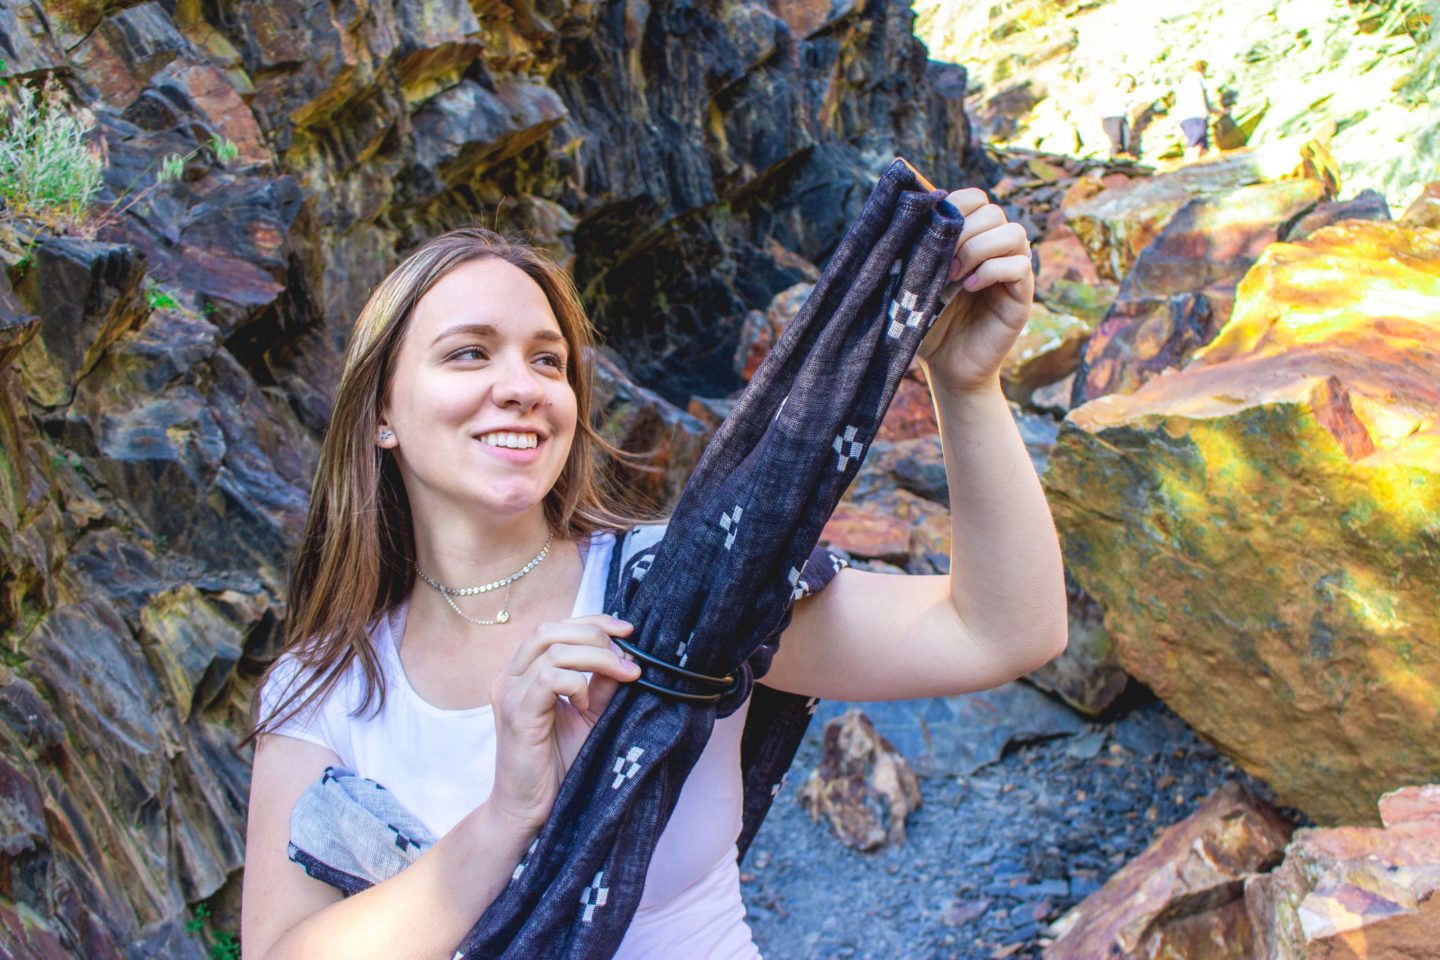
Then, lift up the top ring, and pull the tail over it, and through the bottom ring—just the bottom one. For a video tutorial, click here.
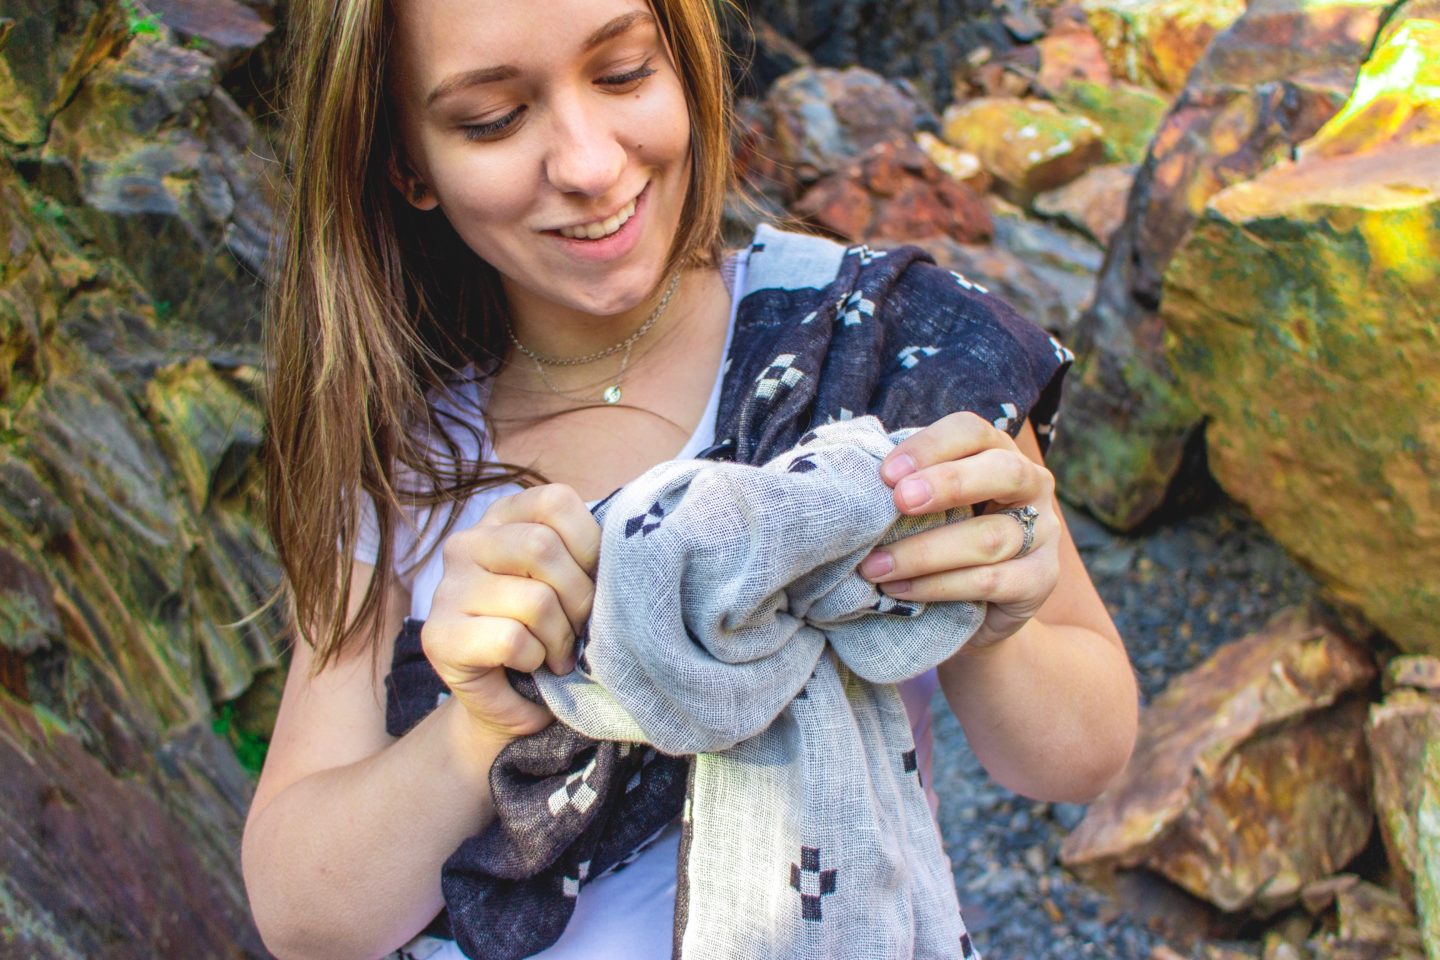
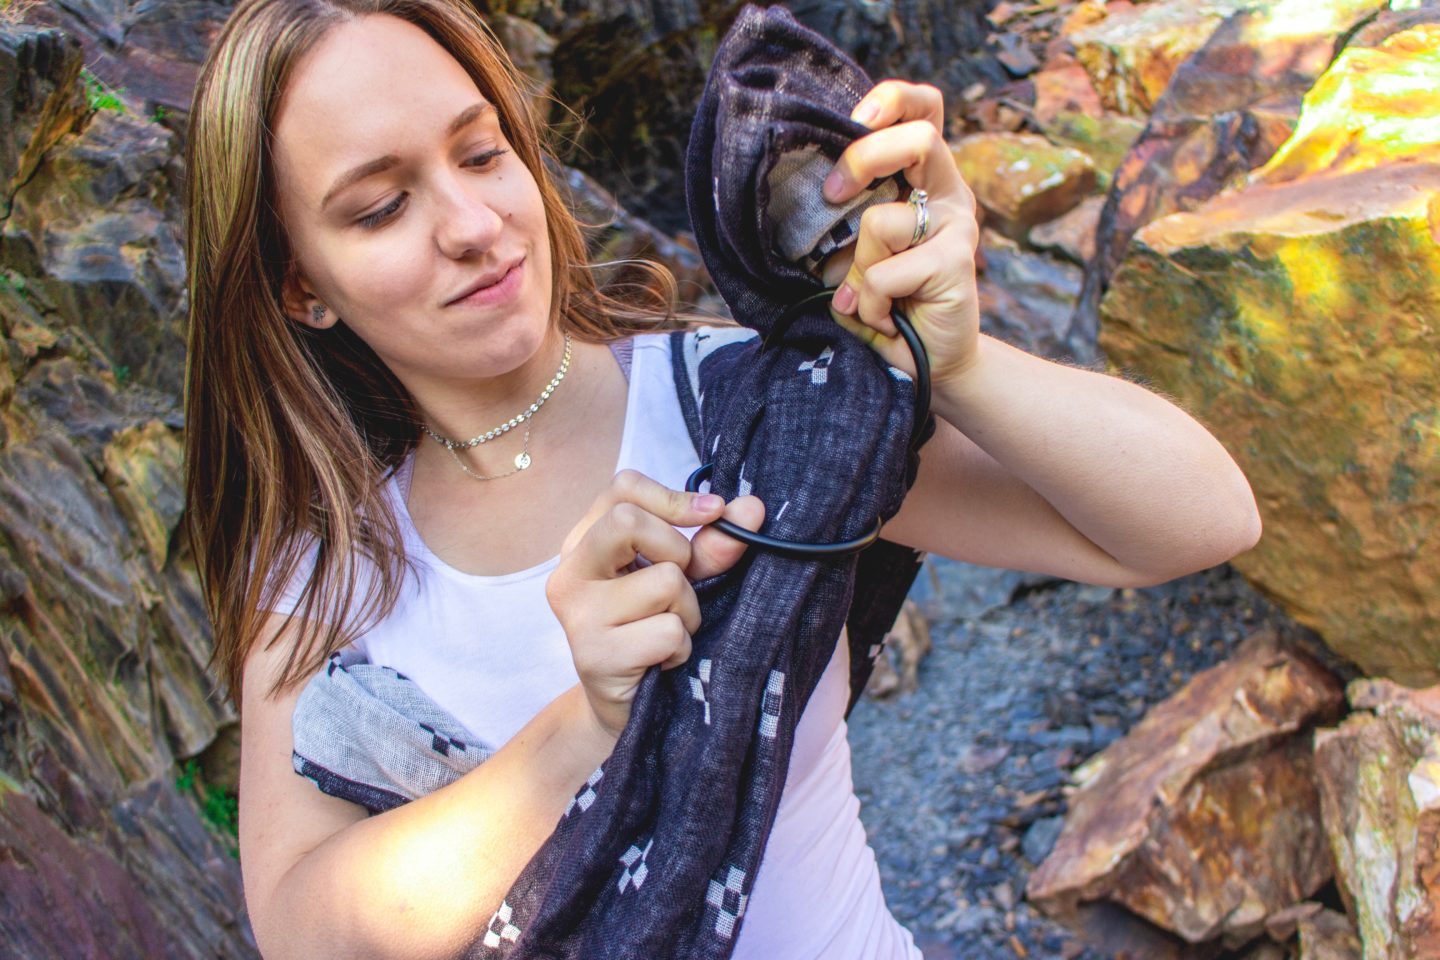
Pull the tail down. Now, tug at the fabric between the rings, taking it out a bit, and fan it out. Make sure that the rails are facing the right way, and that no part of the fabric is overlapping itself. Then pull the tail down again. That’s the basics of a ring sling! Now, you’re ready to move on to the belly wrapping part.


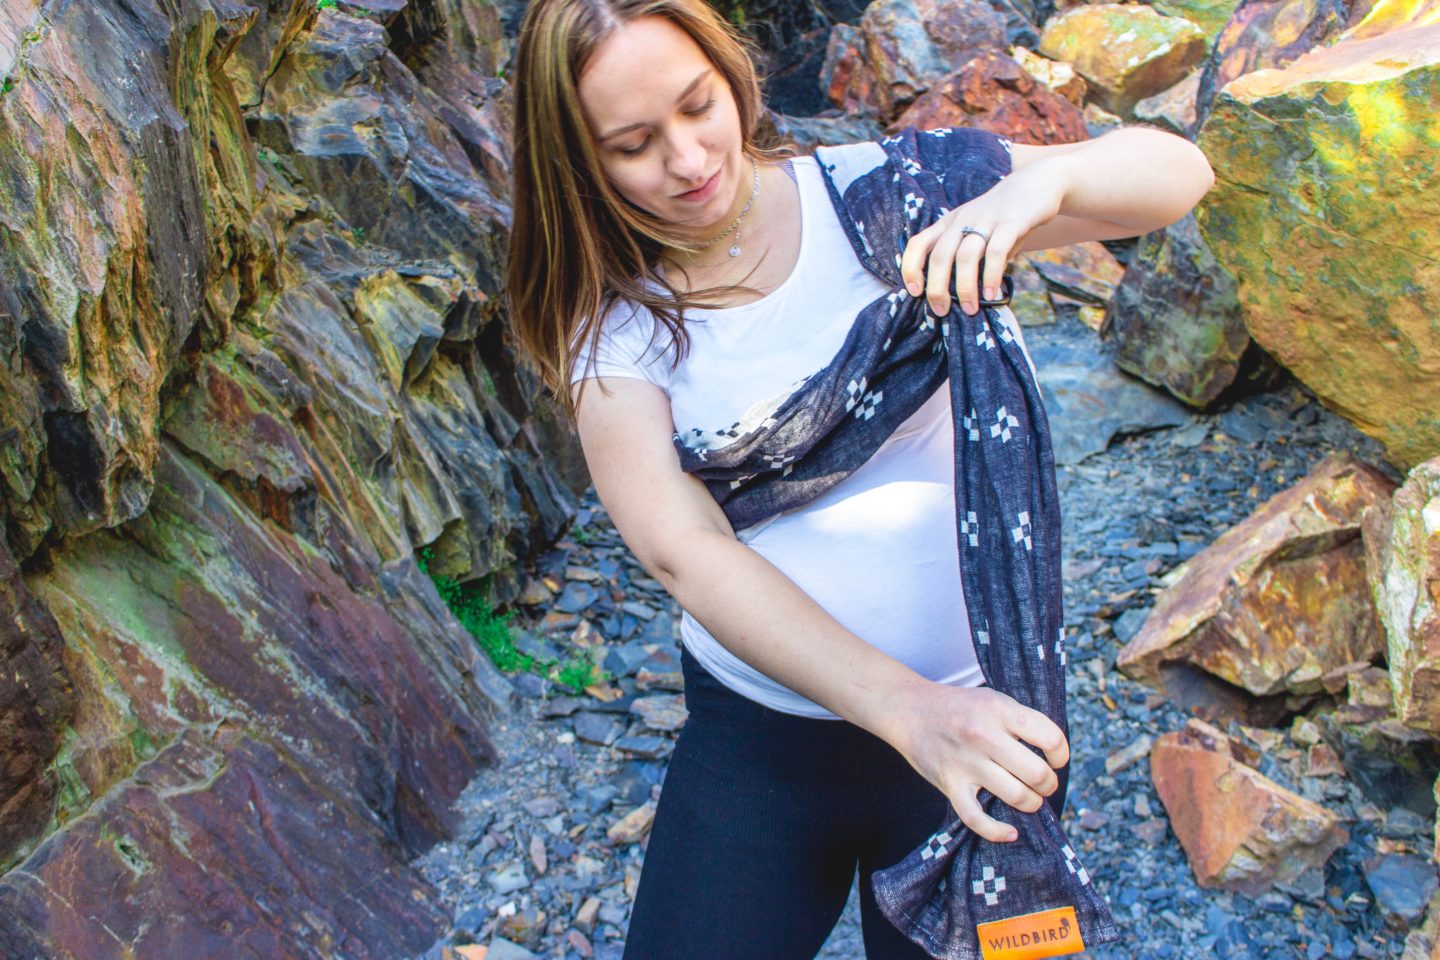
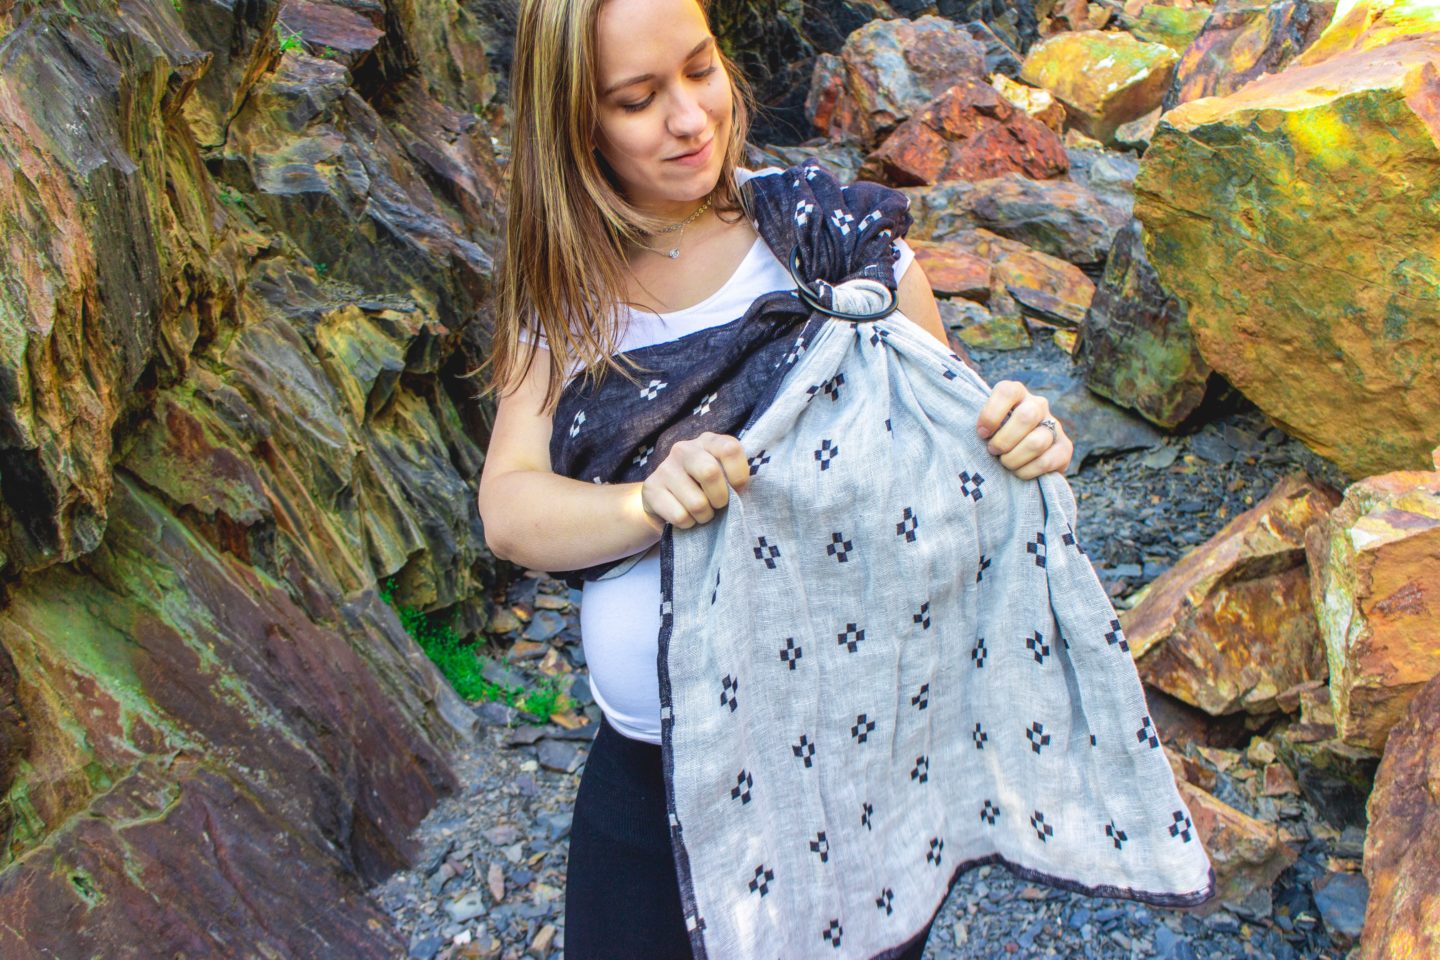
Slide the ring sling down to belly-level. Keeping the rings at a comfortable place on your hip, tighten by pulling the tail. This—like with the woven wrap—is best done strand by strand (small sections at a time).

Your bump should now feel nice and secure! Rind sling belly wrapping is very quick. However, if you don’t want a long tail, there are a couple other finishes you can try:


Twist the tail, then pull it down under your belly. Finish by tucking the end up into the sling.

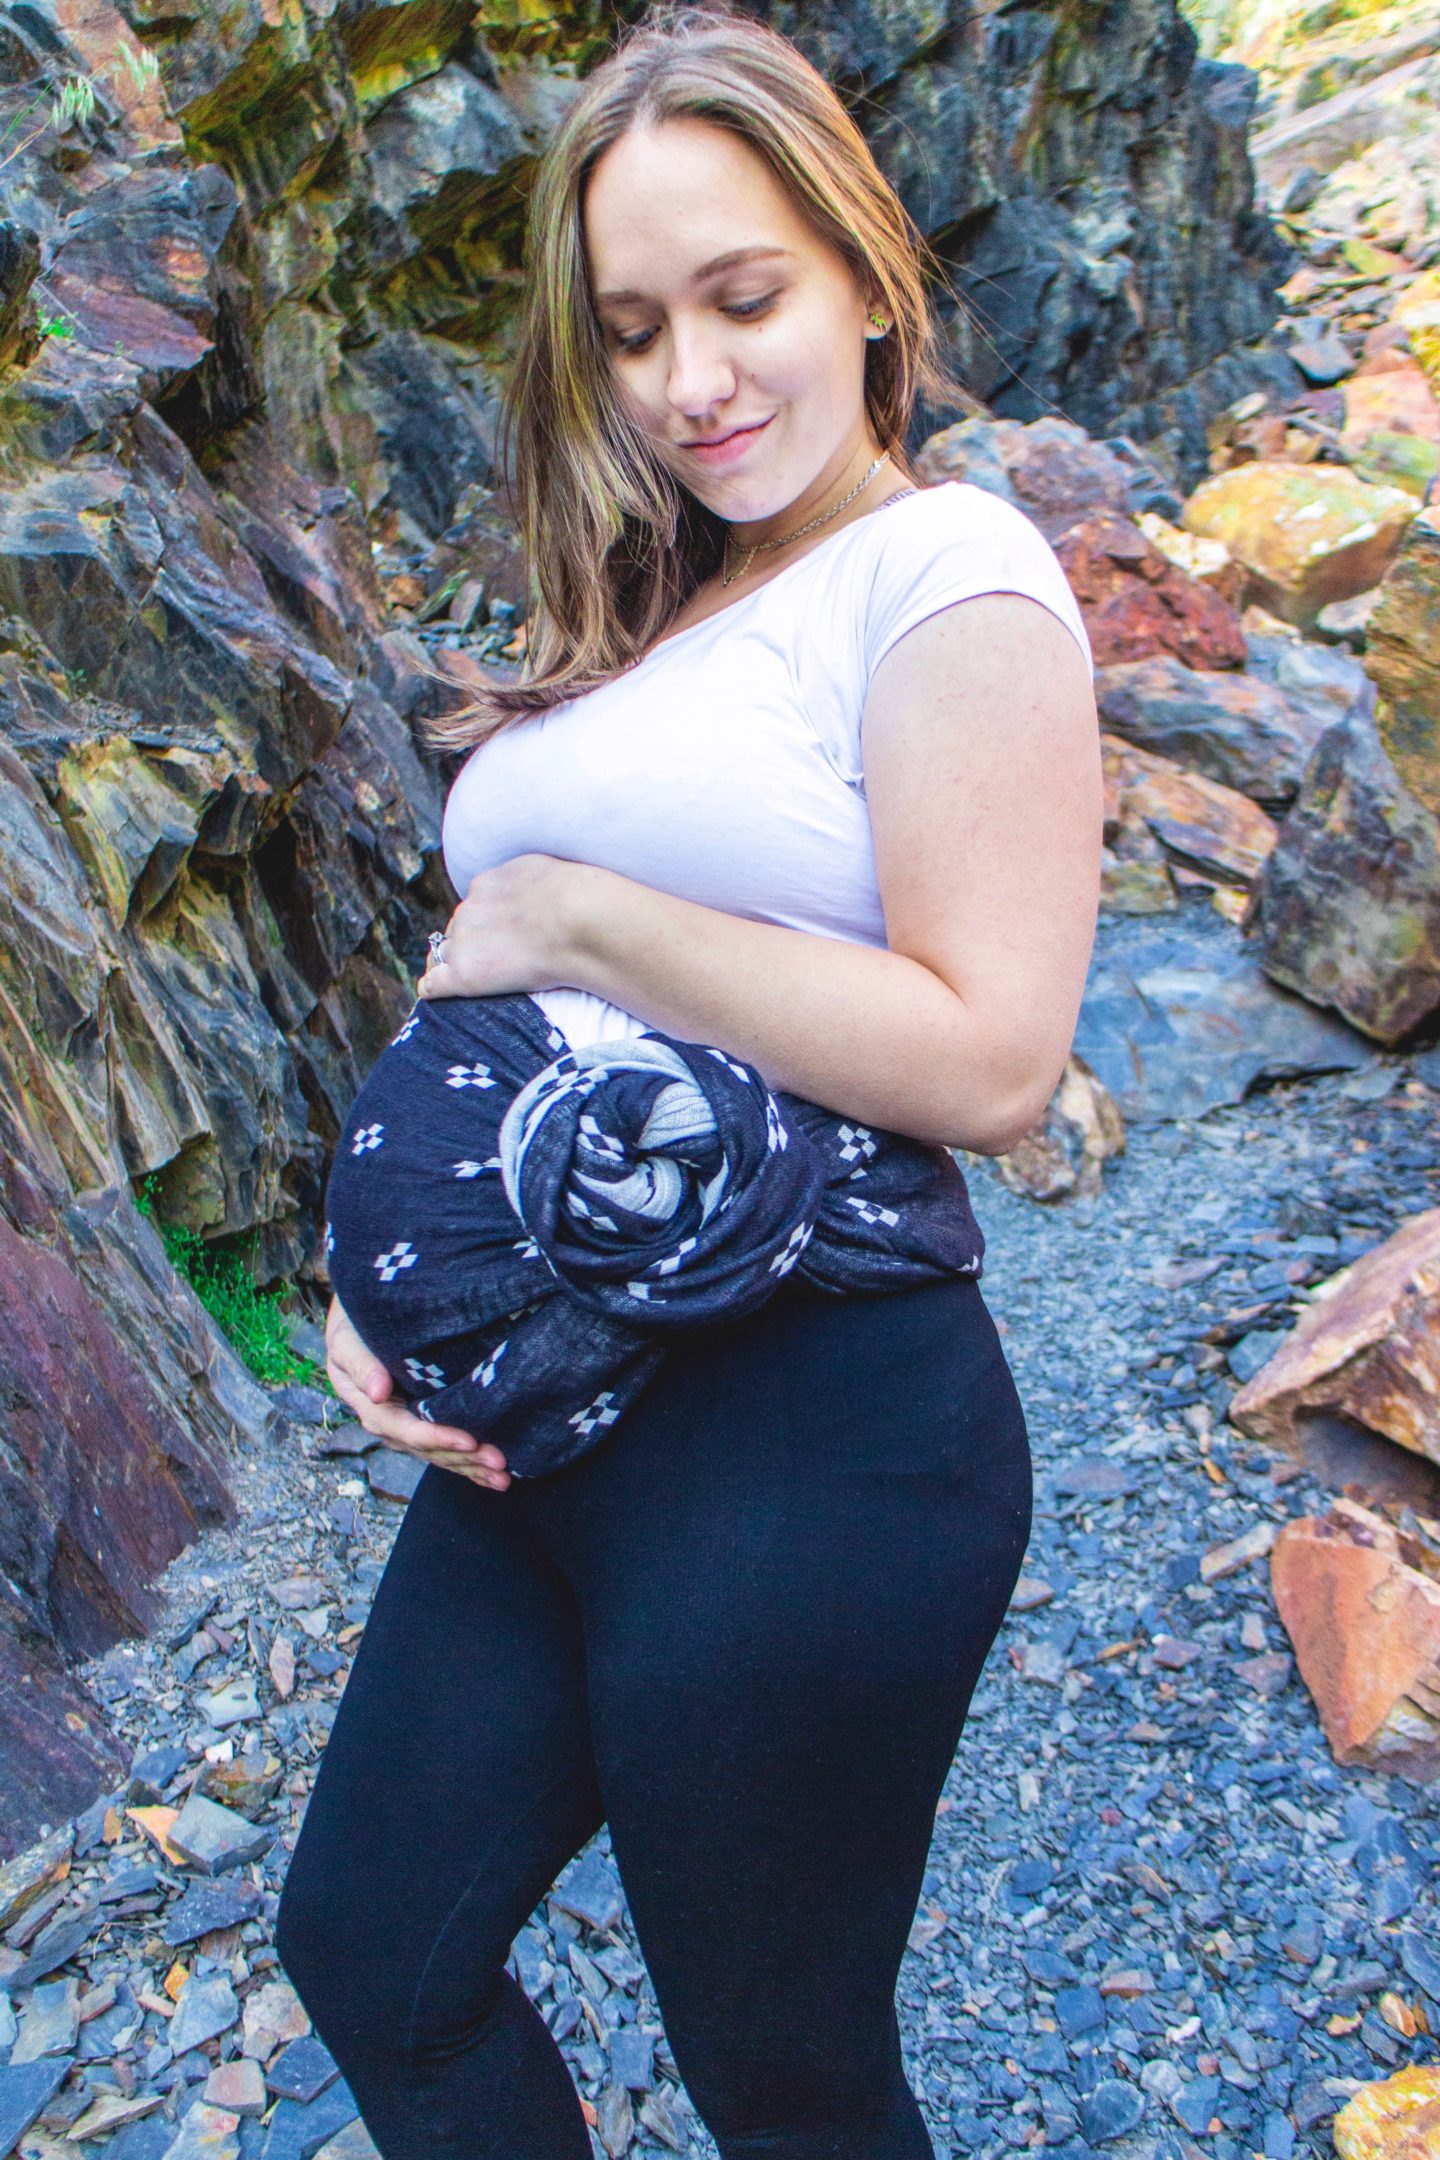
Another fun one is a rose finish. Twist the tail—that same as in the previous one—then twist tighter as you spiral it into a circle. Tuck the end, wherever it stops, into the sling.
And that’s a wrap! I really hope that these tutorial pictures help you as you navigate belly wrapping. It really does make a tremendous difference in how your belly feels, so it’s definitely worth taking a crack at it. Let me know if you have any questions; and, I’d love to know, if you’ve belly wrapped, how it was for you!
Happy wrapping!